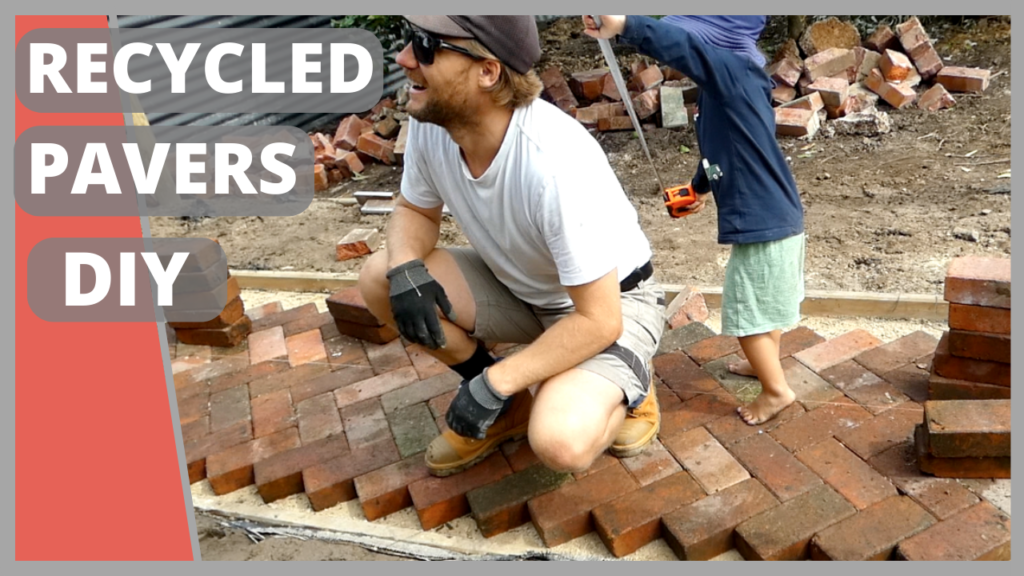
Hey, everyone! It’s Alex from Greysand, and in today’s guide, I’m going to take show you how to lay pavers in a herringbone pattern on dirt and sand. We’re going to turn a muddy mess into a stunning recycled paver garden path without spending a dime.
Now, I may not be a paving expert, but I can guarantee you a satisfying and budget-friendly DIY project that anyone can tackle. So, let’s dive in and explore all the steps needed to craft a garden path using recycled materials.
Why Recycled Pavers?
Before we get started, you might wonder why I’m such a fan of using recycled materials, especially old building materials. Well, there are two key reasons: cost and uniqueness.
Recycled materials can often be obtained for free or at a minimal cost, making them perfect for DIY projects that won’t break the bank. Additionally, with a little extra effort in cleaning and preparation, recycled materials can add character and charm that new products often lack.
Our Recycled Materials Adventure
For this particular project, I decided to use 100% recycled materials that I already had in my garden. These brick pavers have been repurposed from three different projects, including a small wall around the chicken pen to keep those adventurous chickens from escaping.
By repurposing materials, we not only save money but also reduce waste. Plus, I think there’s something charming about working with recycled materials – they have character.
Let me start by saying, I had to strike a deal with some chickens in my garden to acquire these pavers. It cost me a bowl of food scraps. Yep, I wanted recycled pavers, so I had to negotiate with my feathered friends.
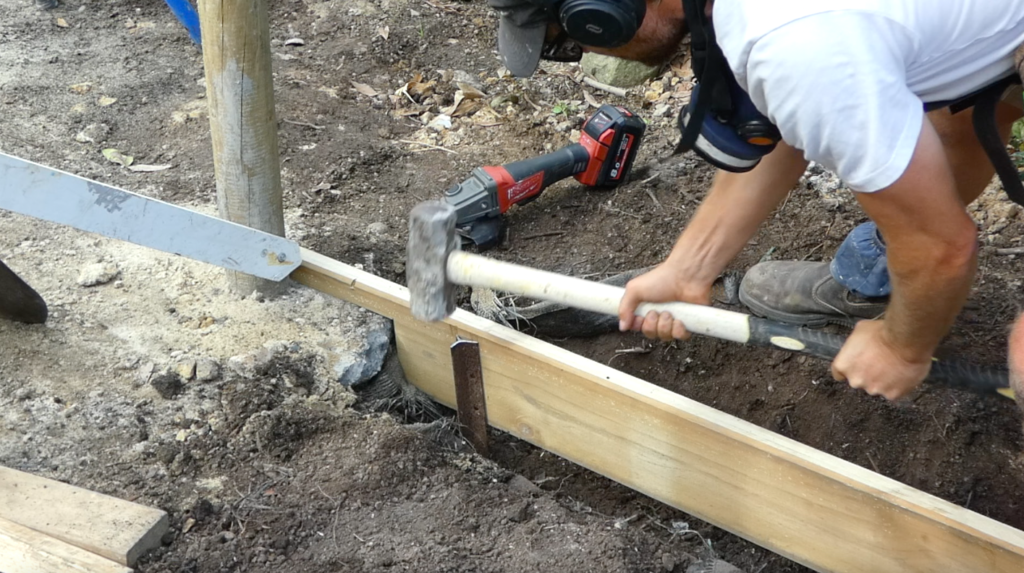
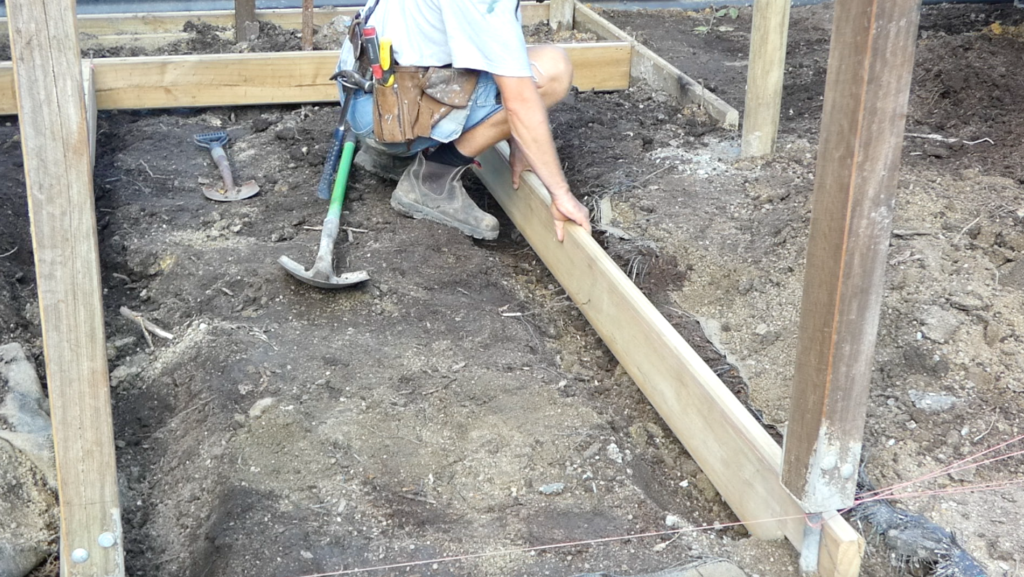
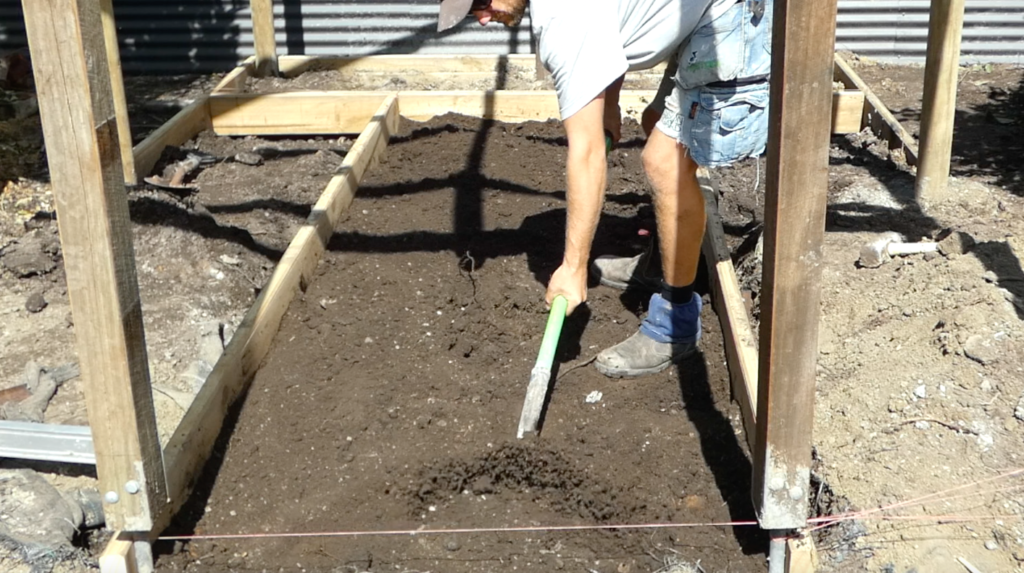
Step 1: Installing Edging Boards
To begin our garden path journey, we need to contain the brick pavers. I’m using H4 treated timber, which can withstand the test of time in the ground. These boards will not only keep the pavers in place but also serve as the foundation for raised garden beds in the future.
Step 2: Adding and Compacting the Road Base
Now, it’s time to prepare the foundation for our path. I’m using a road base mix of crushed granite and soil that I had previously used for another garden path. The goal here is to use recycled materials that I already have on hand, minimizing the need to purchase new items.
After spreading the mix, I’ll screed it to create a level surface about 100mm (4 inches) below the top of the edging boards.
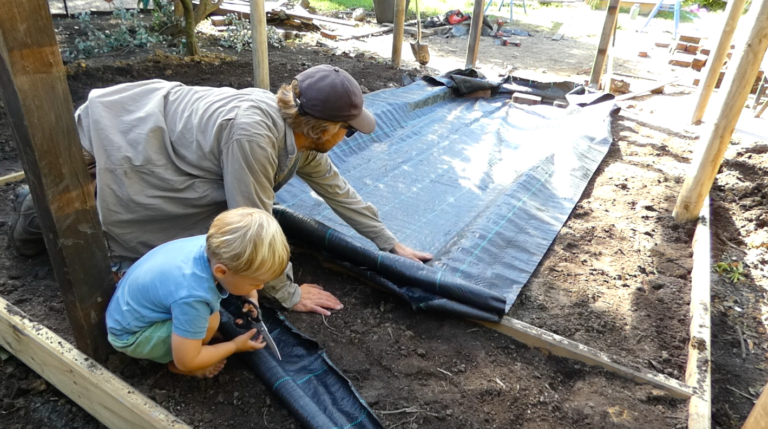
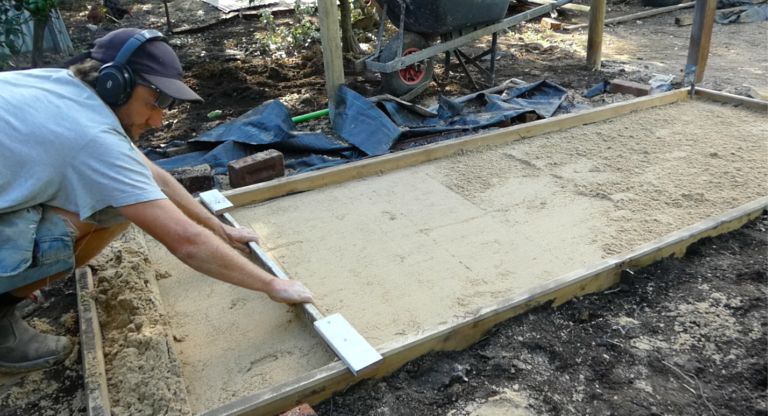
Step 3: Adding and Screeding the River Sand
Next, we’ll add weed matting on top of the road base to prevent weed growth and then layer river sand to the correct depth. I’m using a simple technique with timber pieces to ensure the sand is evenly distributed and the pavers will sit flush with the edging boards.
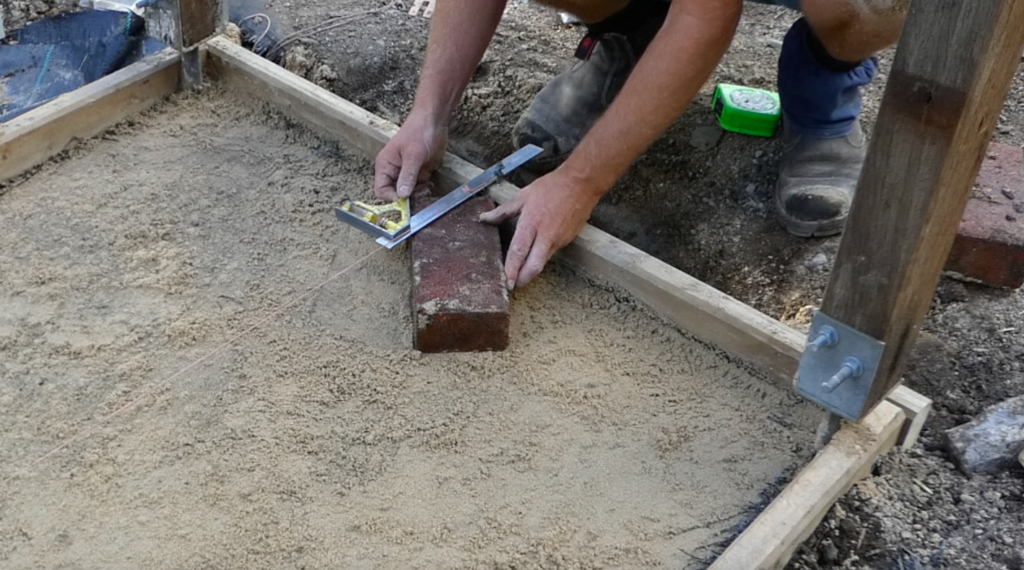
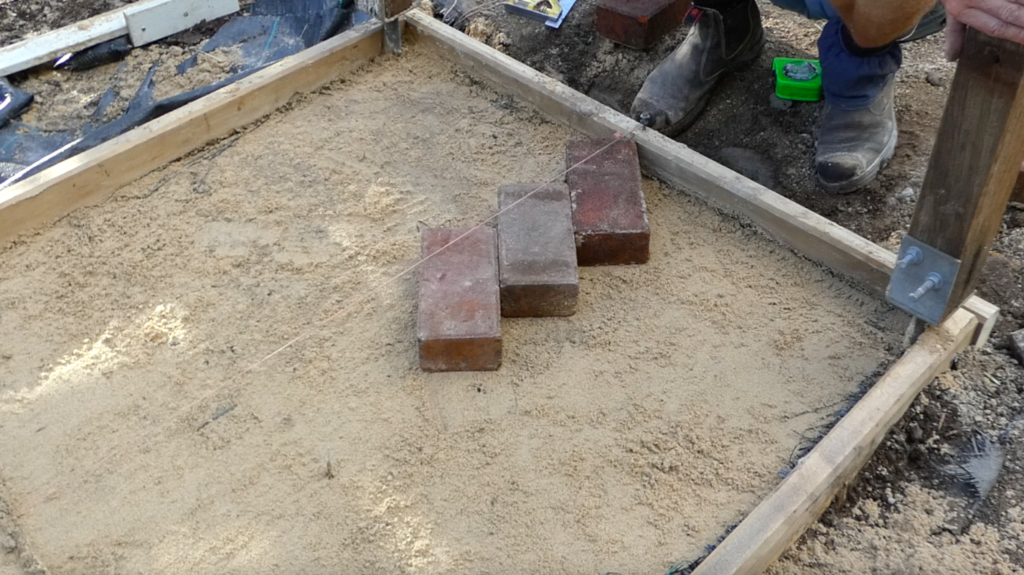
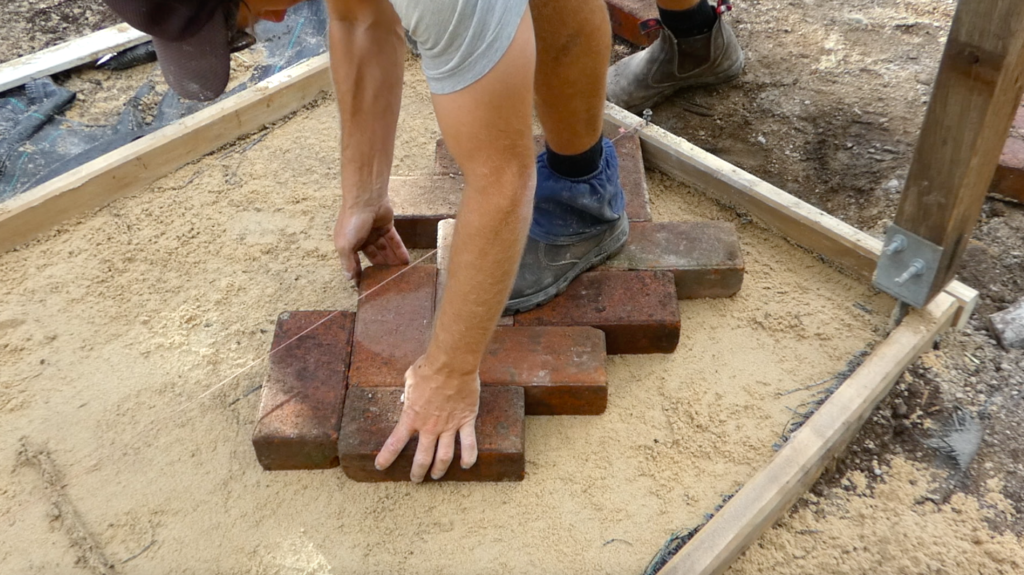
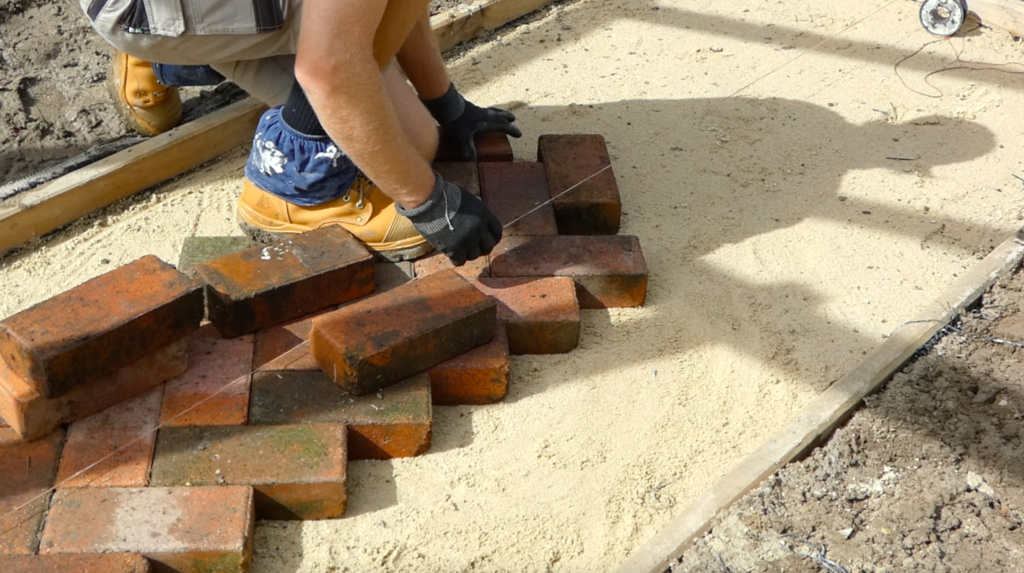
Step 4: Installing the Pavers
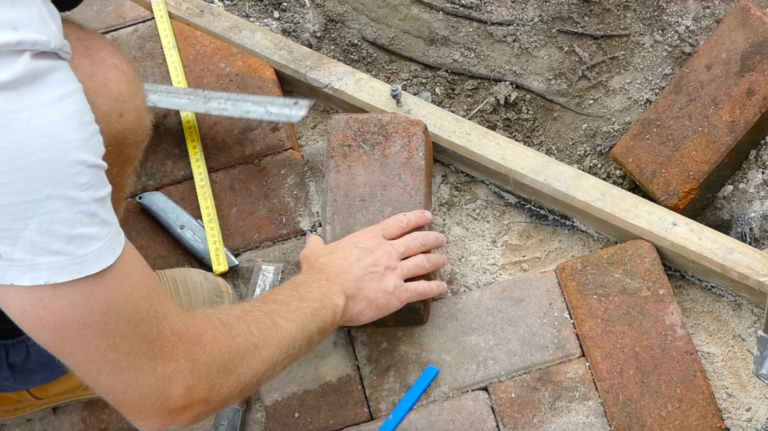
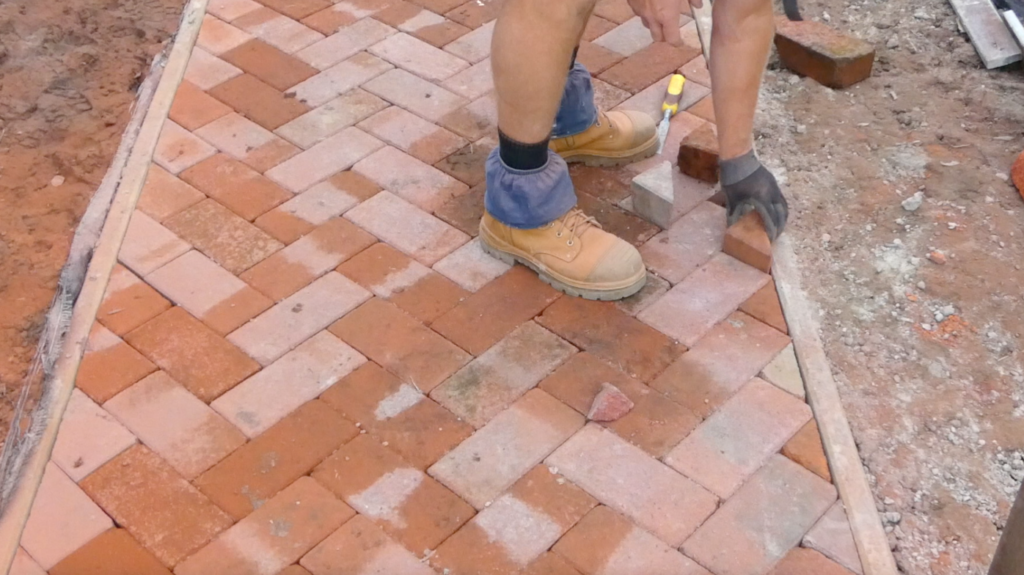
Now, it’s time to lay down the recycled pavers. For this project, I chose to create a herringbone pattern, which I’ve never done before. It’s quite simple: start by setting a centerline and lay the pavers at a 45-degree angle to it. Then, position the next pavers at 90 degrees to the already installed ones. This creates the classic herringbone look.
Remember, using recycled materials might require more effort due to cleaning and preparation, but it’s often worth it for the character and uniqueness they bring to your project.
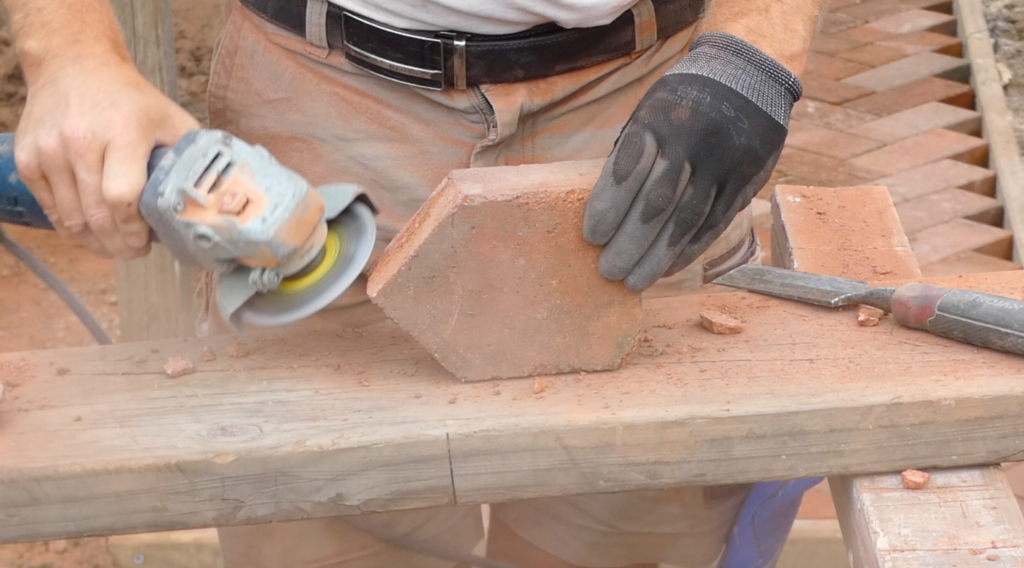
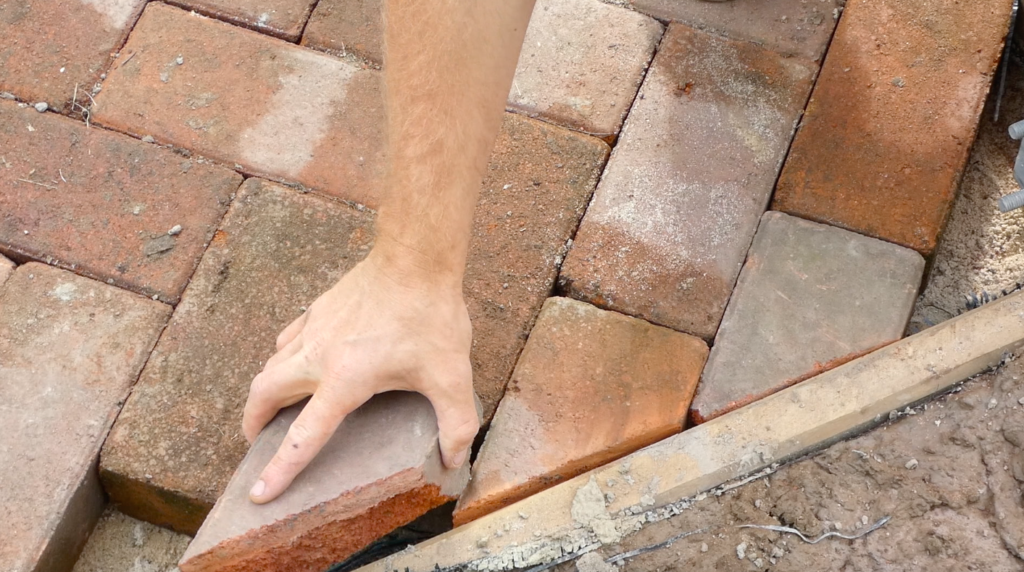
Cutting and Fitting Pavers
As we go along, we may need to cut some pavers to fit along the edge boards. Measure the long and short points where the paver will hit the edge board, mark the lines, and cut both sides. While a brick saw would be ideal, I’m using a 100mm grinder with a diamond blade, ensuring safety with glasses, a dust mask, and ear protection. The grinder allows me to split and shave the pavers to fit perfectly.
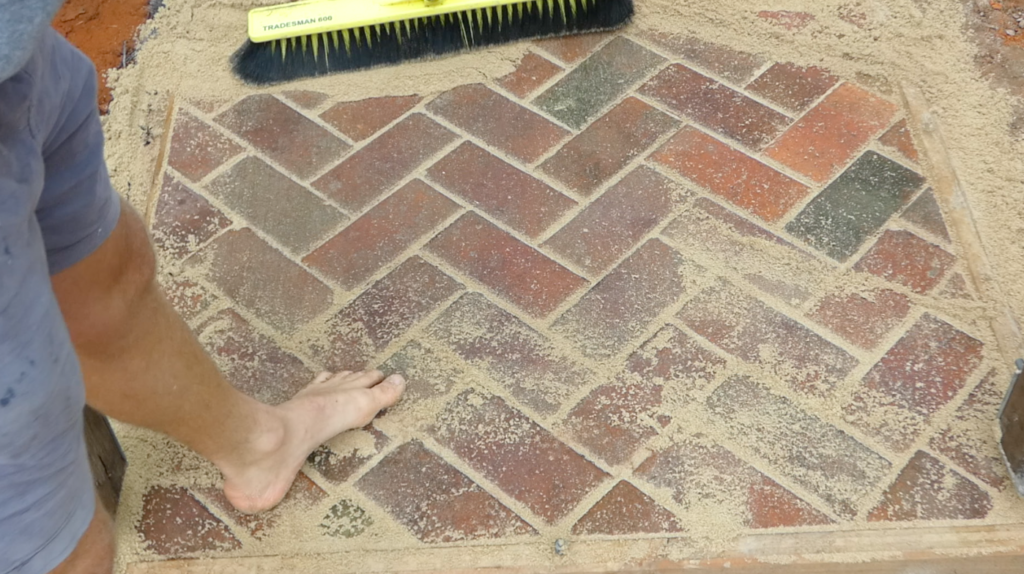
Step 5: Jointing and Finishing
Once all the pavers are in place, it’s time to fill the joints. I use fine, clean, silica-based jointing sand to ensure that all the gaps are full. This not only stabilizes the pavers but also prevents weed growth between them. And yes, I even borrowed the sand from the kids’ sandpit to make this project budget-friendly.
Conclusion
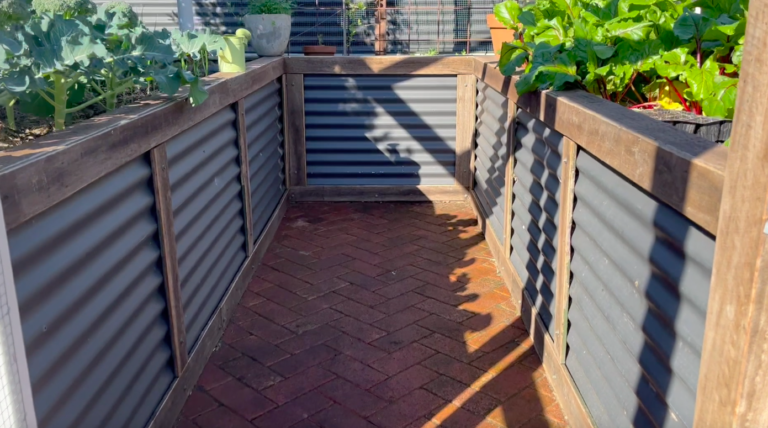
In the end, our herringbone garden path is complete, and I’m thrilled with the results. The best part? I managed to do the entire project without spending a single dollar. It was my first time paving, and it proved to be both enjoyable and cost-effective. Now, we’re one step closer to enjoying fresh, organic vegetables from our garden.
So, there you have it, a step-by-step guide on how to lay recycled pavers and create a stunning garden path while keeping your budget intact. Remember, with a bit of creativity and a willingness to reuse materials, you can transform your space while minimizing costs and reducing waste. Happy DIYing, and stay tuned for more projects and inspiration from Greysand!