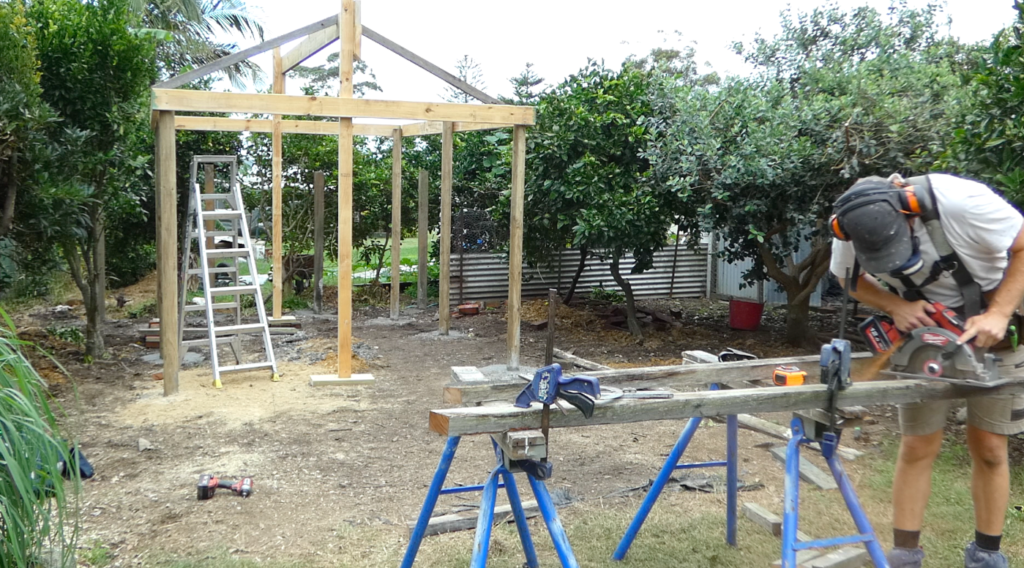
Have you ever wondered how to build a roof frame? Whether you’re planning to construct a garden pergola or tackle a more advanced roofing project, understanding basic roof framing is essential. In this article, we’ll explore the process of building a gable roof frame, using recycled hardwood for the rafters. We’ll take you through each stage of the construction process, providing mathematical formulas and essential tips to ensure a successful outcome.
A gable roof frame is not only visually appealing but also one of the strongest and simplest designs to construct. Before we delve into the details, let’s highlight the key steps and important considerations involved in gable roof framing.
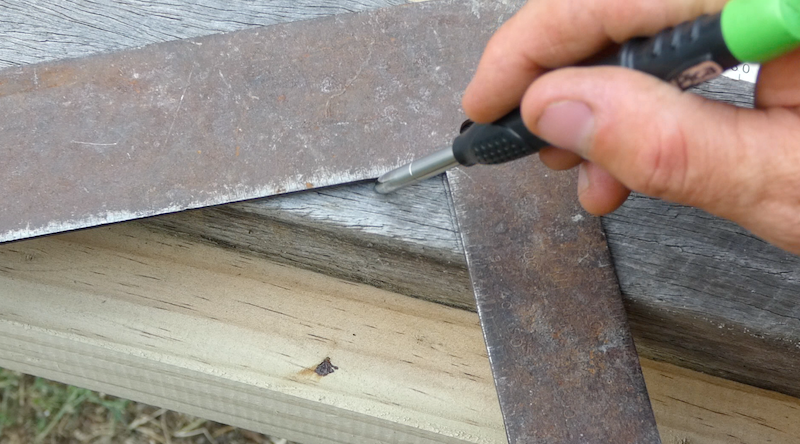
Step 1: Marking the Rafter Set Out
To start, it’s crucial to mark the rafter set out on the top plate and ridge beam before installing the ridge beam. This allows for easier work from the ground and ensures accurate measurements. By performing a quick calculation, you can determine the spacing between rafters. For a pergola roof like ours, a spacing of around 700mm works well. However, for a standard roof frame with metal or tiles, 600mm spacing is recommended.
Step 2: Determining Ridge Height and Rafter Length
Building a gable roof frame requires two essential measurements: the ridge height and the rafter length. The ridge height is calculated first. To calculate the ridge height, you’ll need to use some basic trigonometry and mathematical formulas. Don’t worry its pretty simple stuff and I have outlined all the steps with drawings, videos and explanations.
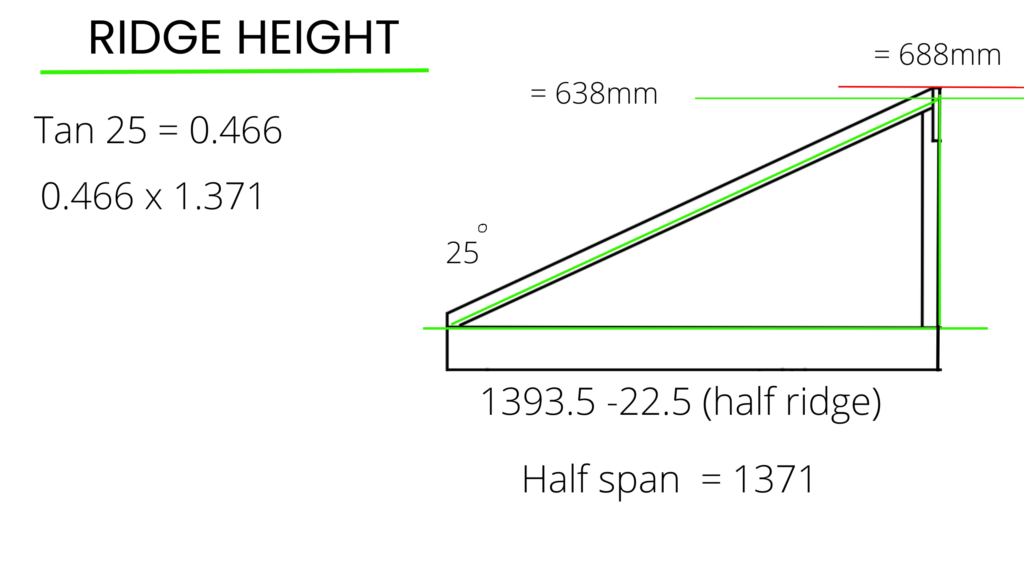
Ridge height
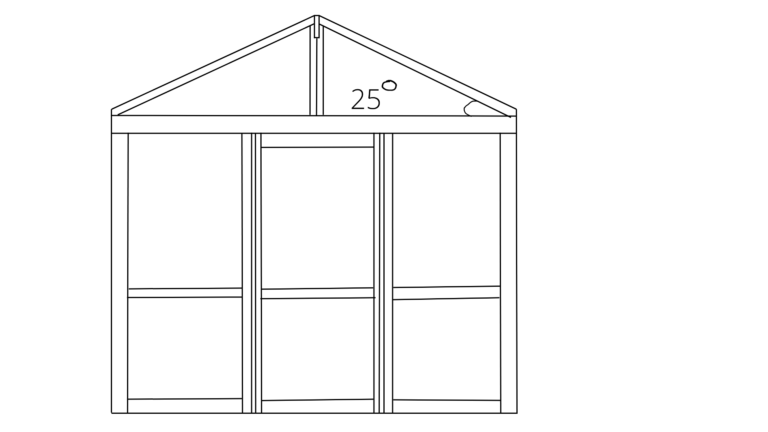
For our 25-degree roof pitch project, we can determine the ridge height by calculating the half span of the pergola structure with some basic trigonometry (as shown in the below drawings). This measurement, along with the roof degrees, can be adjusted for any unique gable roof framing project.
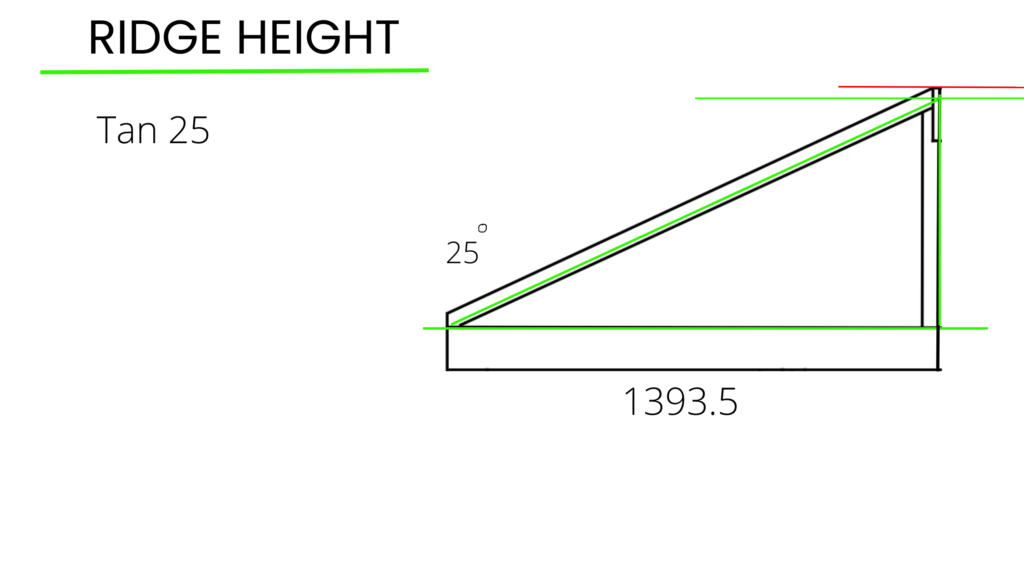
Here is a revised version of the explanation: In order to determine the ridge height for the roofing project, we can use a mathematical calculation based on the angle of 25 degrees. By taking the tangent of 25 degrees (tan 25°) using a calculator, we find the value of 0.466.
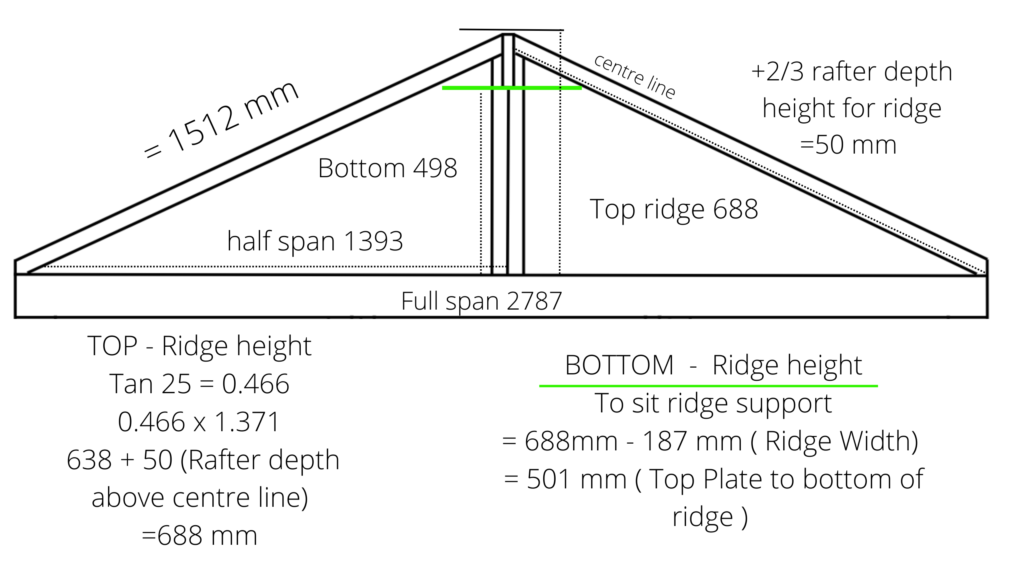
Next, we multiply this value by the half span of the roofing structure, which in this case is 1393.5. However, we need to account for half the thickness of the ridge, which is 22.5 mm.
By subtracting half the ridge thickness (22.5 mm) from the result (1393.5), we get a value of 1371. This value is then multiplied by 0.466, resulting in a measurement of 638 mm.
Therefore, based on the calculations, the ridge height for the roofing project is determined to be 638 mm.
This is the height of a right angle triangle from the top plate. The true height of the ridge will be the rafter width that sits above the top plate added onto the 638. In my case this is an extra 50 mm that sits above the top plate. Now the other measurement I need to the rafter length to cut at 25 degrees
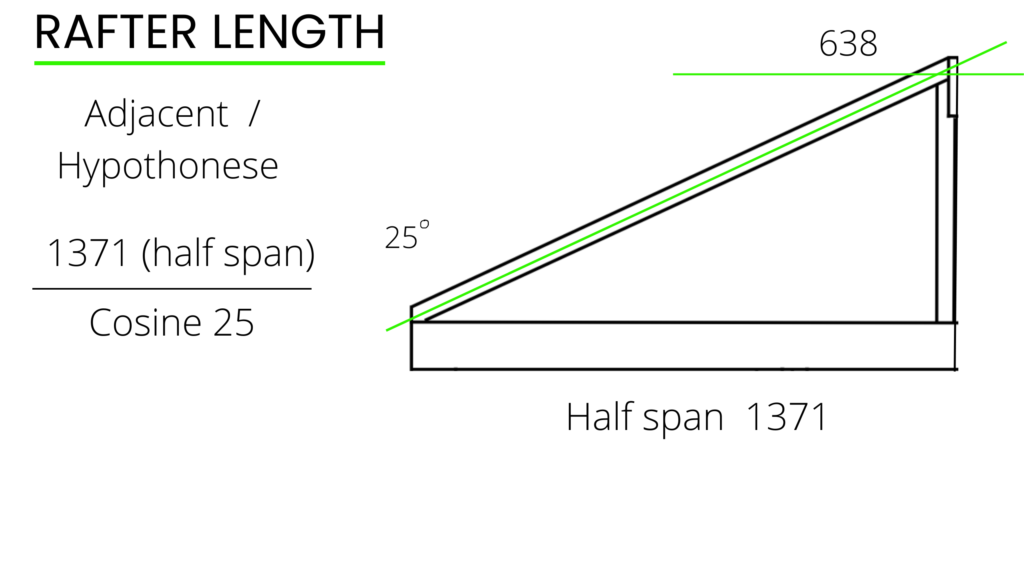
Rafter Length Calculations
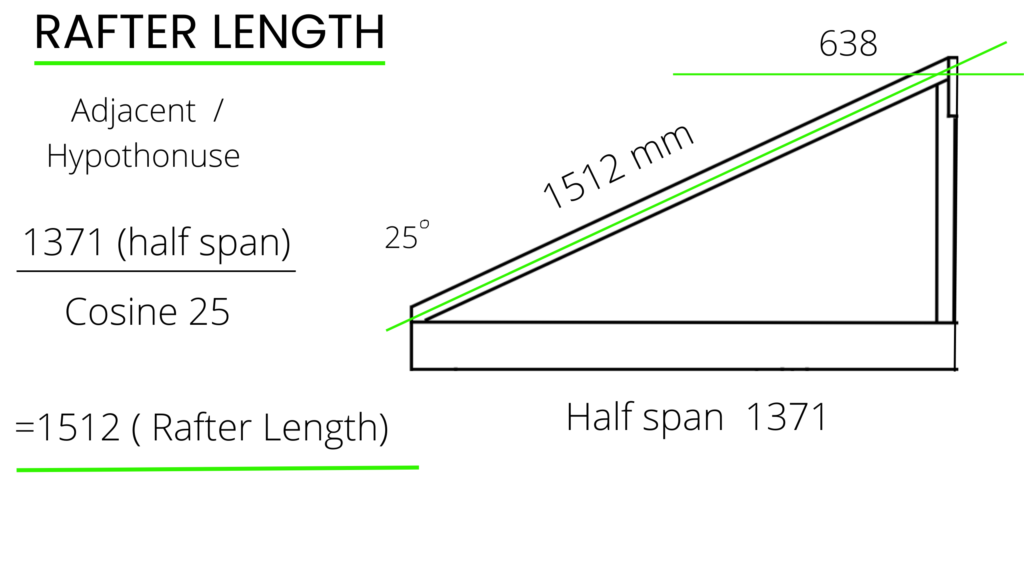
A- Trigonometry
The formula I use is adjacent divided by the hypotenuse which equals
1.371 divided by cos 25
Which equals 1.512 mm
B- Pythagorean theorem
Here I’ve got a helpful tip for you! If you want to be super accurate with your measurements, it’s a good idea to use the Pythagorean theorem to double-check everything. This can come in handy, especially if you’re cutting all the rafters at once. Taking an extra 5 minutes to confirm your calculations won’t hurt, right?
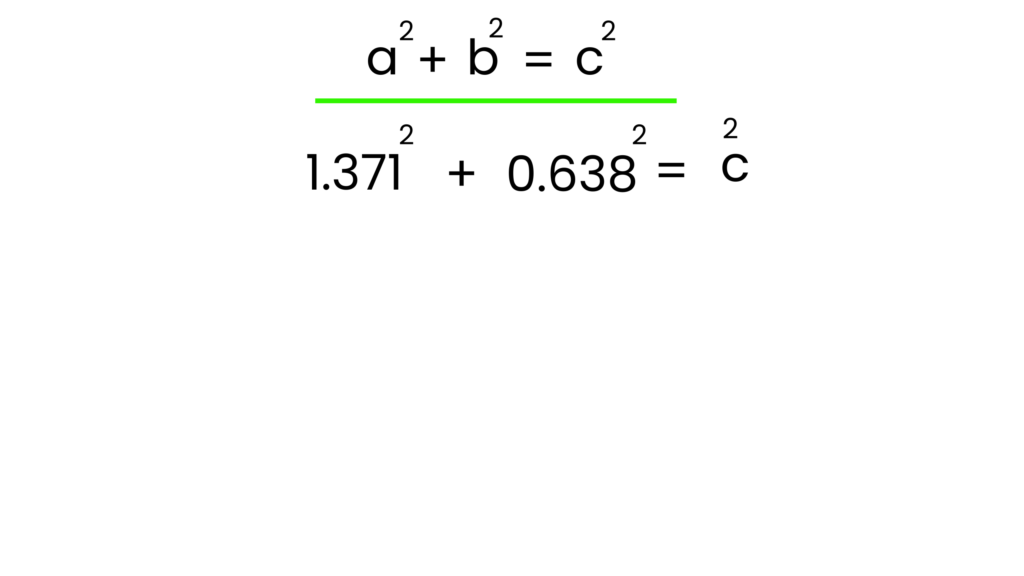
So, the Pythagorean theorem goes like this:
A² + B² = C²
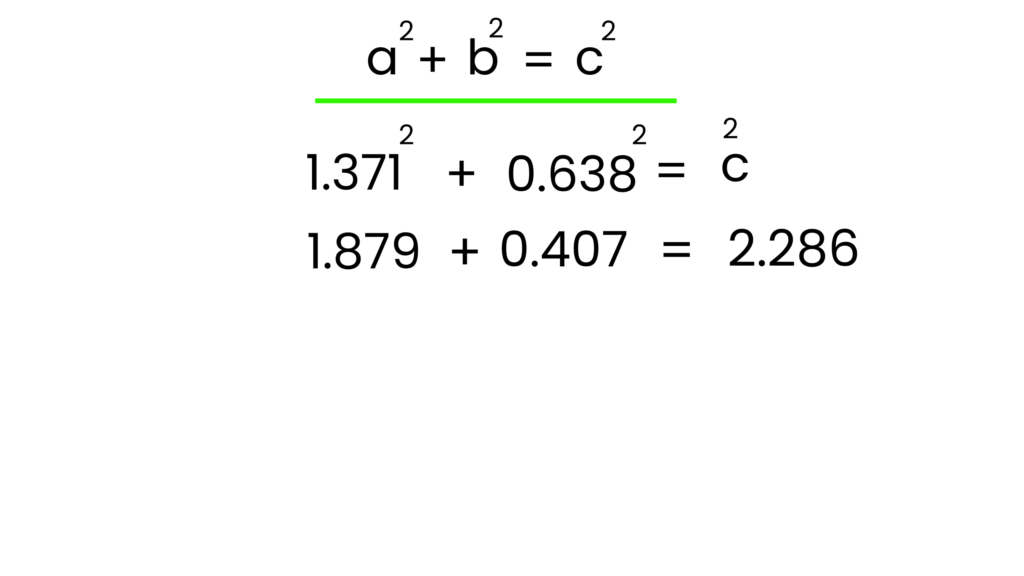
Let’s break it down with an example:
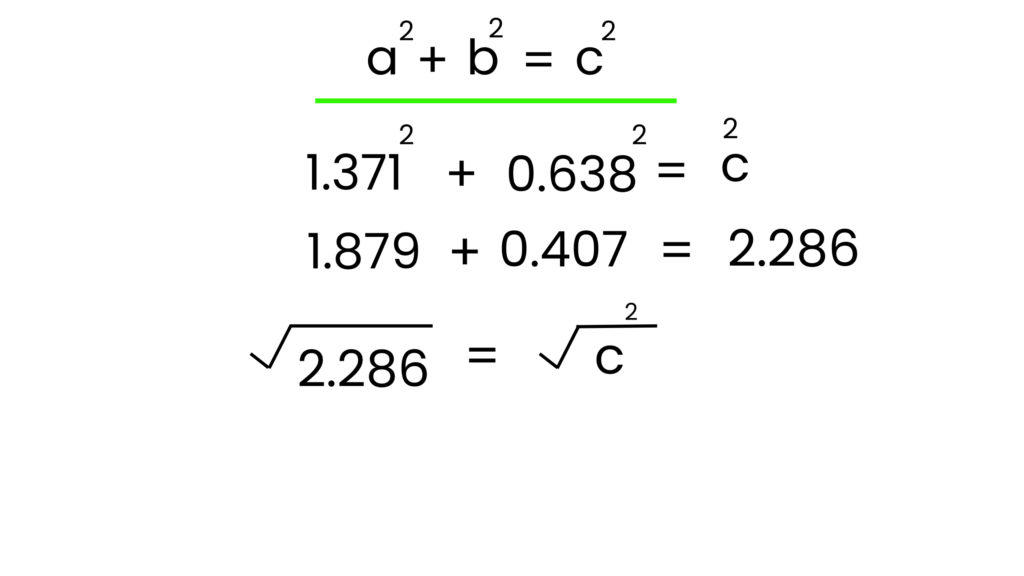
Take 1.371 (half span squared) and add 0.638 squared. That gives us 1.879 plus 0.407, which equals 2.286.
Now, take the square root of 2.286, and voila! You get a final result of 1512 mm.
By using the Pythagorean theorem this way, you can make sure your measurements are spot on and feel more confident about their accuracy. Happy measuring!”
Ensuring Set Out Is Square And Level
One of the most frustrating issues when building a roof frame is when the rafters don’t fit perfectly within the frame. There are three common reasons for this: incorrect calculations, an improperly set ridge beam height, or a ridge beam that is not square and parallel to the top plate.
To avoid these problems, it’s crucial to double-check your math, ensure the ridge beam is set at the correct height, and verify the structure is square. Check out how to install a door here!
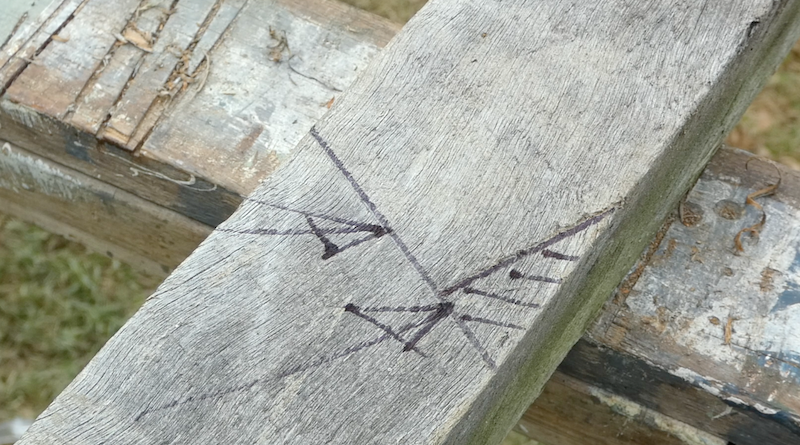
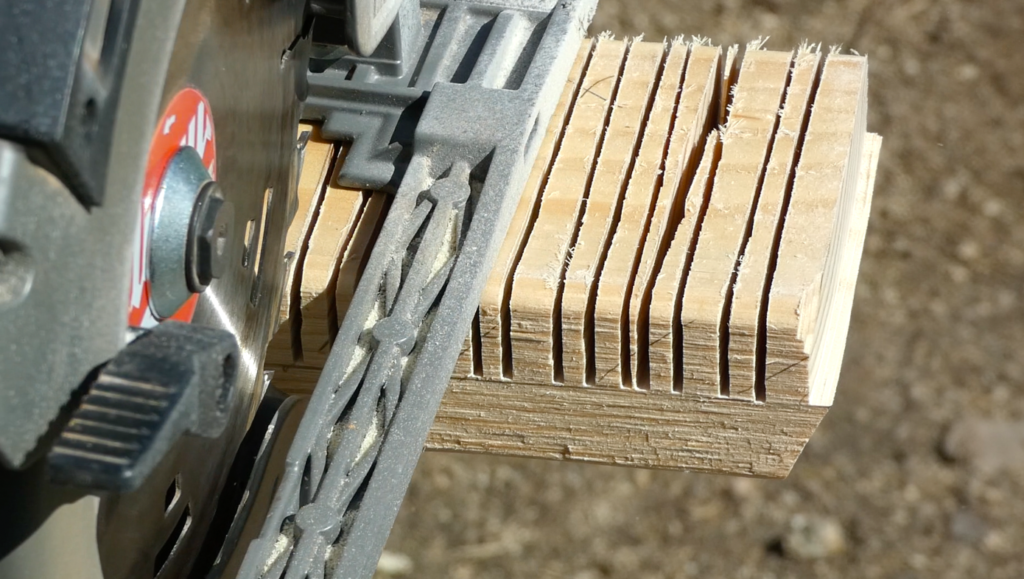
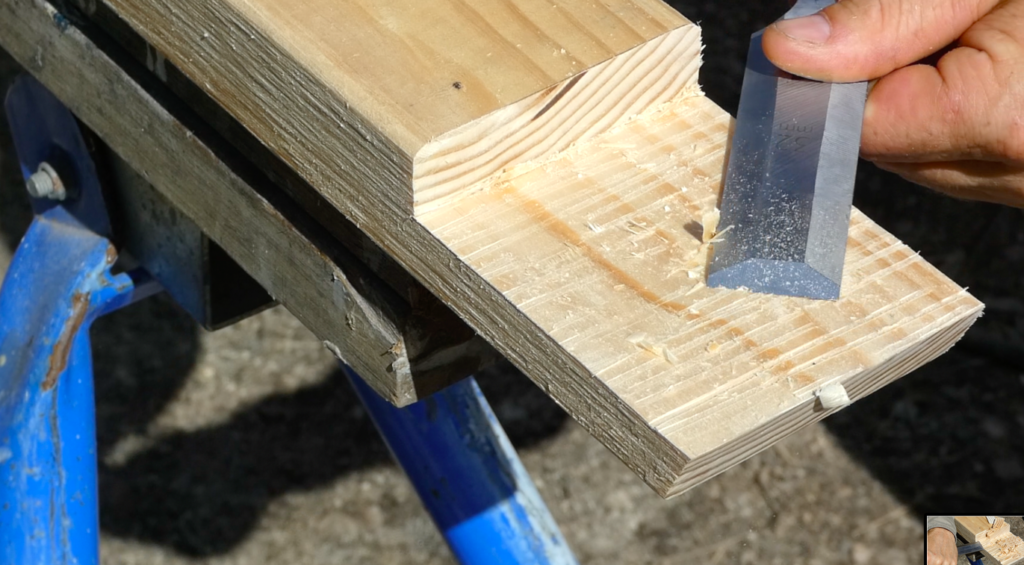
Step 3: Cutting a Template Rafter
After the ridge beam is correctly installed and aligned, it’s time to cut a template rafter. This rafter will serve as a guide to check the accuracy of the cuts and bevels for the remaining rafters. By using the template rafter to assess each corner of the roof frame, you can cut all rafters to . Instead of cutting all the rafters at once, it’s advisable to cut one rafter and examine it thoroughly before proceeding with the rest.
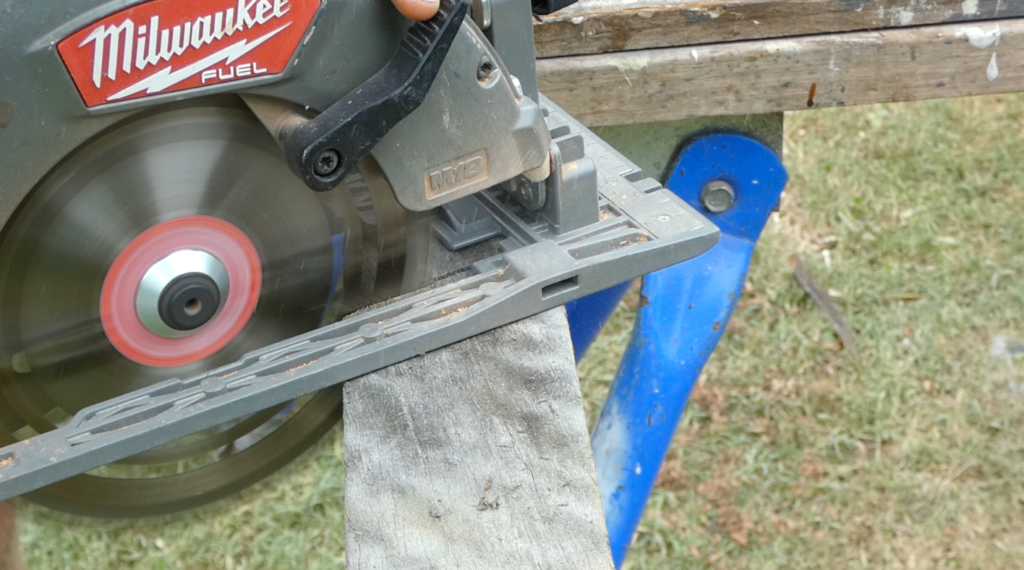
Step 4: Selecting and Cutting the Rafters
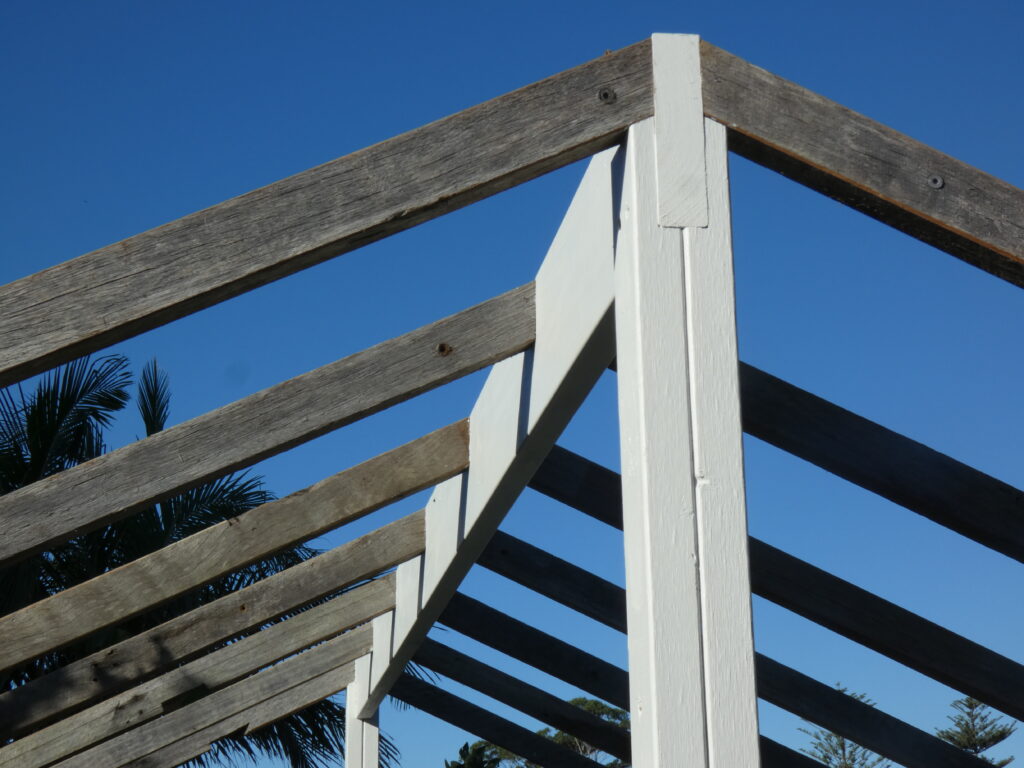
For this project, we opted to use 50 x 70mm recycled Australian hardwood as our rafters. These were salvaged from a century-old house and previously used as a timber privacy screen. After determining the correct dimensions, we cut the rafters at a 25-degree angle on the top end. With accurate measurements and careful cutting, the rafters should fit snugly against the ridge beam and the top plate.
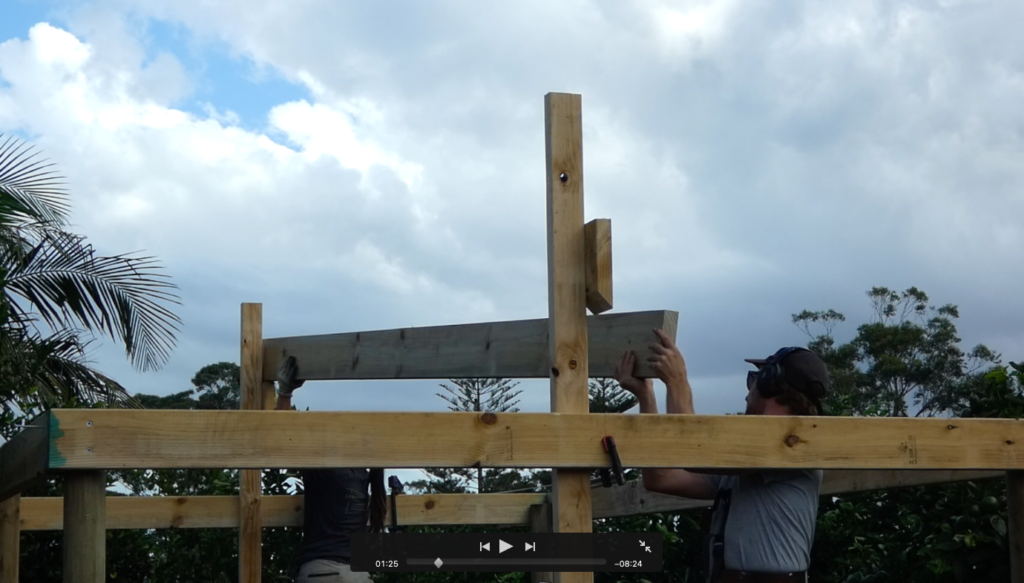
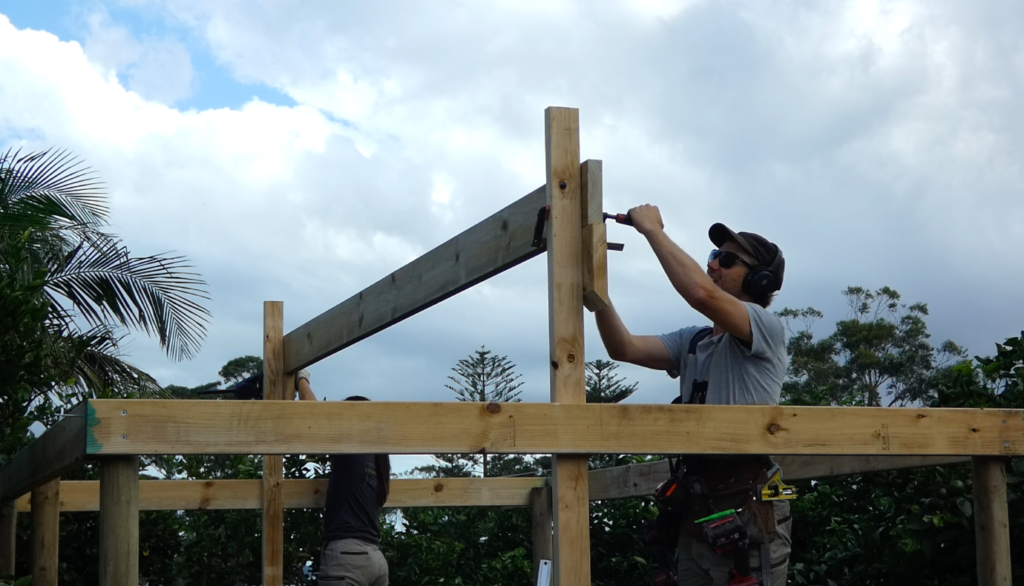
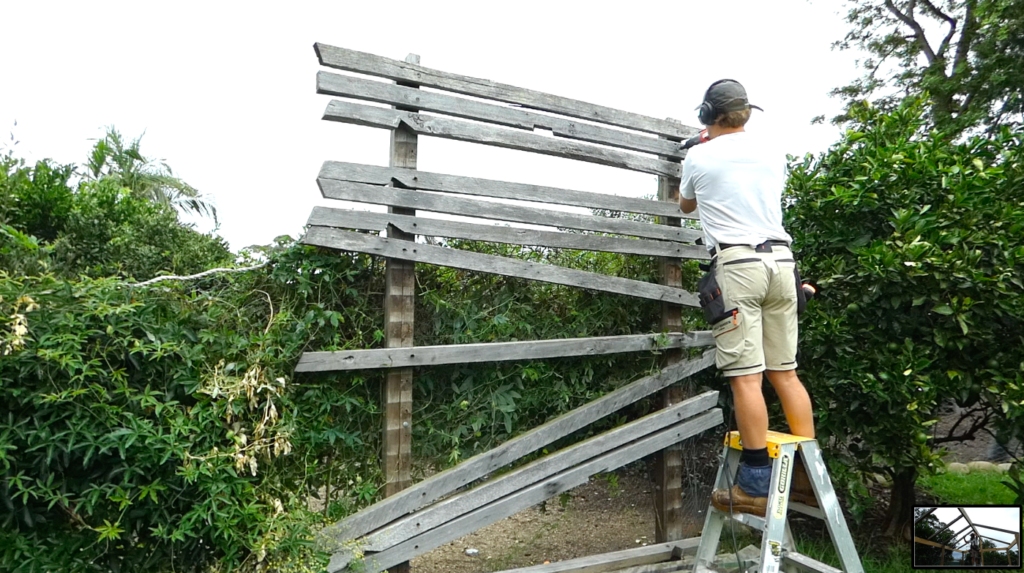
Step 5: Installing Ridge Supports
While it’s possible to construct a gable roof frame without ridge supports at each end, adding support under each end of the ridge beam enhances structural stability. Once one support is installed, the temporary ridge support can be removed. This step ensures a solid and secure roof frame.
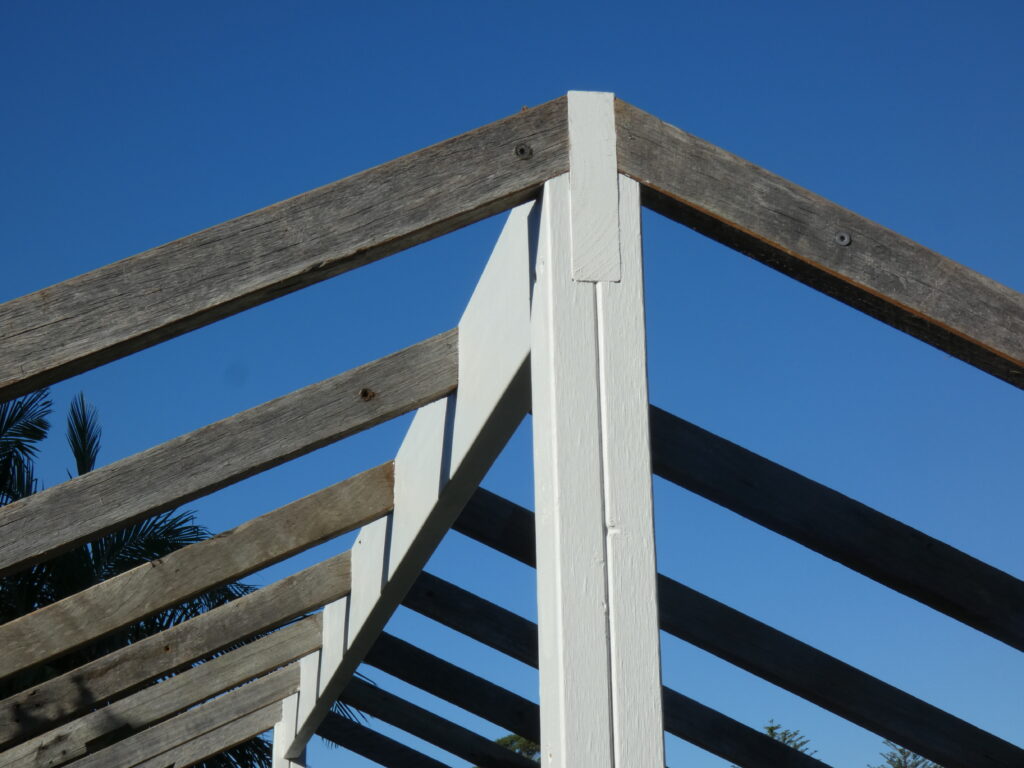
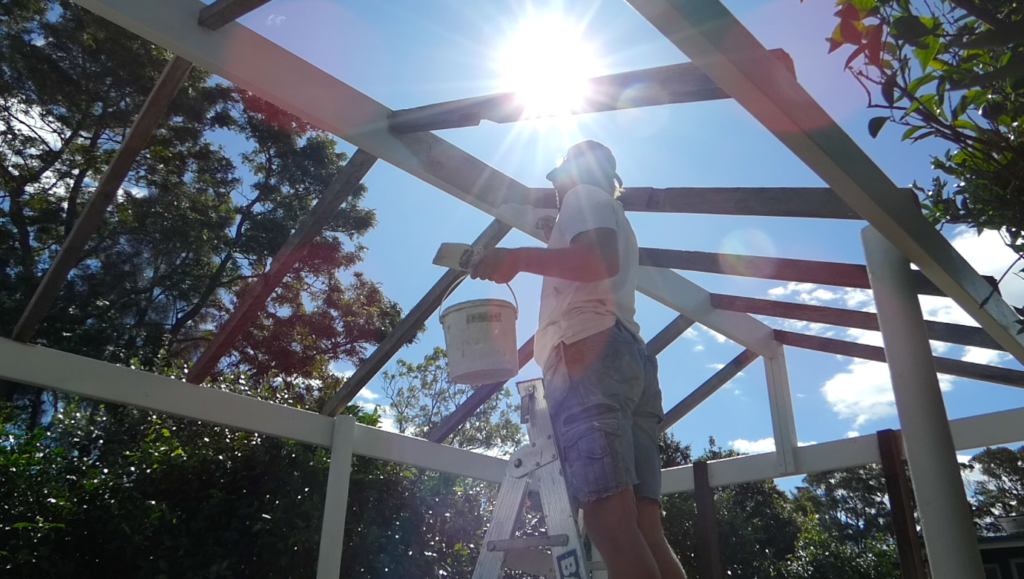
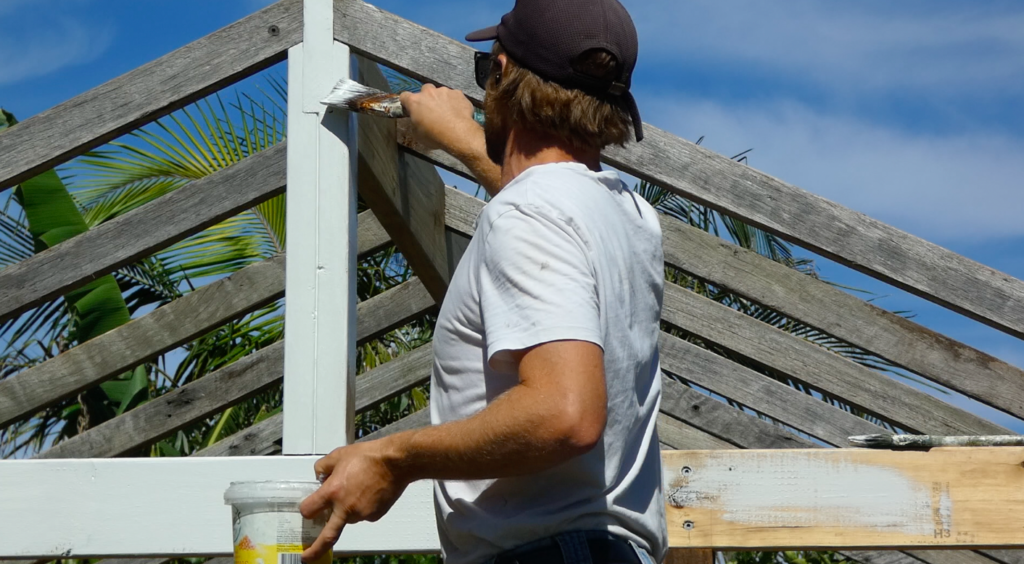
Step 6: Finishing Touches
With the rafters installed and the ridge beam supported, it’s time for the finishing touches. In our project, we painted the H3 treated pine white to create a pleasing contrast between the recycled hardwood and the new framing timber. Double-checking the straightness of the ridge beam is also recommended, using a string line for added precision.
Conclusion
Building a gable roof frame is an exciting endeavor that allows you to create visually appealing and sturdy structures. By following the steps outlined in this article, you can construct a roof frame that fits your specific project requirements.
Remember to take accurate measurements, perform the necessary calculations, and ensure proper alignment throughout the process. With careful attention to detail, you’ll achieve a successful roof framing project.