How To Build A Privacy Screen Outdoors With Existing Posts
Transforming Rough Sawn Timber into a Textured Privacy Screen
Are you looking to add a touch of rustic elegance to your outdoor space while ensuring privacy? Look no further than How To Build A Privacy Screen Outdoors With Existing Posts with a unique whitewash textured painted finish.
In this step-by-step guide, we will explore how you can turn inexpensive rough-sawn timber into a beautifully textured privacy screen that will enhance the aesthetic appeal of your backyard. So grab your tools and let’s get started!
Step 1: Choosing the Right Timber
Before embarking on this project, ensure you have rough sawn timber suitable for outdoor use. In this demonstration, we’ll be using rough sawn treated pine. The rough sawn texture will play a crucial role in achieving the desired whitewashed effect.
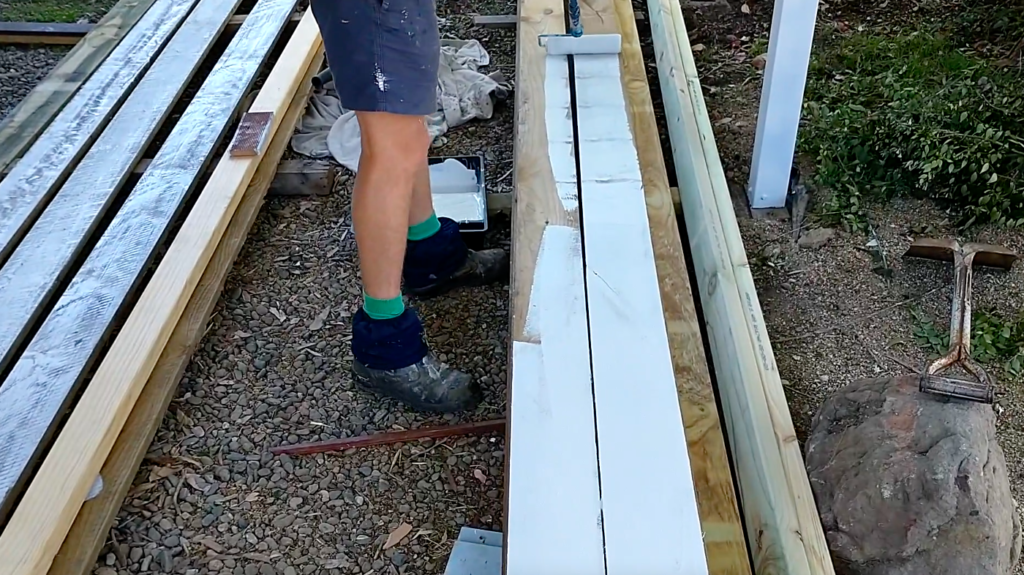
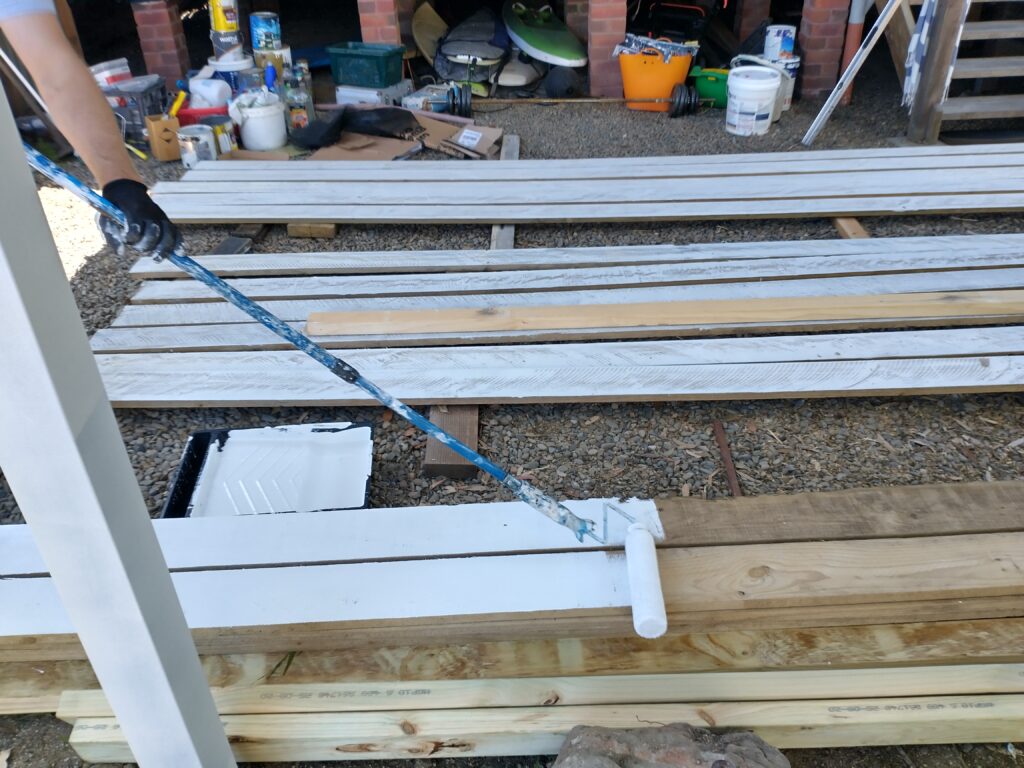
To begin, roll an external Solagard white paint onto the rough sawn timber. Ensure each board is evenly coated. This paint will provide a durable and attractive finish that is perfect for outdoor applications.
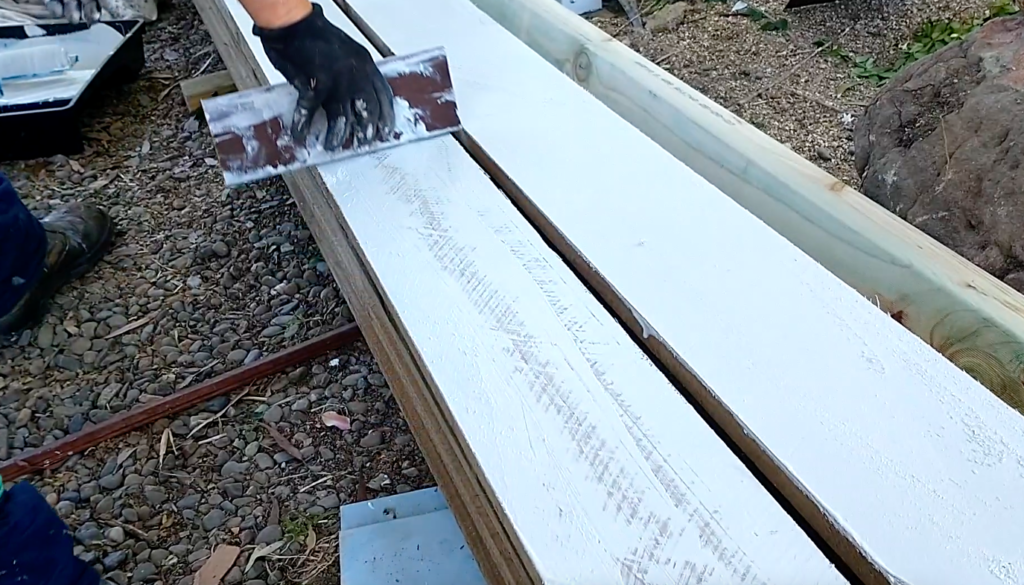
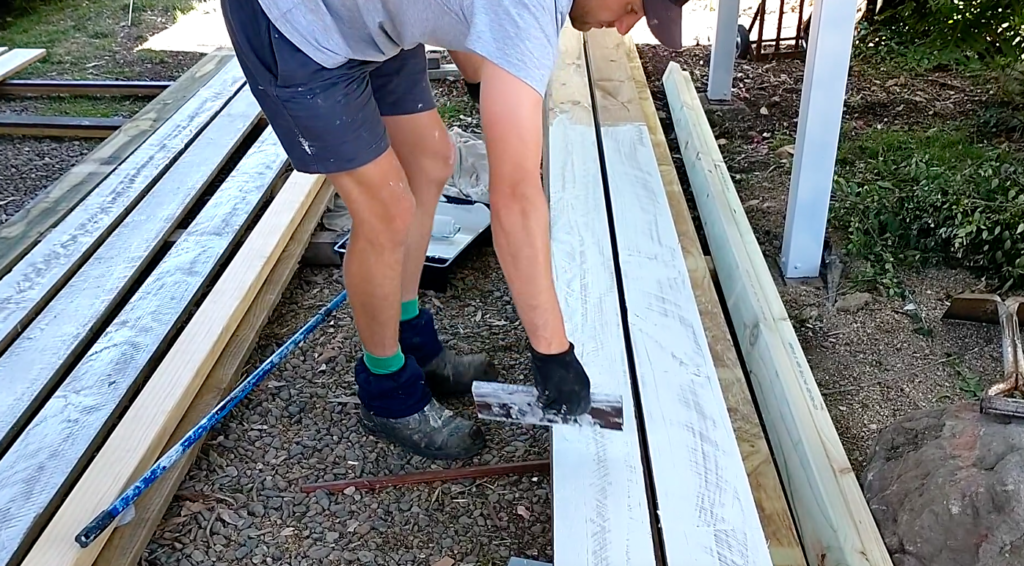
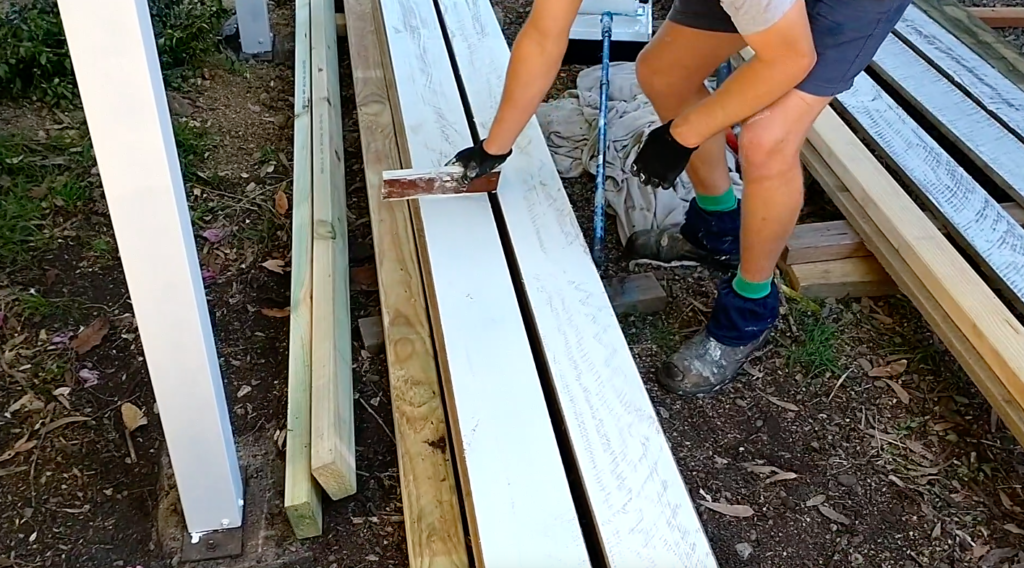
Step 3: Creating Texture with a Block
Once the white paint is applied, take a block with a pencil-rounded edge, such as an off cut of timber decking, and use it to scrape off the wet paint from the timber boards. This process creates a textured effect that adds character and visual interest. Repeat this step for all the timber boards.
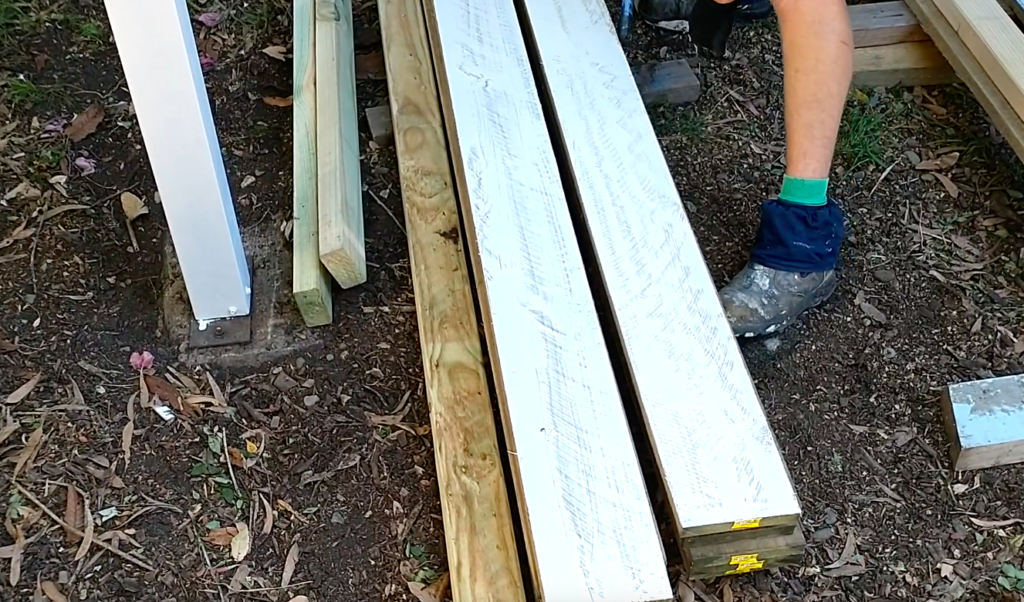
Step 4: Allowing for Drying Time
After preparing the boards, stack them in a clean area and allow them to dry for approximately 24 hours. This drying period ensures a solid and long-lasting finish.
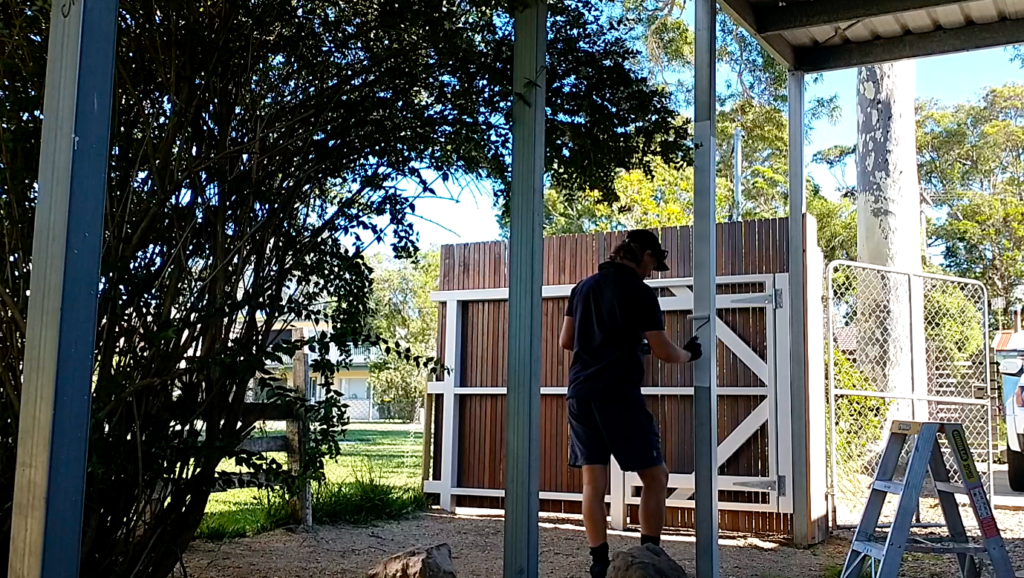
Step 5: Coordinating Metal Posts
While the whitewashed boards are drying, consider painting any existing metal posts that will be visible with the same color as the privacy screen. This coordination will create a seamless and cohesive look.
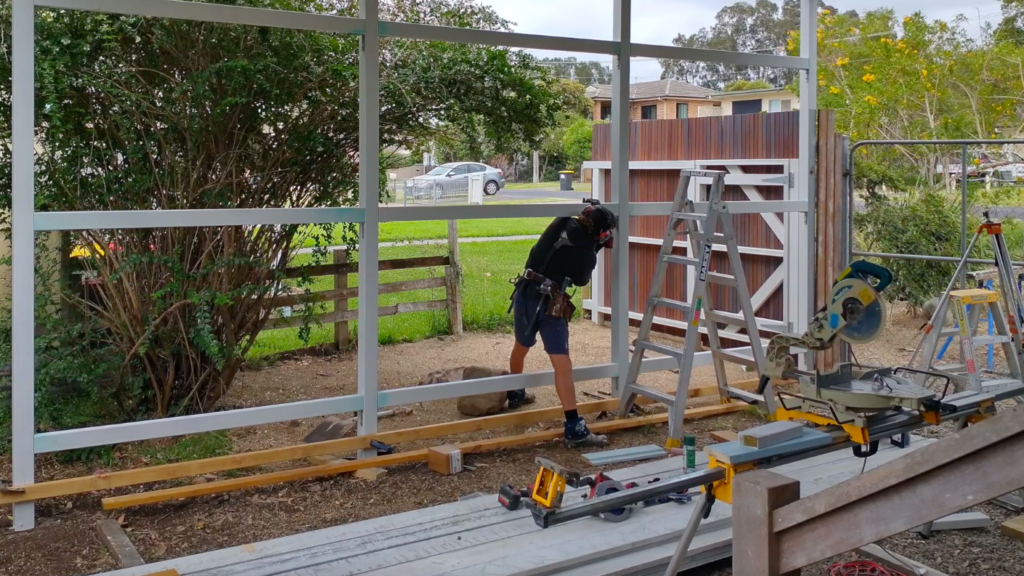
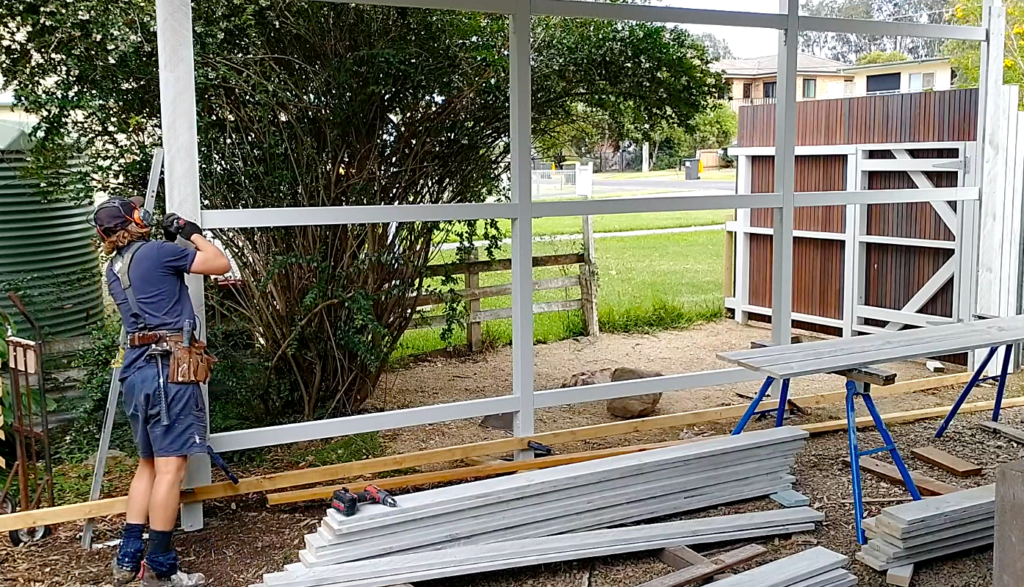
Step 6: Installing the Timber Framing
Using 70 by 70 millimeter galvanized brackets, attach a level batten to the metal posts. This batten will serve as the frame for the timber boards. Secure the brackets using 30 millimeter hex head self-tapping metal screws.
Step 7: Measuring and Installing Timber Battens
Measure the required dimensions for the timber framing battens and cut them accordingly. In this demonstration, 90 by 45 H3 treated pine battens are used. Install the battens on edge, spanning the desired width of the privacy screen. Use a laser level to ensure accurate placement. Before installation, it is recommended to paint the timber framing with two coats of white Solagard for added protection and a consistent finish.
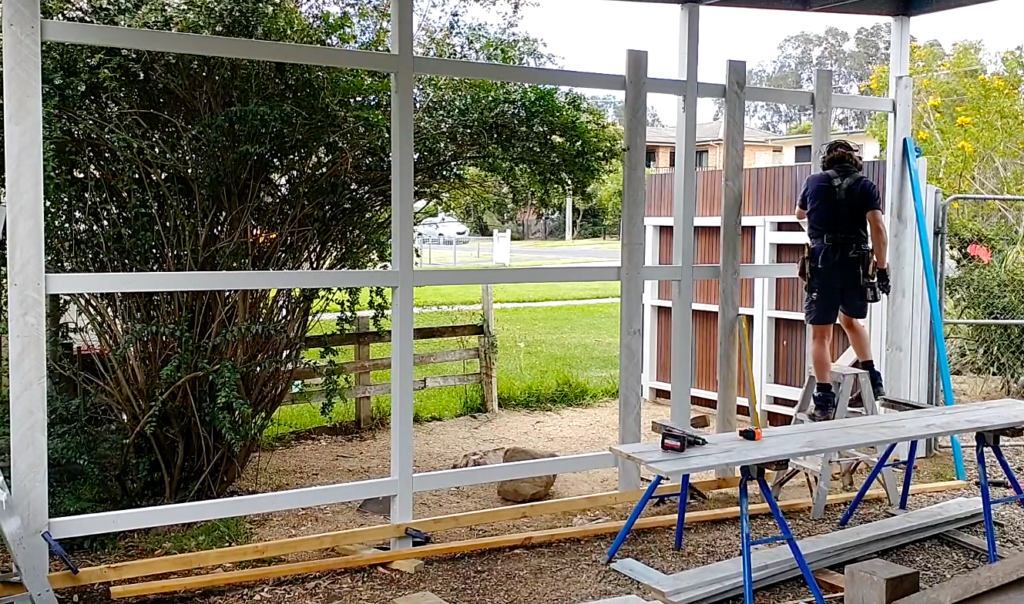
Step 8: Attach the End Boards
Plumb and position the two end boards at the correct height, ensuring they align with the timber battens and metal posts.
Step 9: Cutting and Setting the Timber Boards
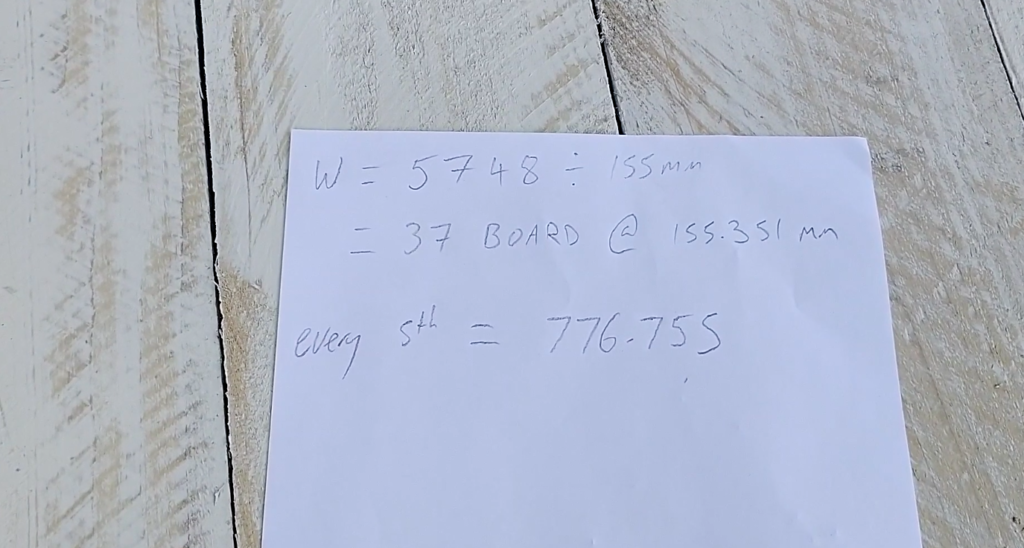
Cut the timber boards to the desired length, in this case, three meters. To determine the optimal spacing, calculate the total width of the screen, accounting for the width of the rough sawn timber and the desired gap between the boards. Divide the total width by the sum of the board’s width and the desired spacing. This calculation will give you the number of full boards required.
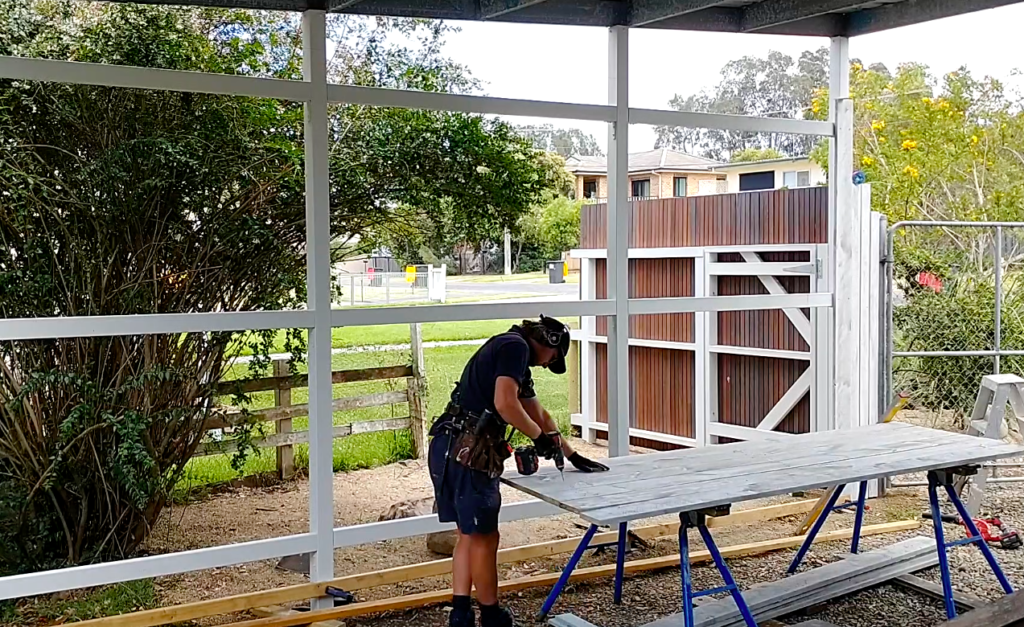
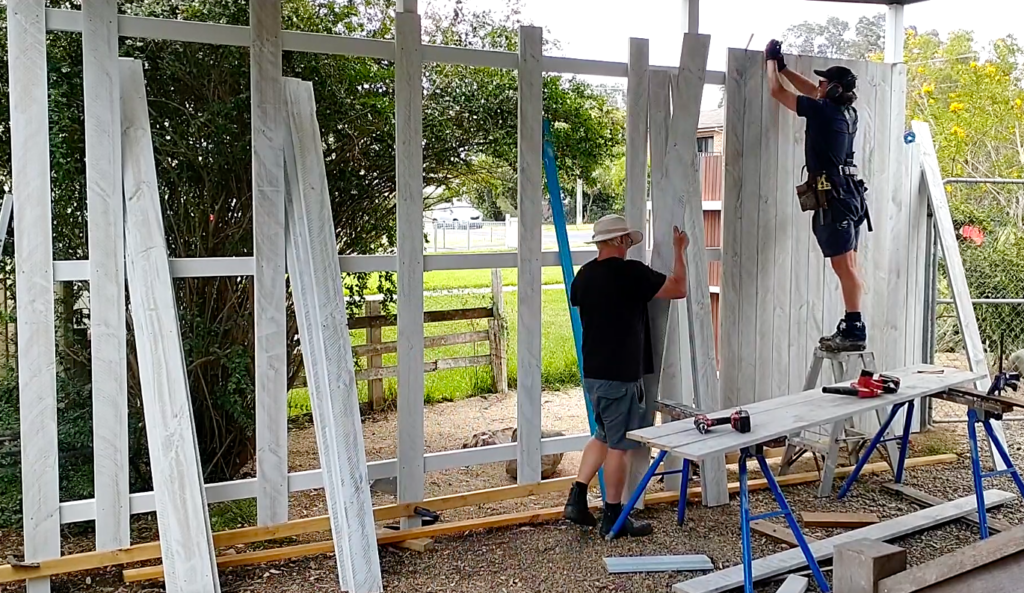
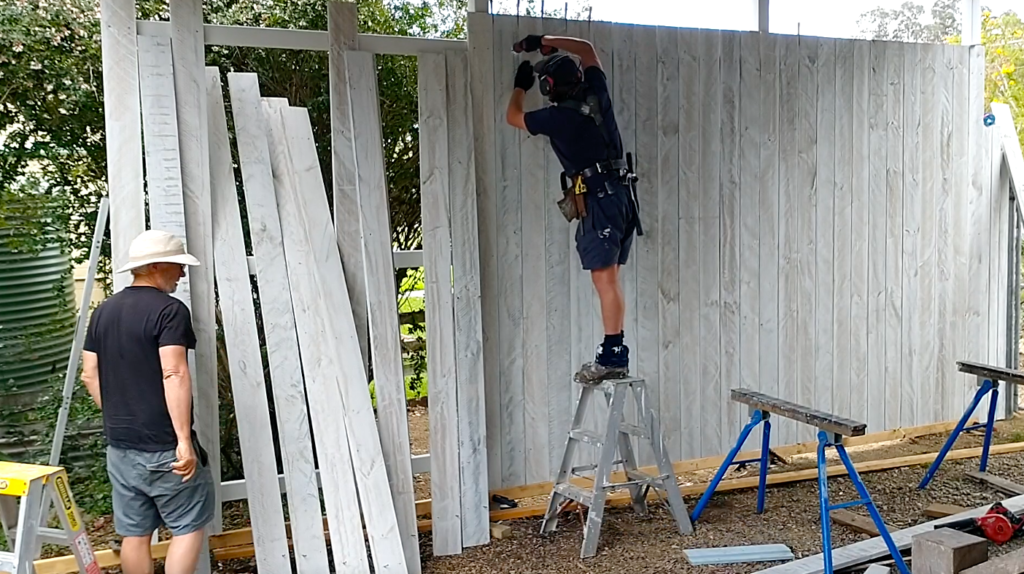
Step 10: Preparing and Installing the Boards
Pre-drill screw positions on each whitewashed board using a four-millimeter diameter drill bit. Install every fifth board first, using 50-millimeter stainless steel screws to attach them to the timber frame.
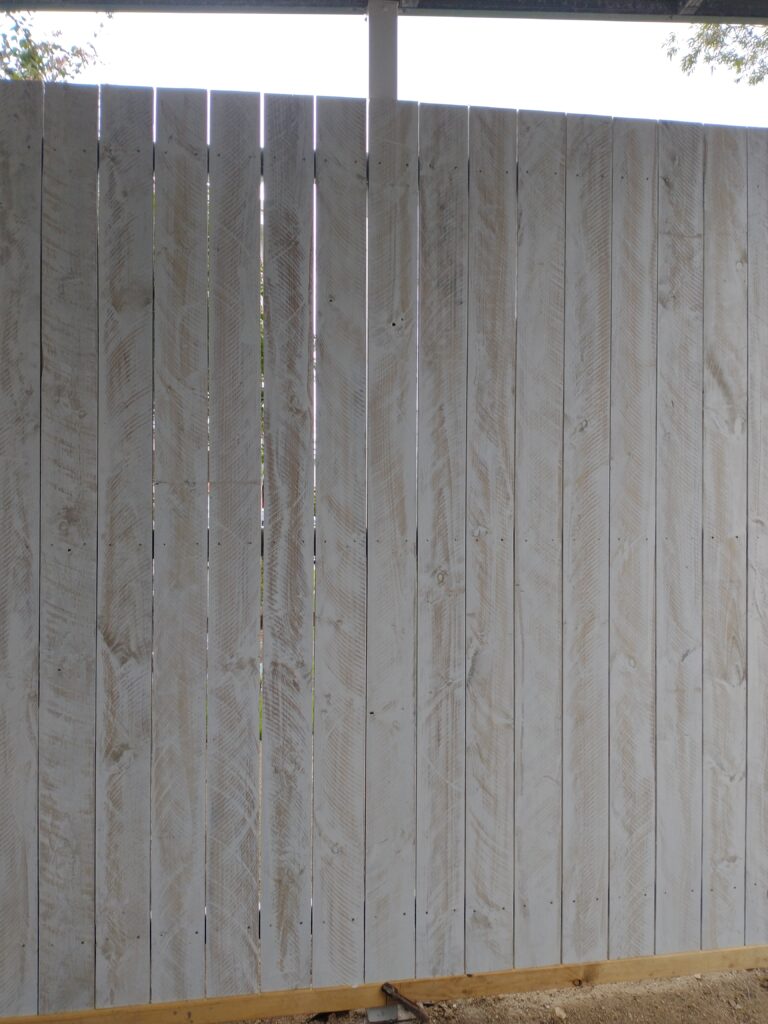
Then, fill in the gaps between the installed boards, using timber wedges to maintain even spacing. Repeat this process until the entire timber screen is complete.
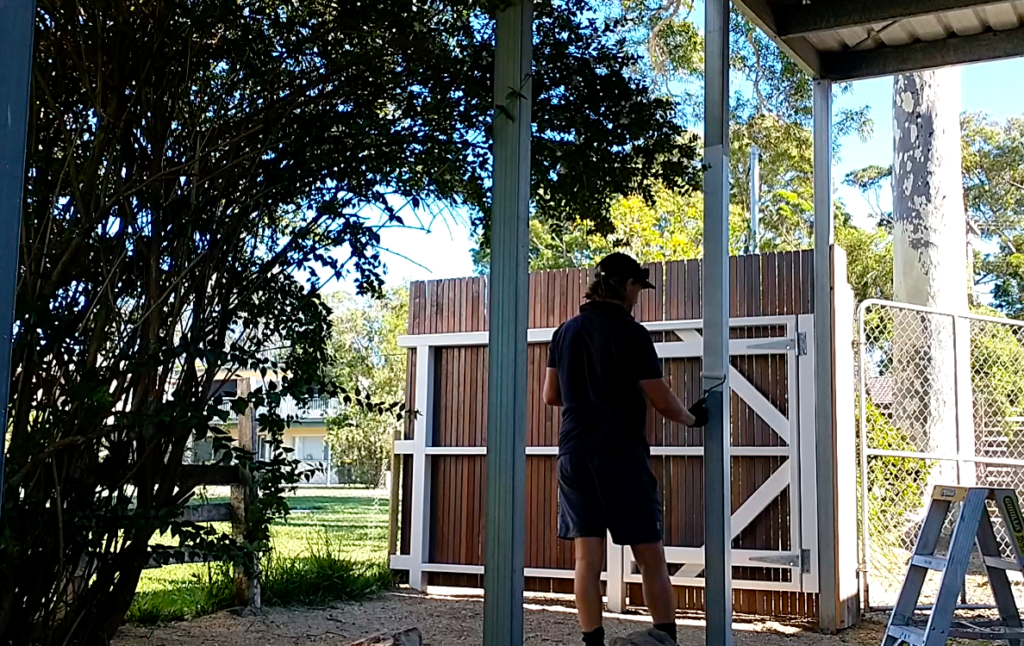
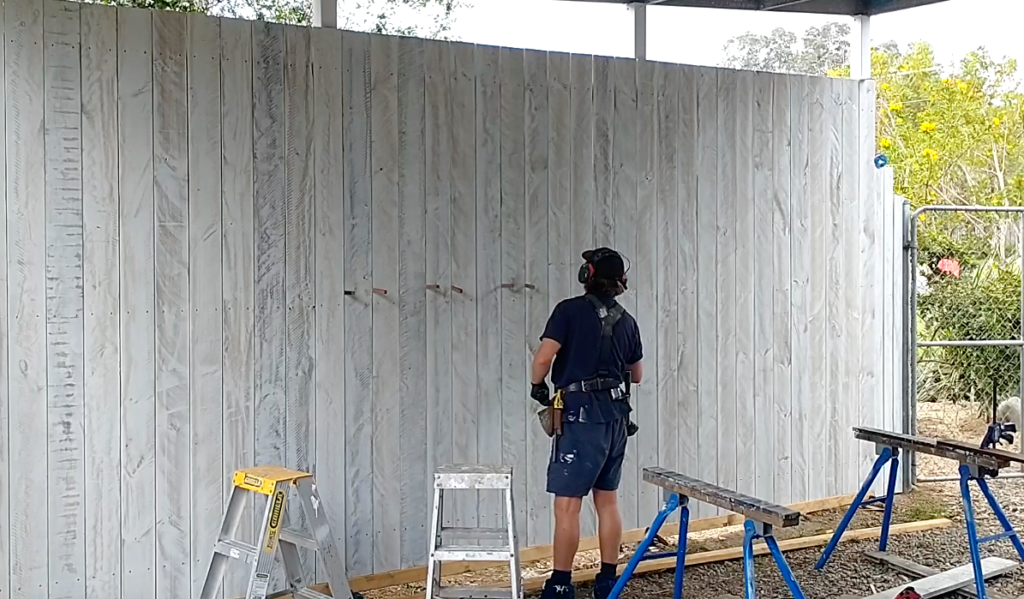
Conclusion
By following these step-by-step instructions I hope you can learn How To Build A Privacy Screen Outdoors With Existing Posts. And also transform inexpensive rough-sawn timber into a stunning whitewash finish that brings charm and privacy to your outdoor space.
With a little time and effort, you’ll have a textured timber screen that adds a touch of elegance and character to your backyard oasis. So gather your materials, get creative, and enjoy the satisfaction of building your very own whitewashed timber screen!