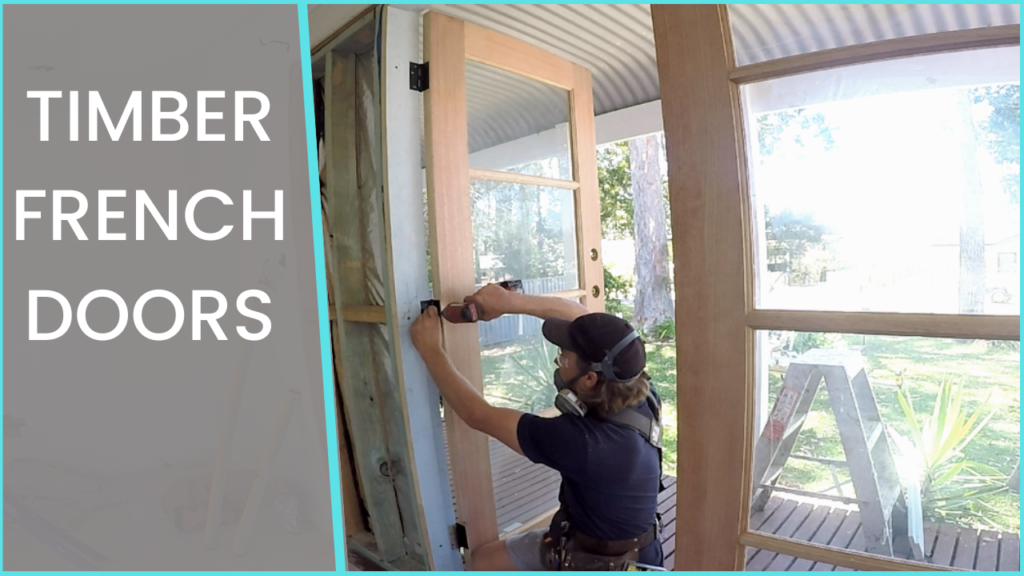
Hey, everyone! Welcome to my blog post on how to install French doors. I’m Alex from Greysand, and today I want to share some valuable tips and techniques for installing French doors in your home. If you’re looking to update the entrance to an old house or simply want to take on a fun DIY carpentry project, this video is for you. So, let’s dive in!
First things first, if there’s one tip you should remember from this entire video, it’s this: install the latch side French door without the handles first. This will make the installation process much smoother. Now, let’s start from the beginning and go through the steps together.
Step 1: Preparation
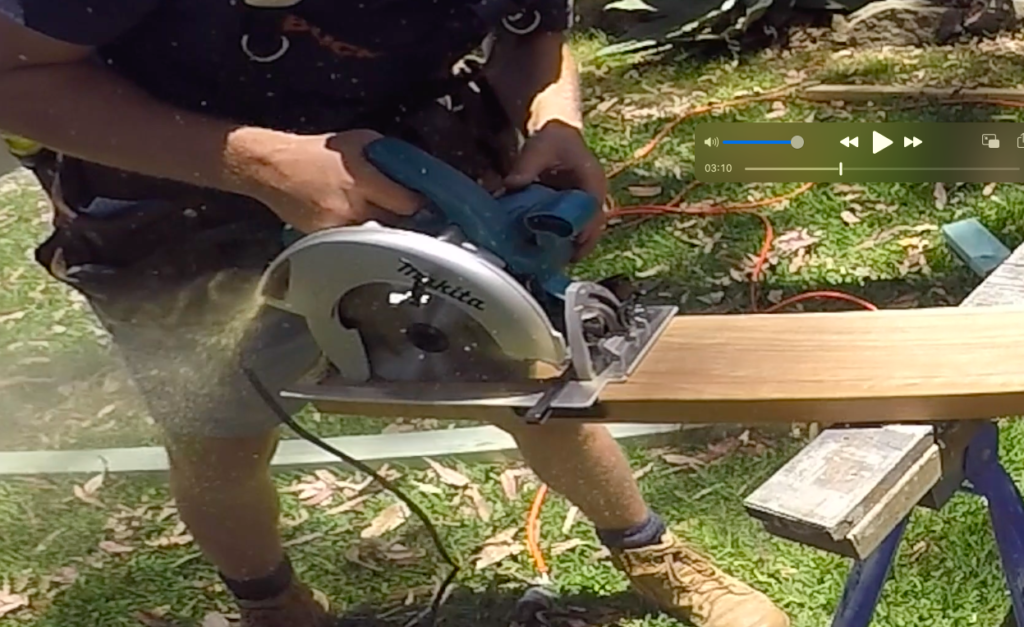
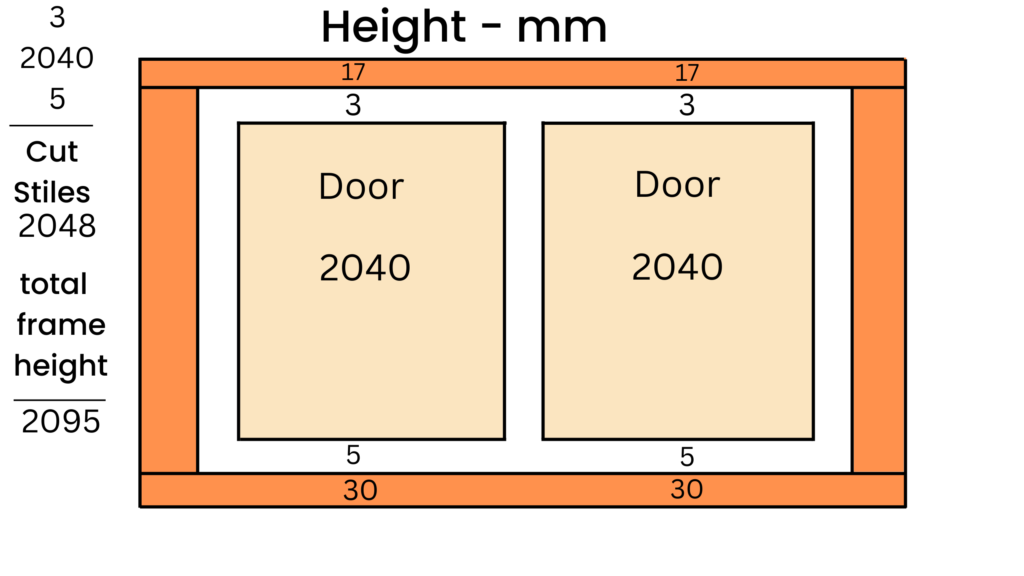
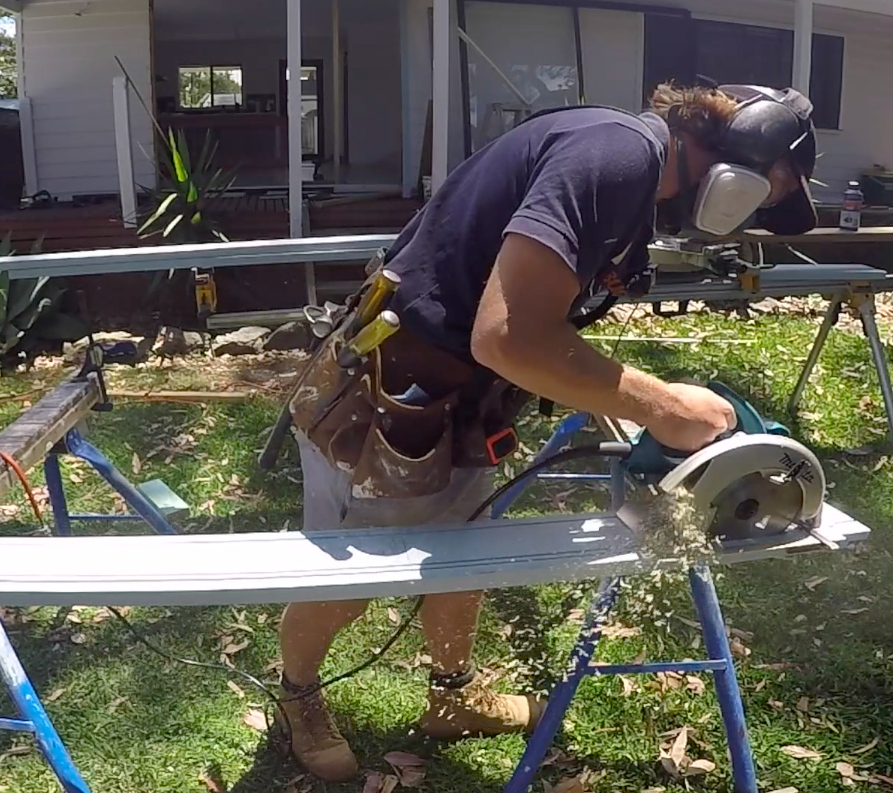
The first step is to remove the existing door unit and check the floor for level. It’s crucial to have a level floor before installing the new door frame. When building the French door frame, ensure that the doors and spaces are accounted for. If the frame is made to the right size, the project will run smoothly. For this project, I’m using rebated treated pine for the frame and Australian hardwood for the tread.
Step 2: Creating the Door Frame
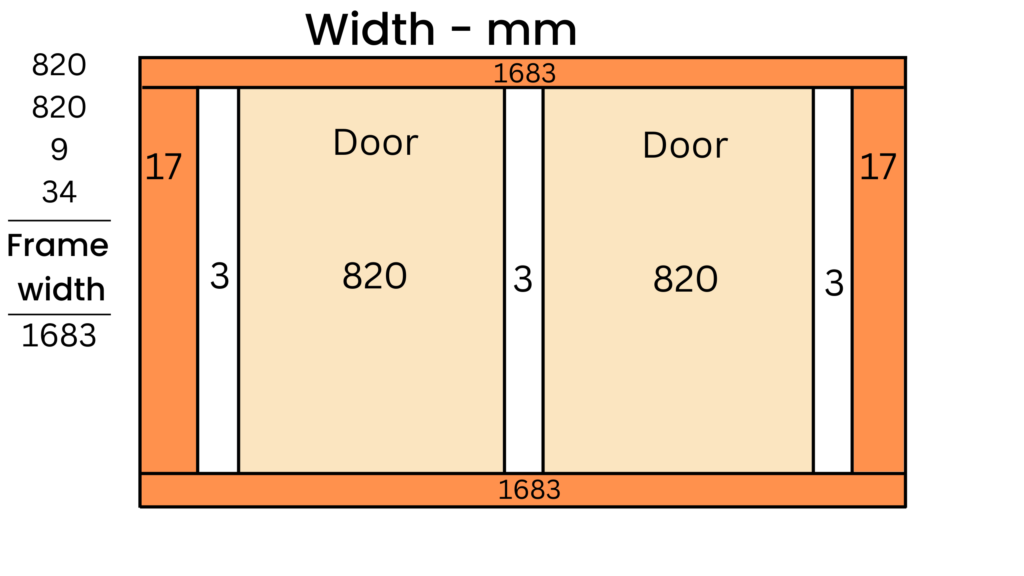
Next, we need to work out the opening size needed for the two doors and the spaces between them. In this case, I’m swapping an old broken sliding door for a set of modern French doors. As the existing opening is larger than what the French doors require, I’ll need to add some timber framing to suit the French door sizes.
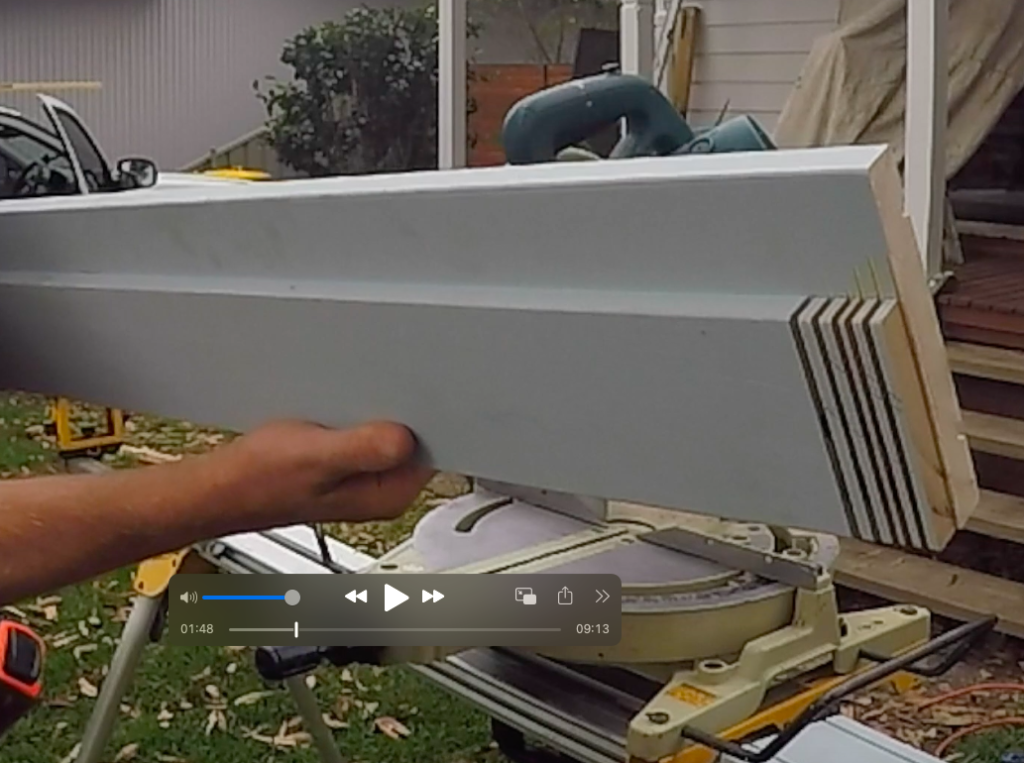
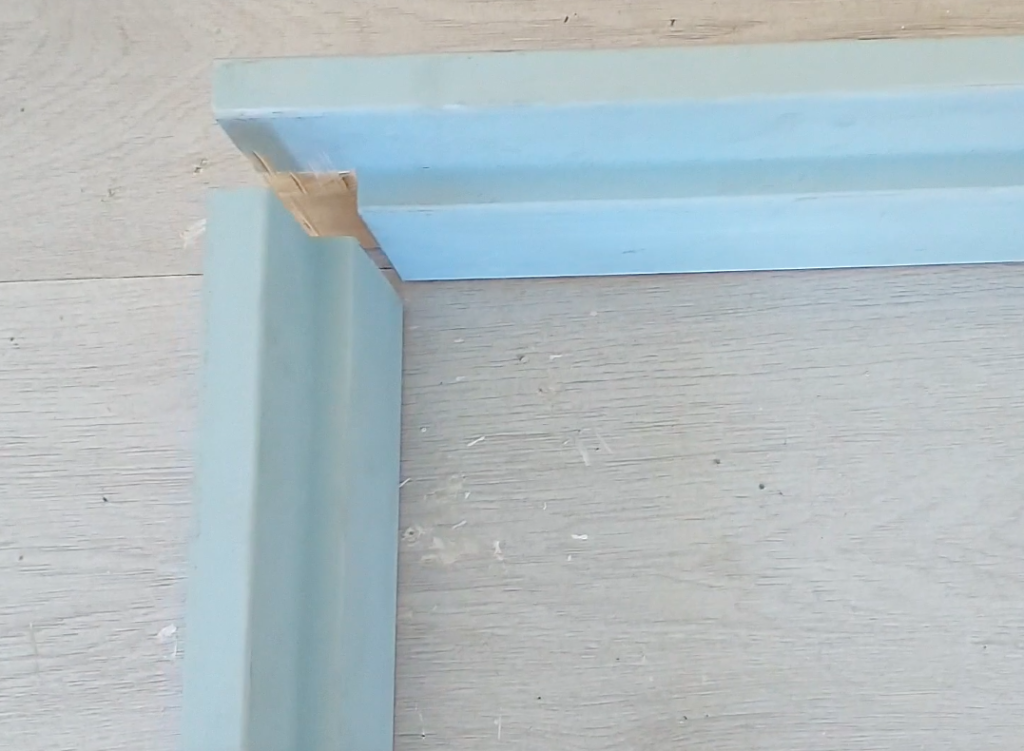
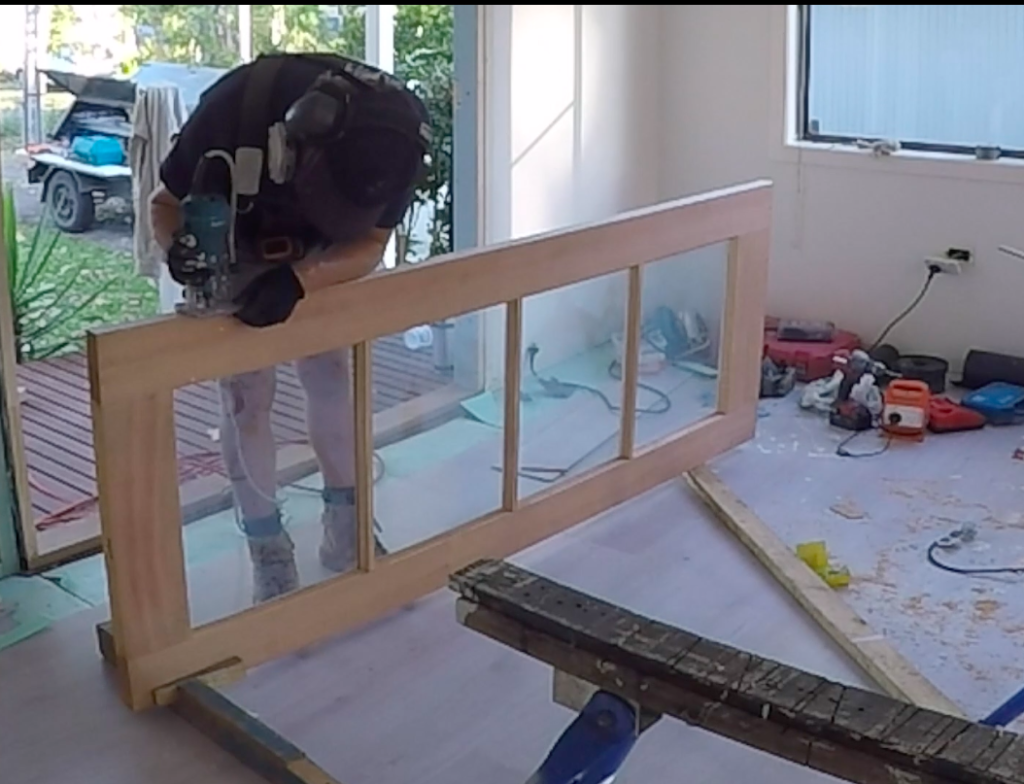
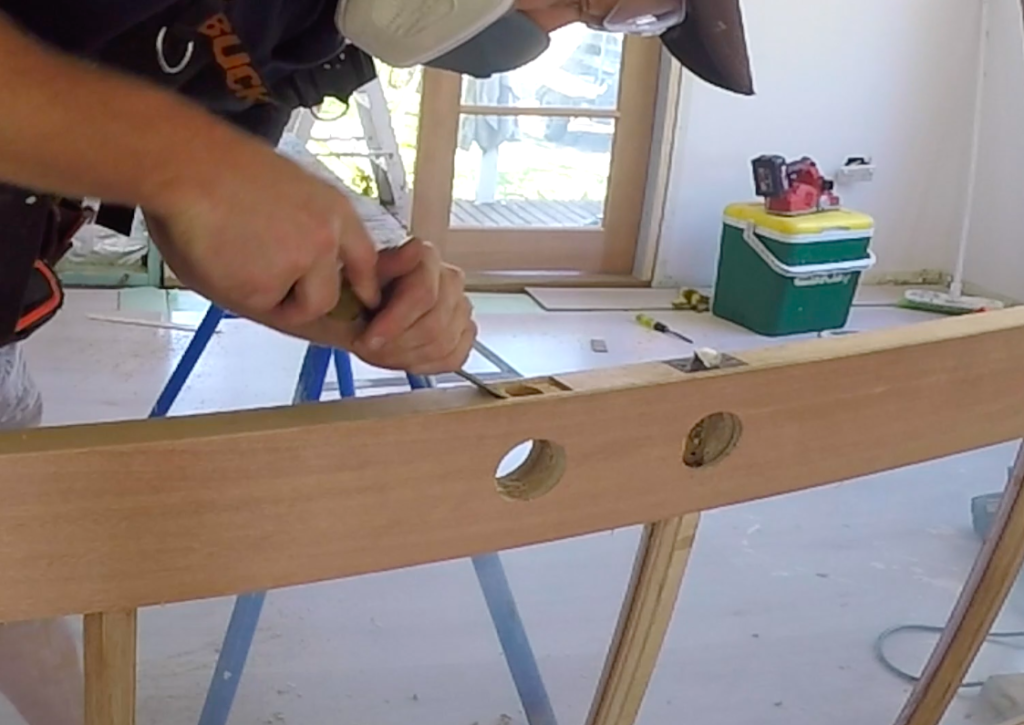
After cutting, chiseling, and rebating the door frame material, it’s time to mark and rebate the hinge locations into the door frame. It’s much easier to do this on a workbench than once the frame is installed. Make sure to use sharp tools for precise and safe work.
Step 3: Choosing the Right Materials
Choosing the right materials for entry door frames, always use a hardwood tread. The material needs to withstand foot traffic and wear over time. In this project, I’m using kilm-dried hardwood tread and a rebated pre-primed pine door reveal.
Step 4: Assembling the Door Frame
Once all the frame timbers are prepared, lay the frame on a flat surface and glue, nail, and screw it together. Use PVA wood glue for the joints and secure the corners with brad nails and screws. Pre-drill the screws to avoid splitting the frame.
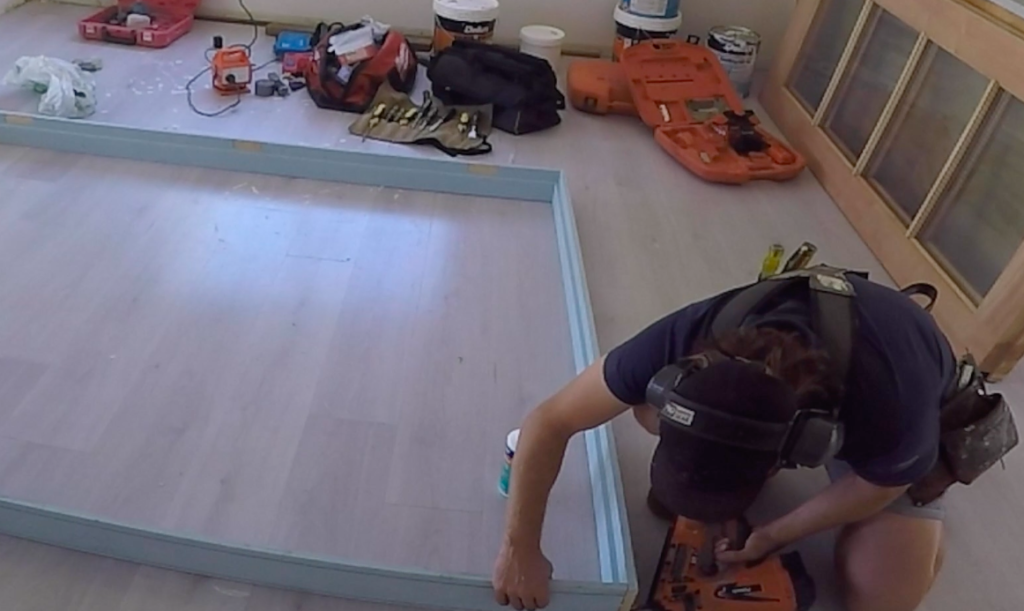
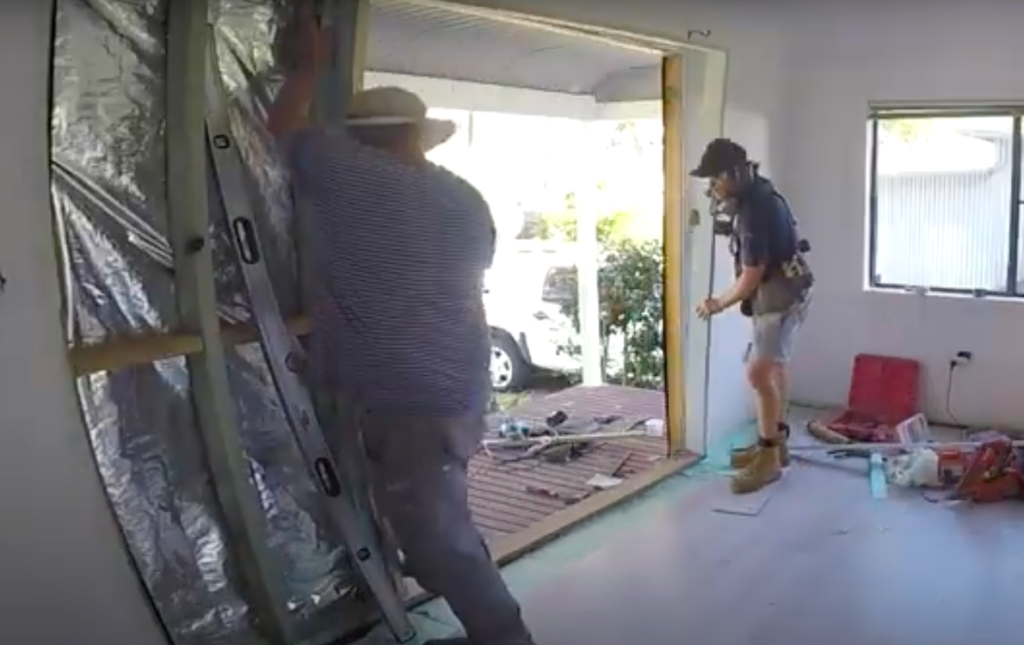
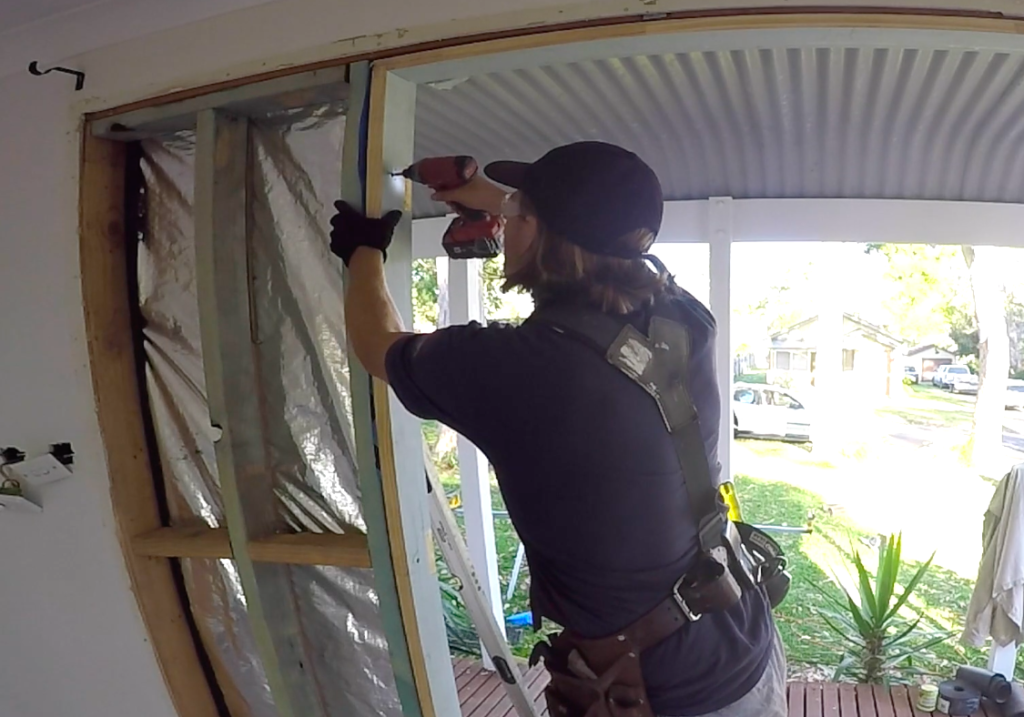
Step 5: Installing the Door Frame
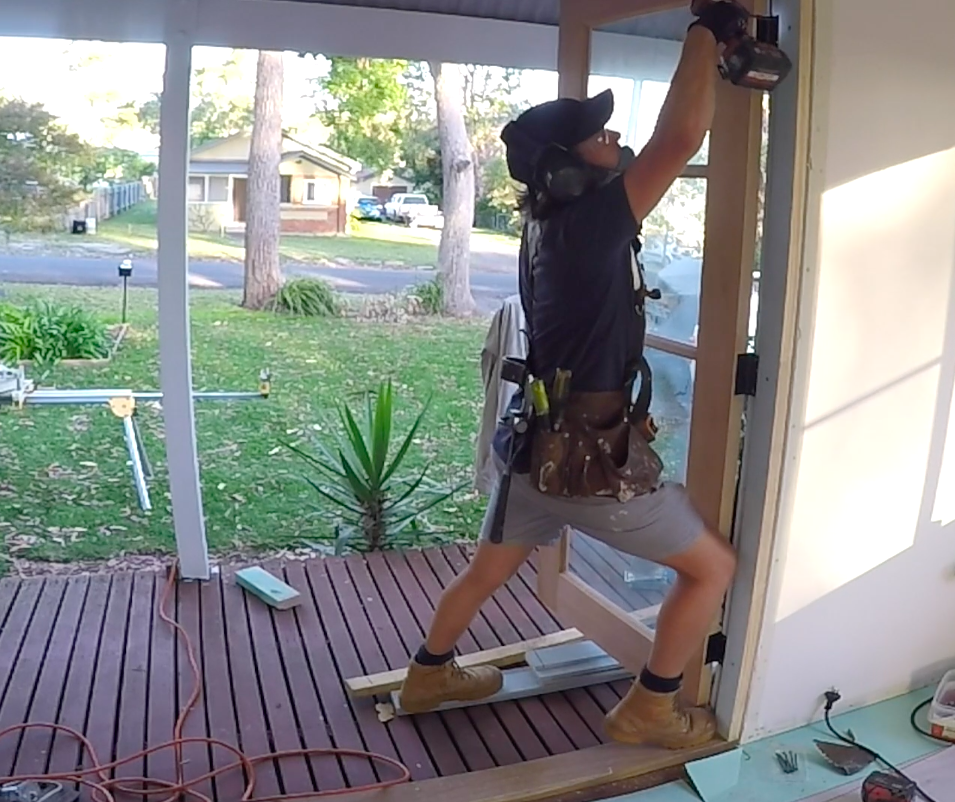
After preparing the frame, check the sill for level and install a sill flashing. Then, install the frame onto the sill flashing. Make sure to leave a 7 mm gap on each side of the door frame for easy installation.
Use fix-out nails to hold the frame in position and adjust both sides to be plumb and level. Install screws into each side of the frame, including one into the hinge location and one into the inside of the frame.
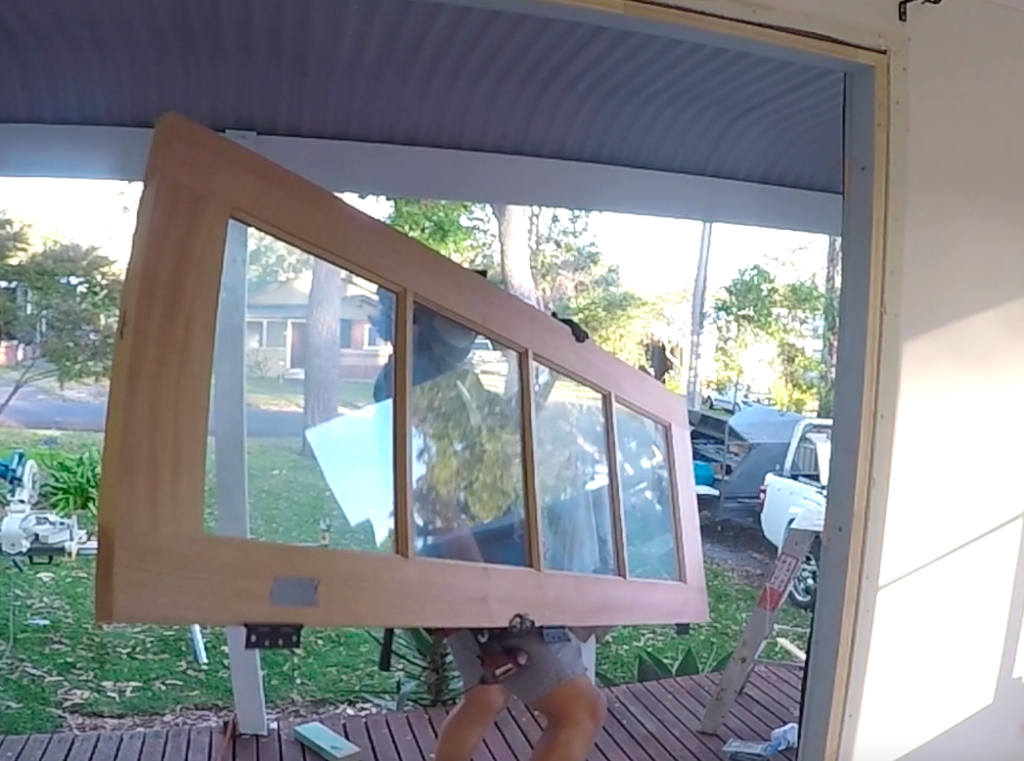
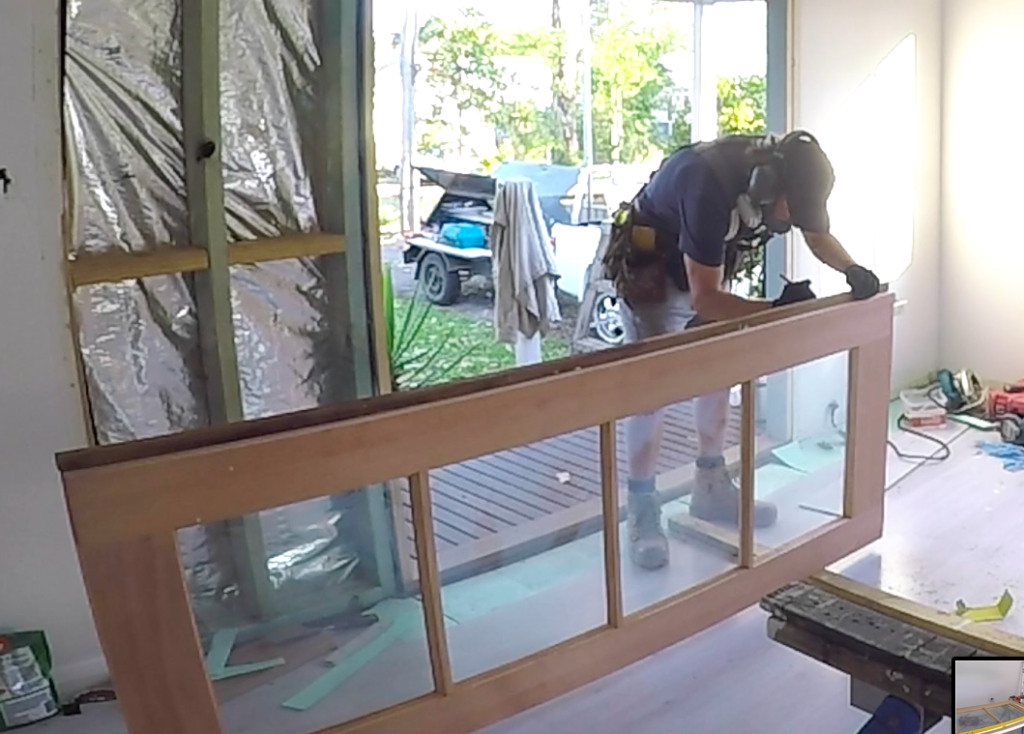
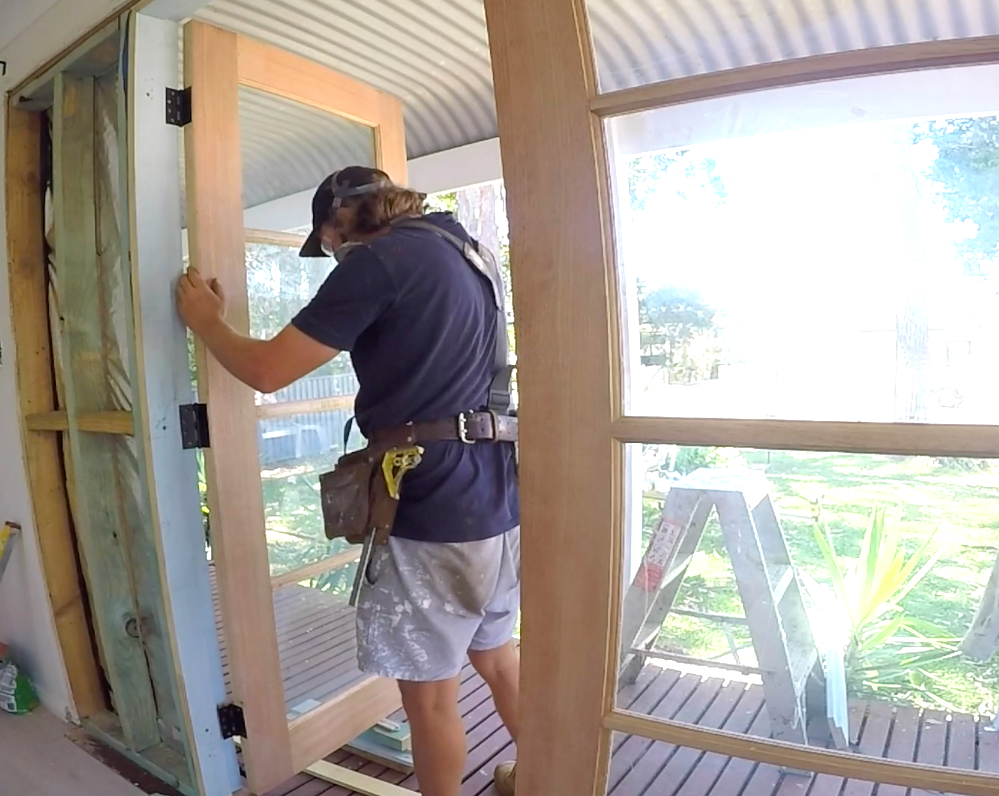
Step 6: Hanging the French Doors
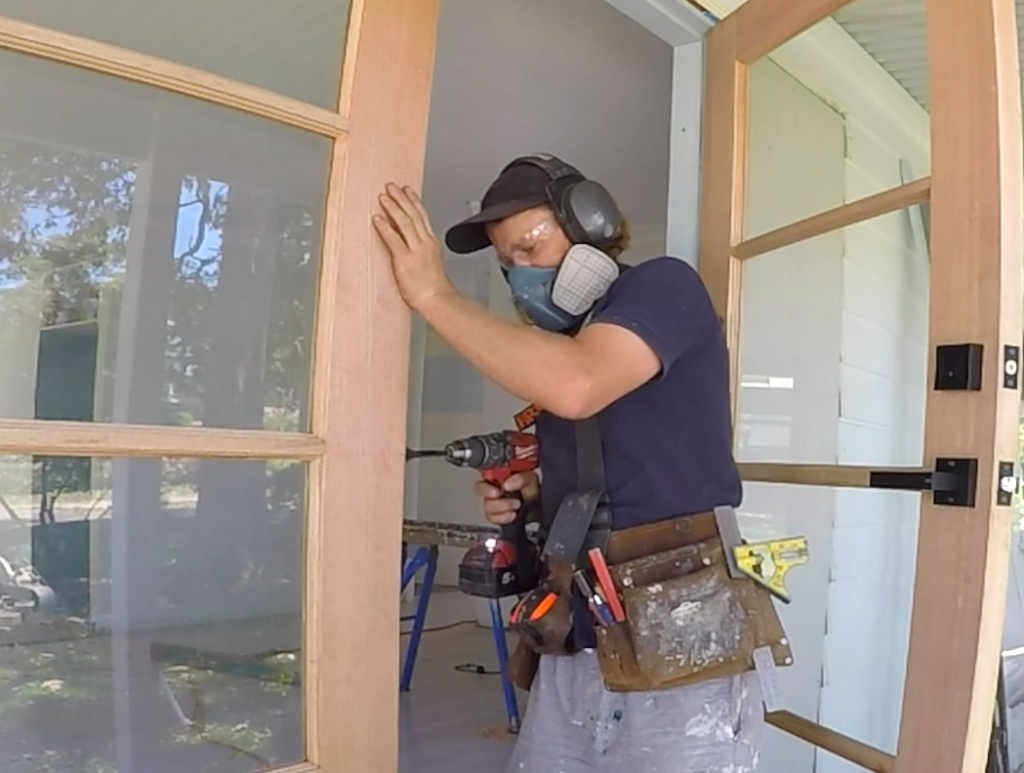
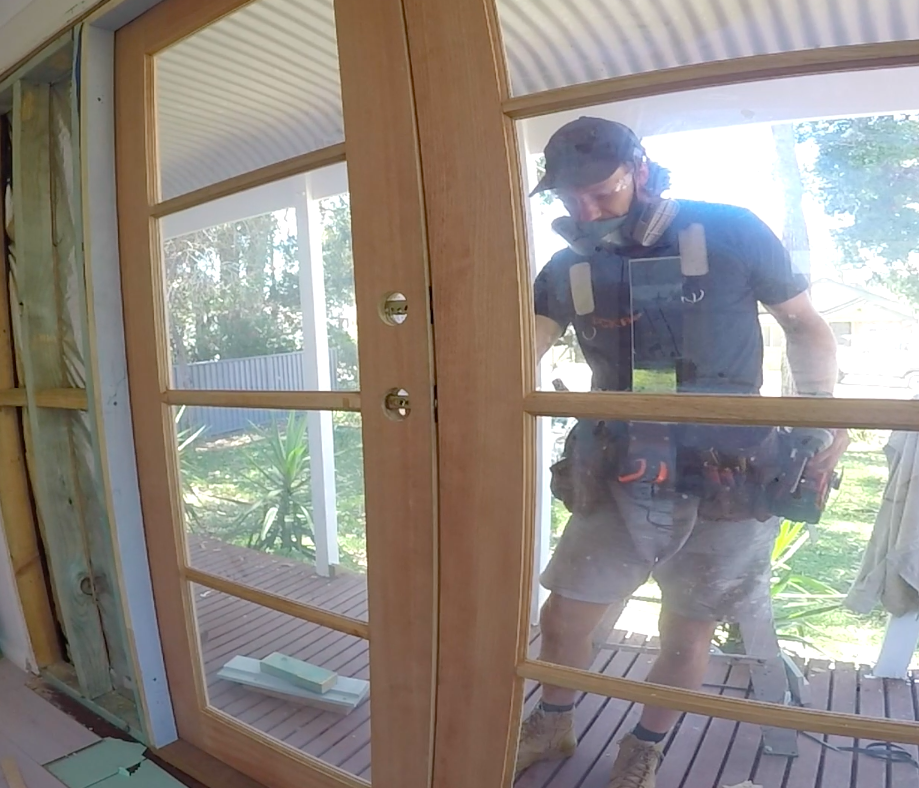
Now that the door frame is installed correctly, it’s time to hang the French doors. If the doors are slightly out of square, make adjustments to ensure they align properly. Transferring the hinge locations from the door frame to the french doors is the next step.
Score the hinge positions on the doors with a sharp knife and use a trimmer to rebate the hinge locations. After trimming and chiseling the rebates, screw the hinges into place. Start by installing the latch side door first, as it represents the closing jamb for the second french door.
Step 7: Installing the Door Locks and Latches
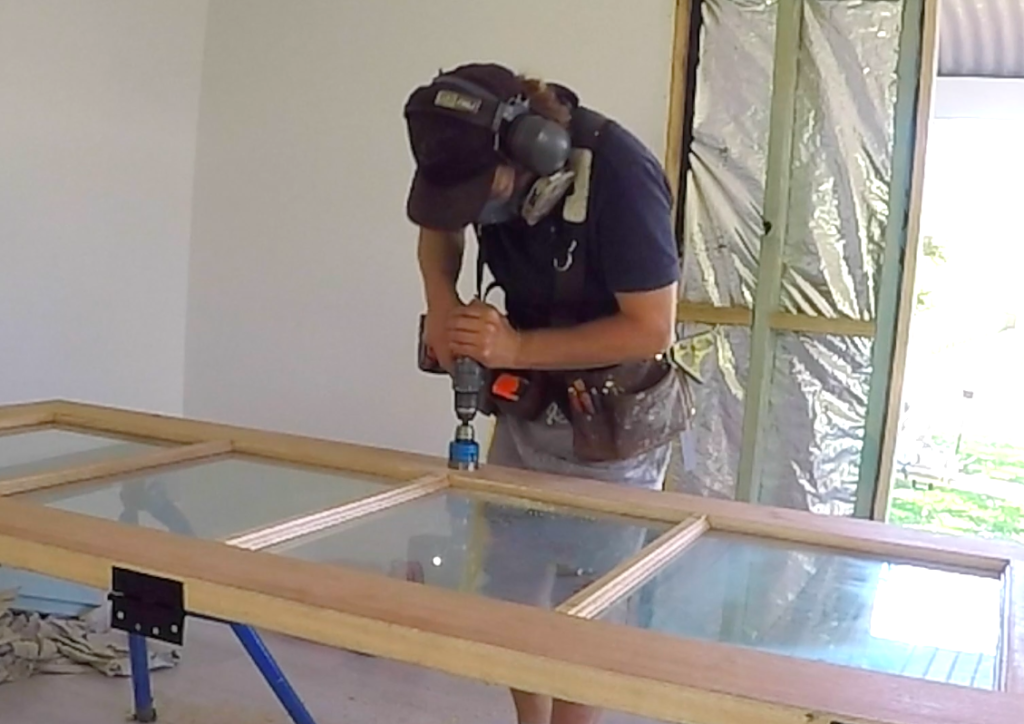
Once the first door has the deadbolts installed, re-install it, and remove the second door. Drill the lock holes from both sides of the door to avoid splintering. After drilling the and latches after installing the deadbolts on the first door, you can re-install it.
Then, remove the second door to drill and install the door lock and deadbolt. Since the door is already on the ground, this is a good opportunity to use a hole saw and speed bore to drill the door lock holes. It’s preferable to drill these holes when the door is not yet hung.
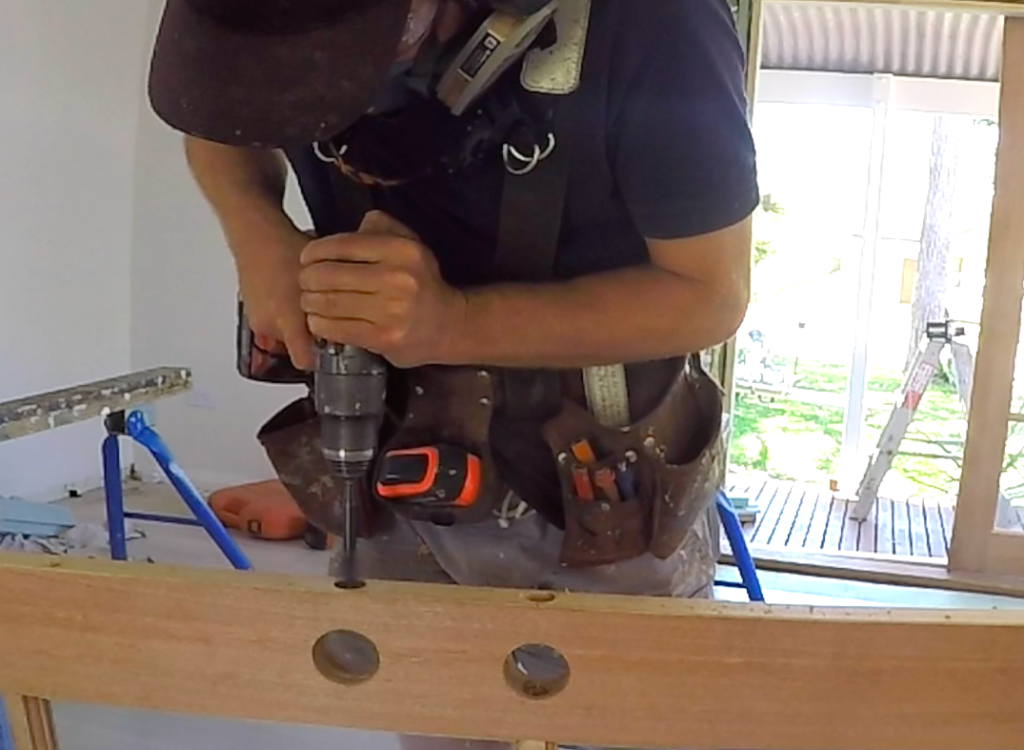
When drilling the 54mm holes for the deadbolt and door lock, it’s crucial to drill from both sides of the door. If you only drill with a hole saw all the way through, the hole saw will splinter and damage the door face when it exits the opposite side.
Pro tip: Drill from both sides of the door for the lock installation.
To continue, move the door onto its side and secure it in a door block. Use a speed bore to drill out the cylinder lock location, and then use a trimmer to rebate most of the latch face into the door edge. Complete the rebate with a sharp blade and chisel. Pre-drill the pilot holes and screw the door latch bolt into the pre-drilled position.
Step 8: Installing the Second French Door
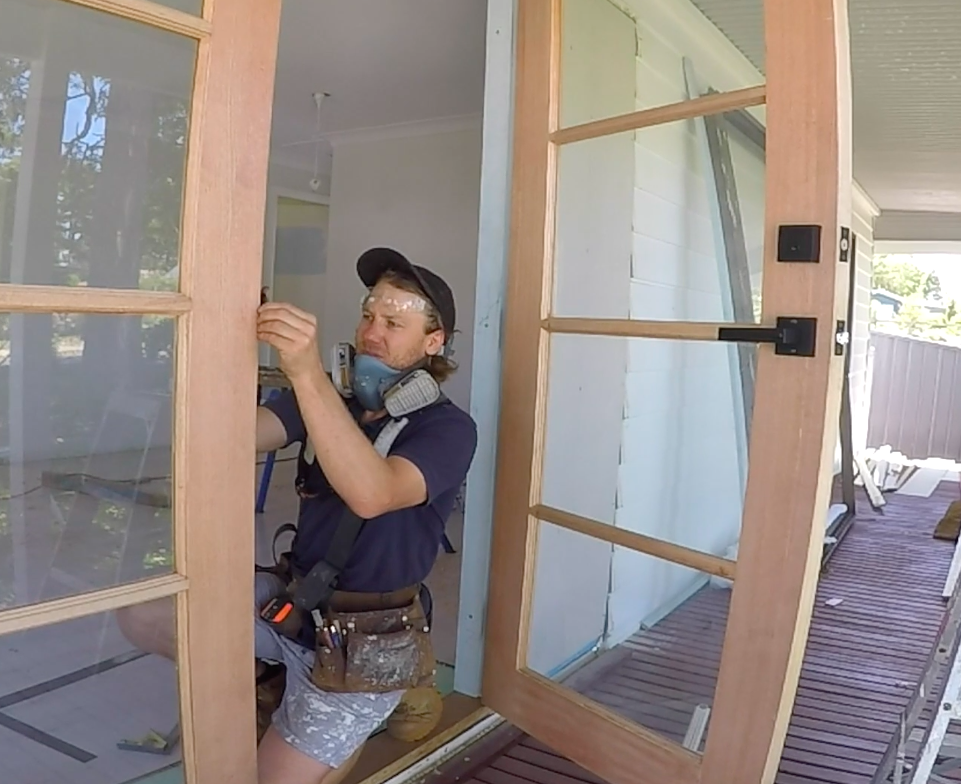
Once the deadbolt and door handle are securely in place, you can install the second French door. Repeat the process of aligning the door to the correct rebated positions and screwing in the hinges. Ensure the door is properly aligned and functions smoothly.
Step 9: Installing Striker Plates on the Closed French Door
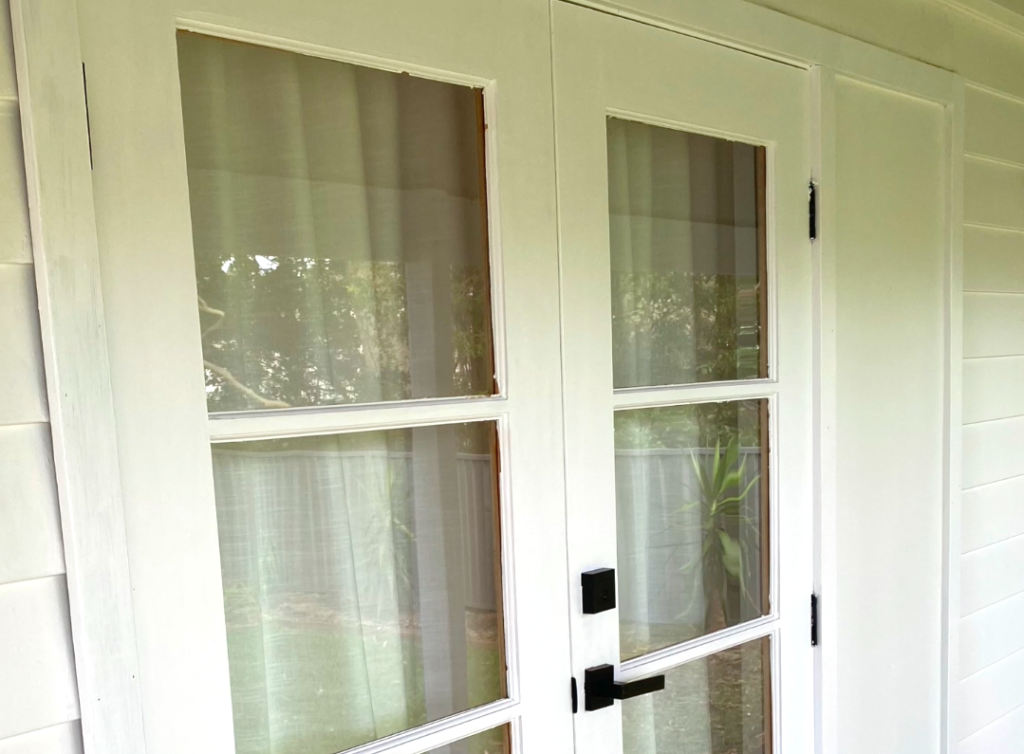
Installing striker plates on the closed french door Close the second door and mark the center of the deadbolt latch and door latch onto it. Rebate and attach the striker plates on the left-hand side of the French doors. This allows for easy opening and closing of the right-hand side of the French door set.
It’s common for french doors to be rebated at the center, which closes the gap between the two doors. Since these french doors are not rebated, attach a small piece of trim on the inside of the first left-hand side door that doesn’t have the handle attached.
Finishing Touches
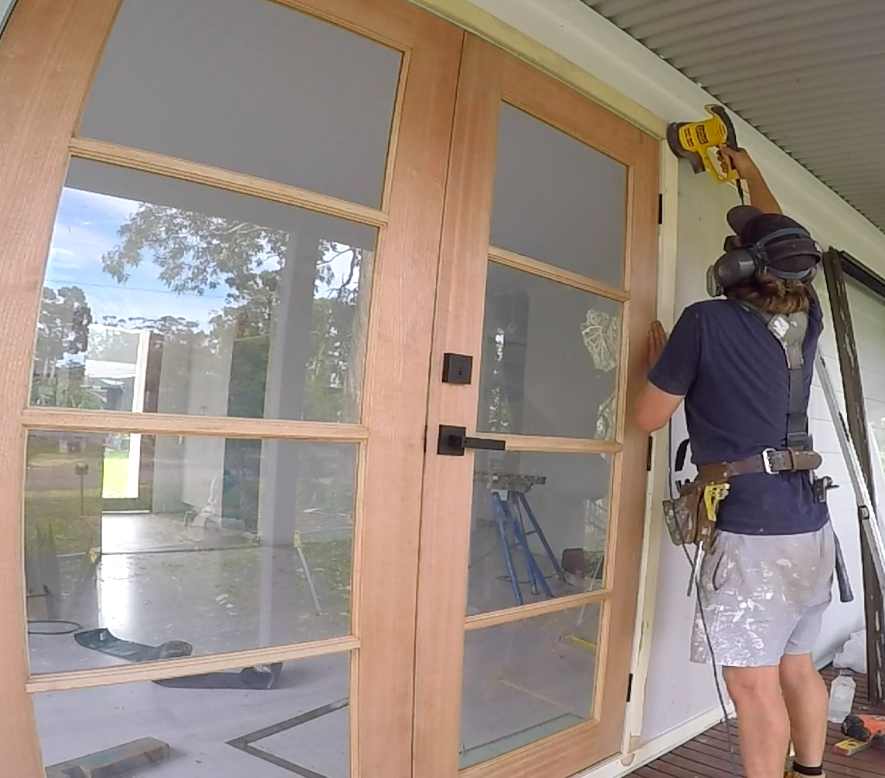
To complete the project, reuse some of the original architraves and hardiflex cladding to finish the outside. Once the doors, cladding, and architraves are finished, your project will be complete.
Conclusion
We hope this guide has been helpful in your installation process. If you have any further questions or need assistance, feel free to reach out. Thank you for following along, and best of luck with your project!