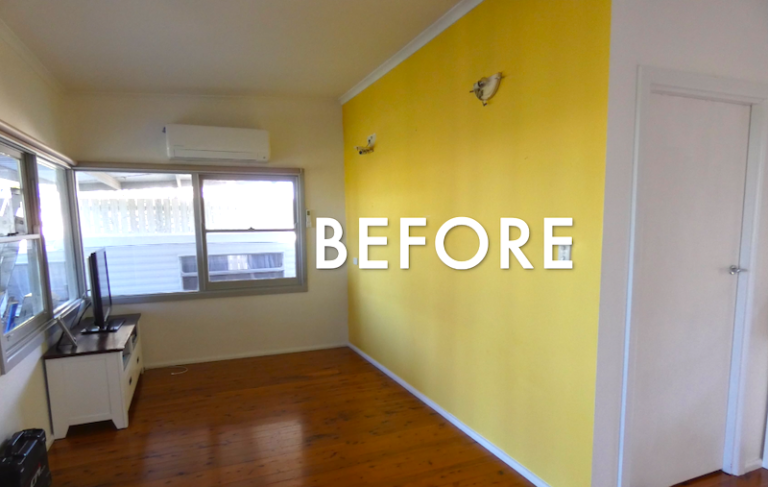
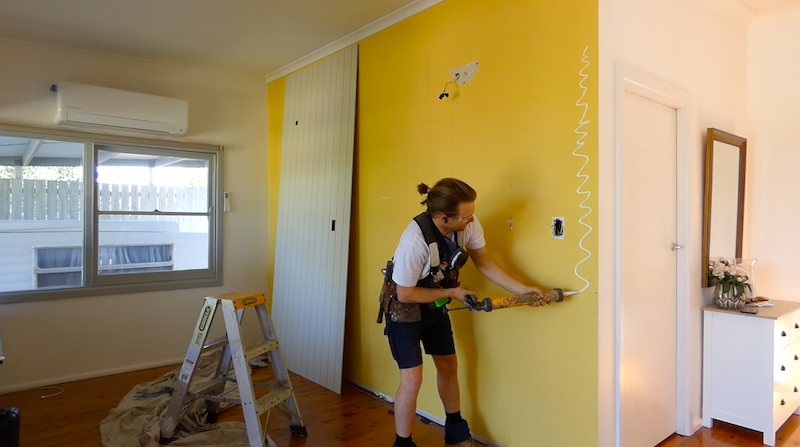
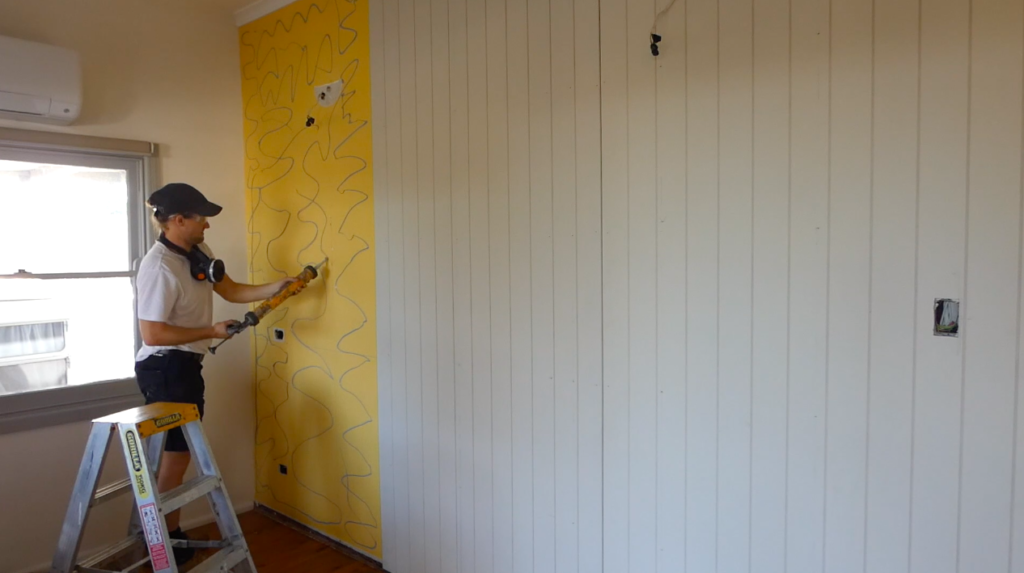
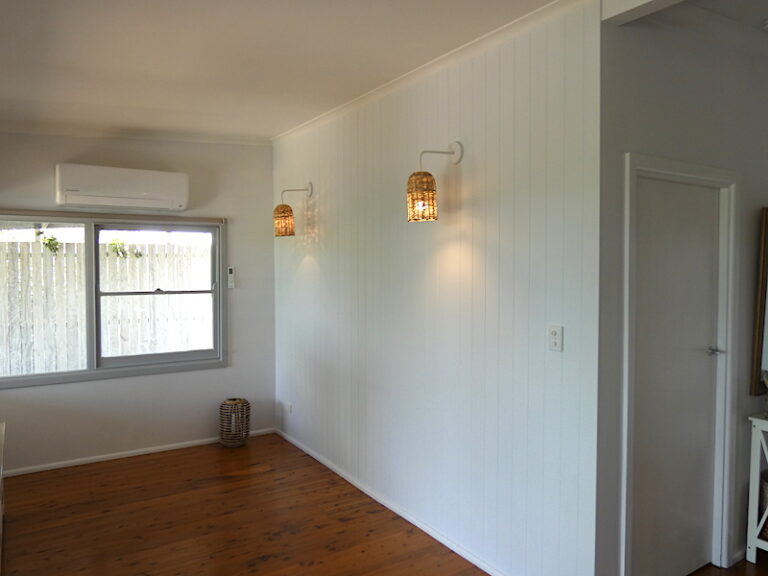
Here is the finished result of another fun weekend of renovating using VJ lining MDF wood panels. The aim was to replace a yellow feature wall with MDF Vj Lining boards. The project has made a huge difference to the style and feel of our lounge room.
Installing wood paneling over plaster walls is a cheap and easy DIY project you can do over the weekends that creates a big impact. If you enjoy watching and learning visually make sure you have a look at my You Tube video below on how to install wood paneling on plaster walls.
All the tips and tricks and easy-to-follow steps are in this video to follow along with. If it was up to me, I think I would have just chilled out and lived with the old yellow wall for a few more years because it’s so fun to work all week and then spend the weekends renovating at home. I’m lucky enough to have someone in my life that motivates me at work all day, every day.
Keep following until the end of this article as I will show you my favourite tips and tricks to finish these VJ lining boards to a professional standard. If you follow along closely you will be able to do this project yourself and save a lot of money.
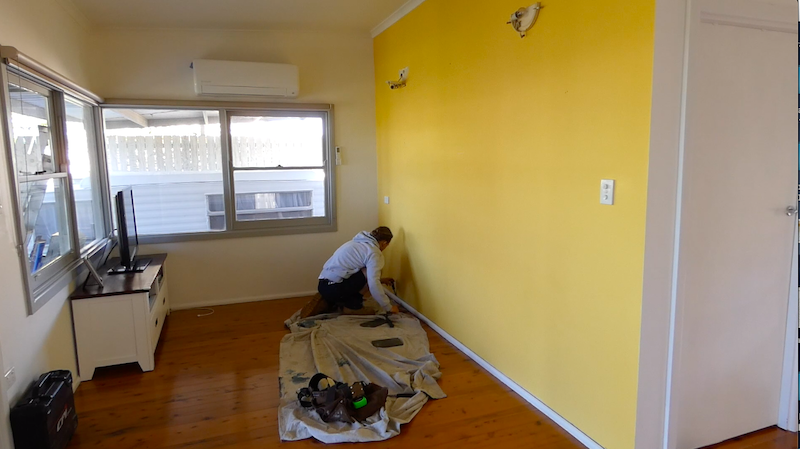
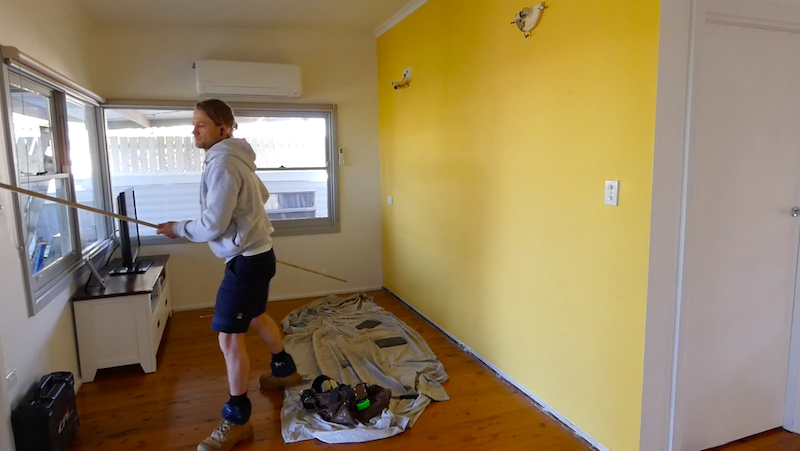
Before
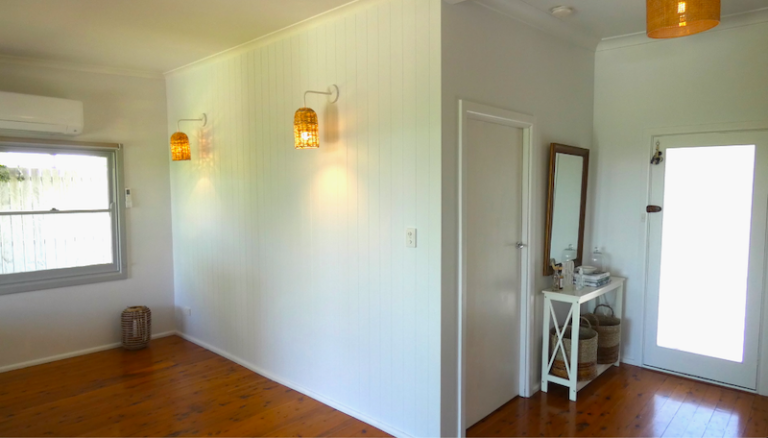
After
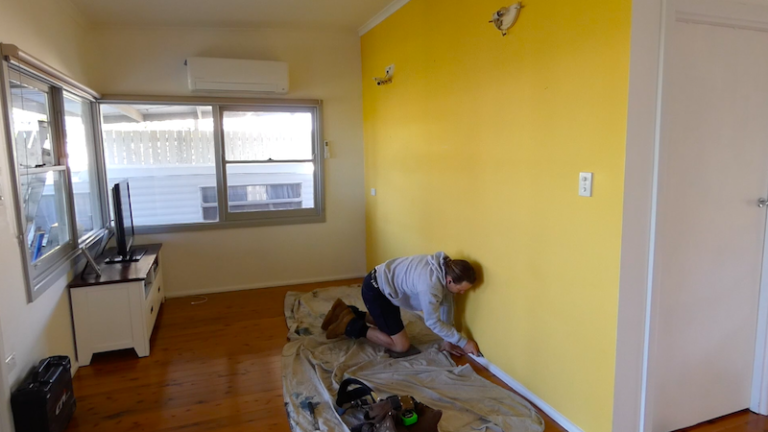
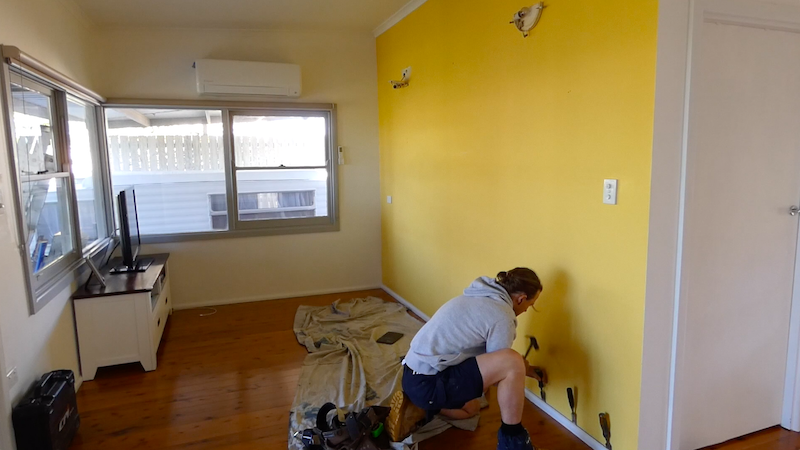
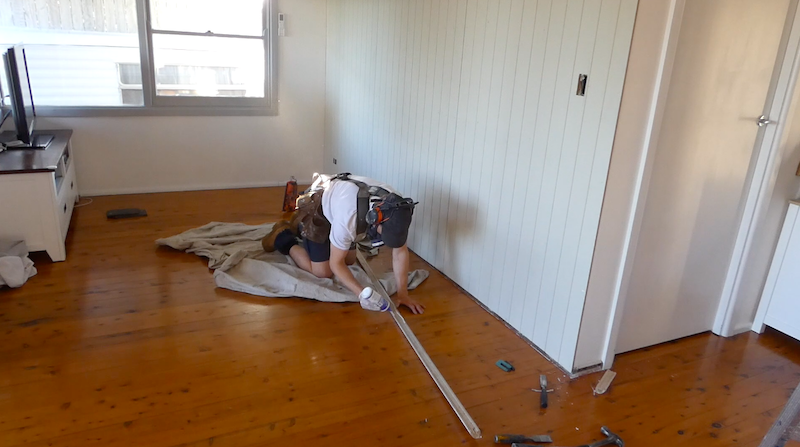
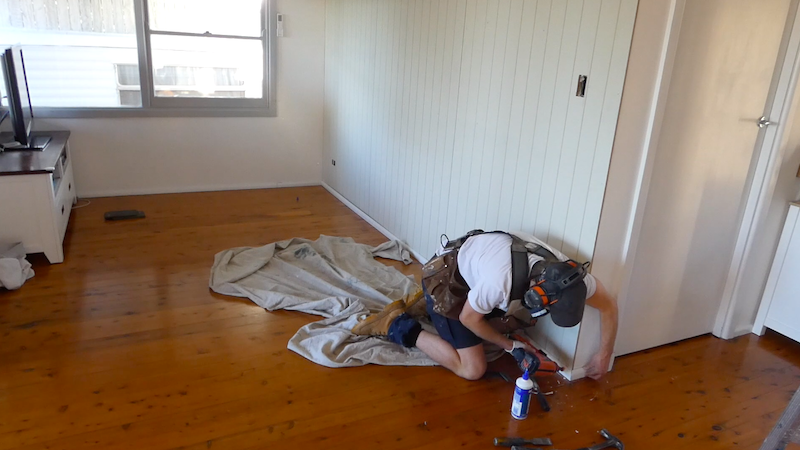
remove the Skirting Baseboard To get started
The first step is to remove the skirting baseboard, this will allow the VJ lining boards to be installed to about 10 millimeters from the bottom of the floor. To remove the timber skirting, or any other timber trims, run a sharp blade along the inner section between the timber and the plaster. This will stop the paint from peeling off the wall in the process.
Starting from one end, jimmy the skirting from the wall using a wood chisel or molding bar. De-nail the skirting/baseboard and store somewhere safe as I’ll reattach the skirting once the VJ lining boards are installed.
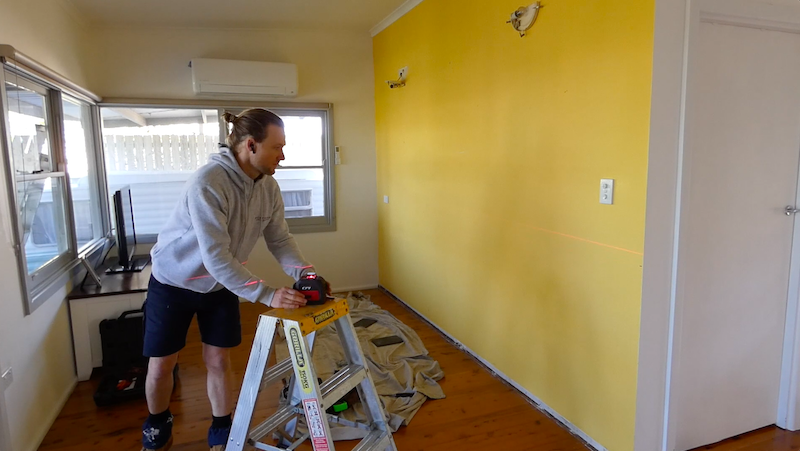
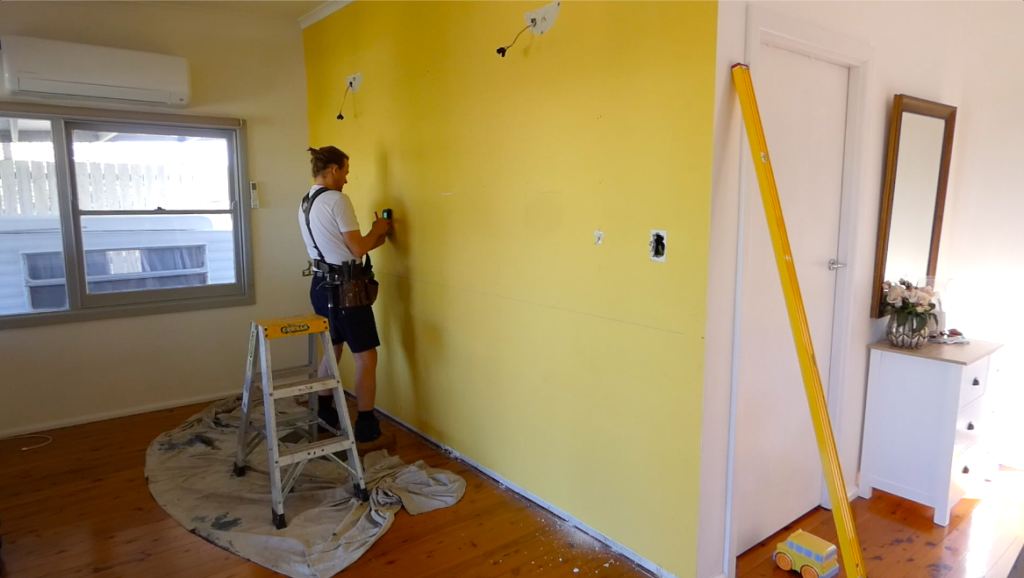
Mark level datum Line on the wall
The next step is to get a level datum line along the wall. I’ll use a laser level to mark each end of the wall, then run a chalk line between each mark to give me a clear level line to measure from. If you don’t have a laser level, a standard level, and a straight edge is fine to also use.
I will use this datum line to measure the floor and the ceiling heights. This will allow me to know how much ( if any ) I will need to adjust from the decorative wood V joint panel.
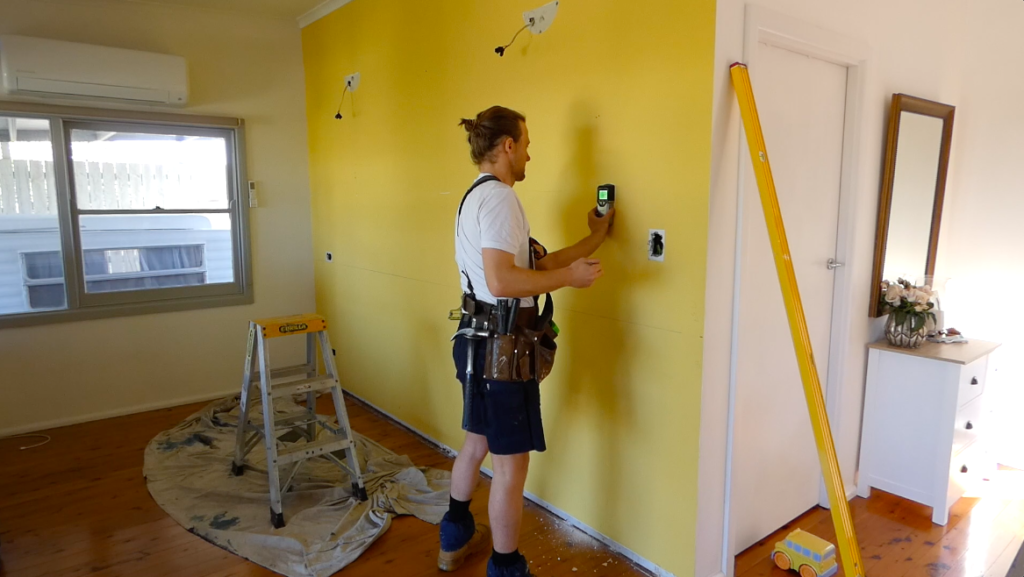
Disconnect lights and power points
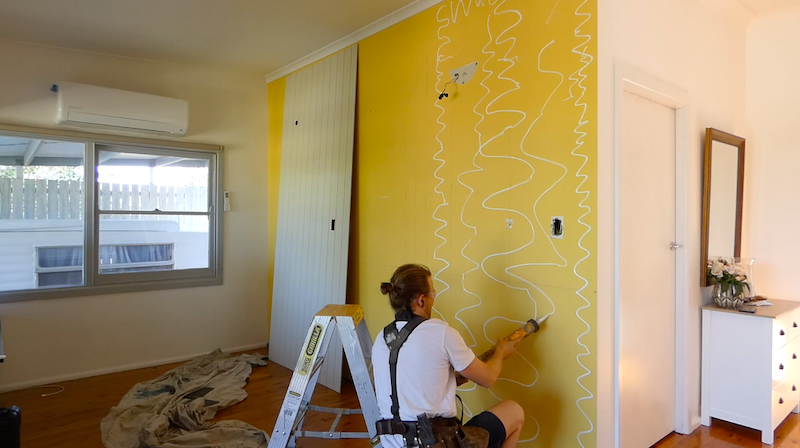
Make sure to use a licensed electrician to disconnect any lights or power points on the wall in which the wood paneling will be installed. In this project I will be installing new lights, therefore I will dispose of the old ones. The switches and power points are in good condition and will be re-installed at the end of the job.
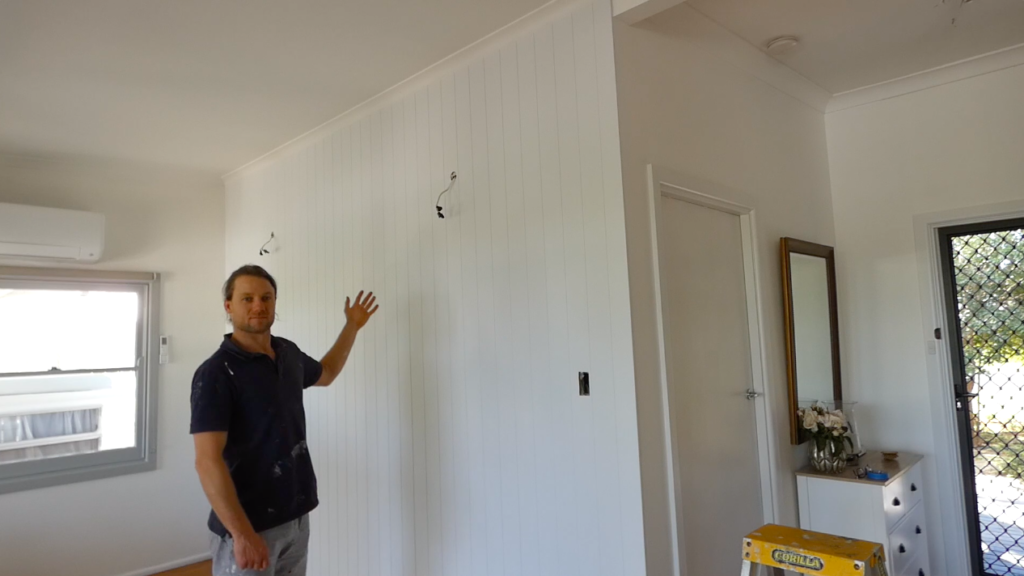
Locate and mark the timber frame positions
The next step is to use an electronic stud finder to mark the timber frame positions in the wall. Start from the right side and move towards the opposite side of the wall marking the centre of the timber framing studs as you move along the wall. We’re going to install the lining boards from the floor to the ceiling cornice.
If the ceiling cornice is not level, I’ll need to make allowances in my lining board for a nice intersection as the top cut of the panel will be finishing parallel 3 mm from the cornice. The 3mm will be left for expansion and I will fill it with a flexible will once I start the painting preparation.
I’ll then run a level down the wall, marking the centre with a pencil to show where the timber stud positions are. These marks will be transferred onto the sheets so I know exactly where to nail them.
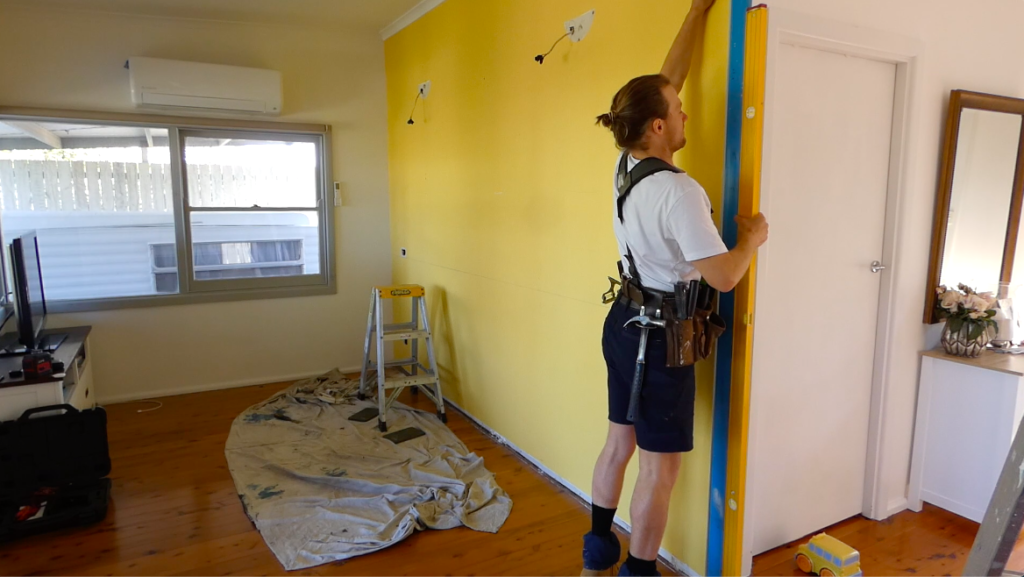
I’ll use a three-meter straight edge and two-meter level to check to see if the external corner is plumb. Due to this being an old house the external corner is 9 mm out of plumb. To ensure my new panels are installed plumb I will cut 9 mm – 0 mm off the first lining board to ensure the panels are installed correctly.
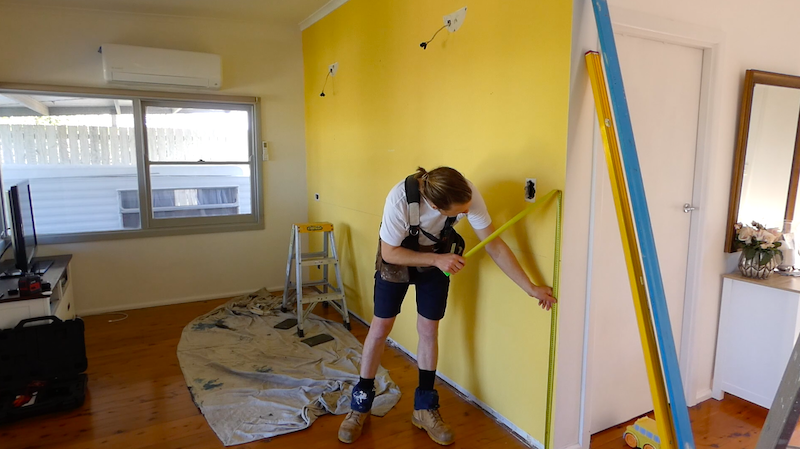
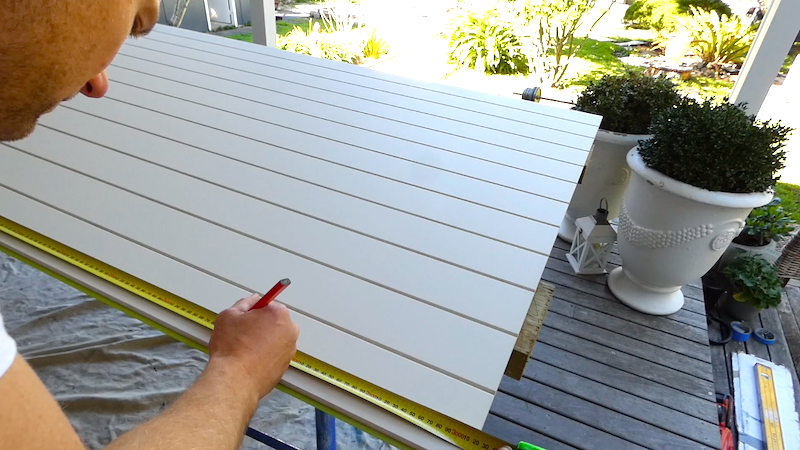
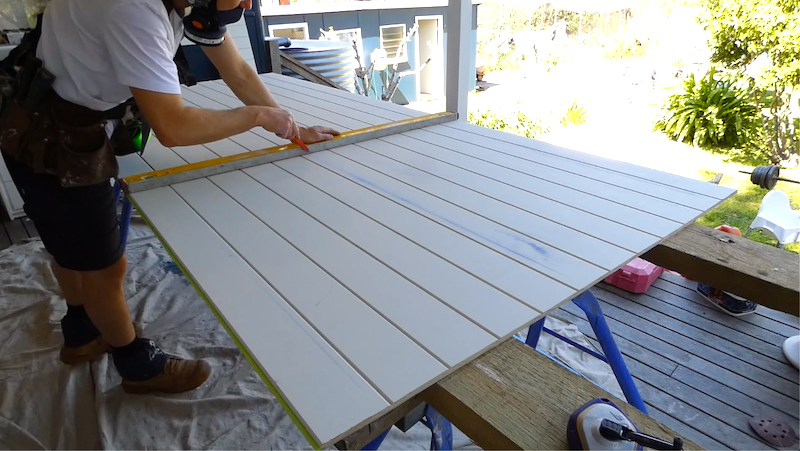
Measure first sheet and cut to size
I’ll now go through and measure the size of the first panel to install. Measuring firstly the panel on the external corner.
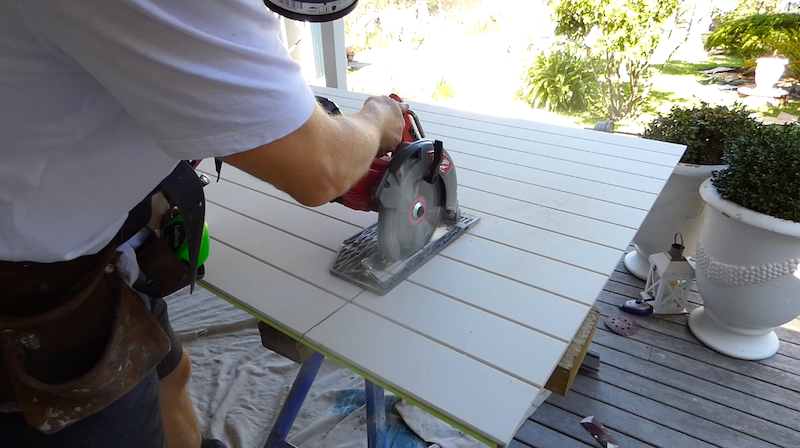
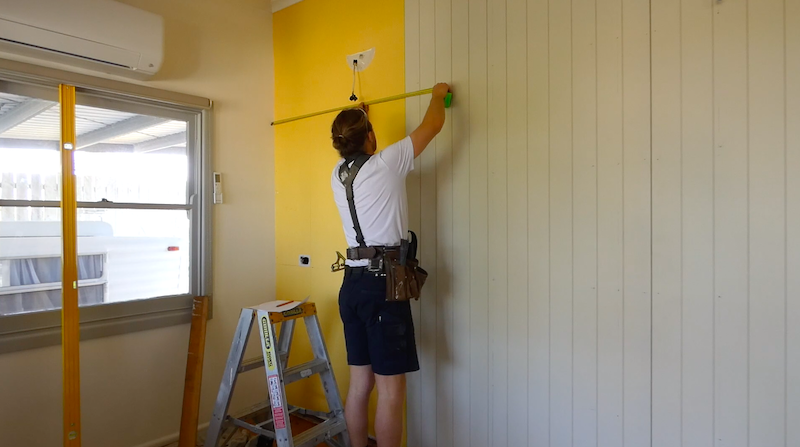
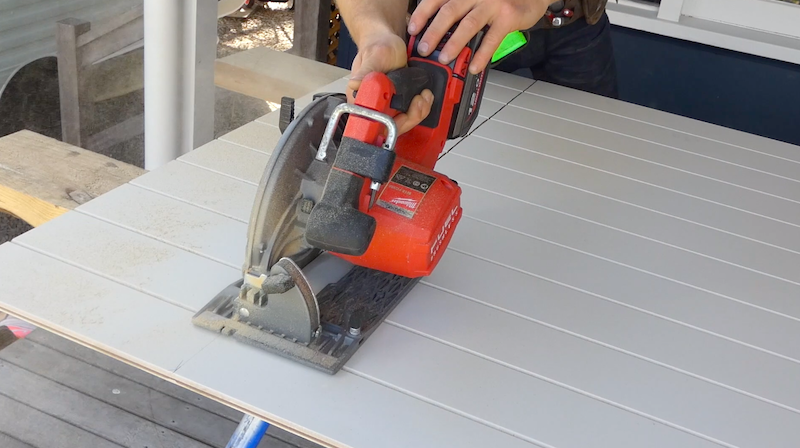
Measuring from the level datum line I can note that the ceiling is perfectly level. This means I can use the factory edge of the panel to meet into the cornice. Next, I’ll measure from the top of the panel and mark the height of the sheet with a pencil then use a circular saw to cut the panel to the correct length.
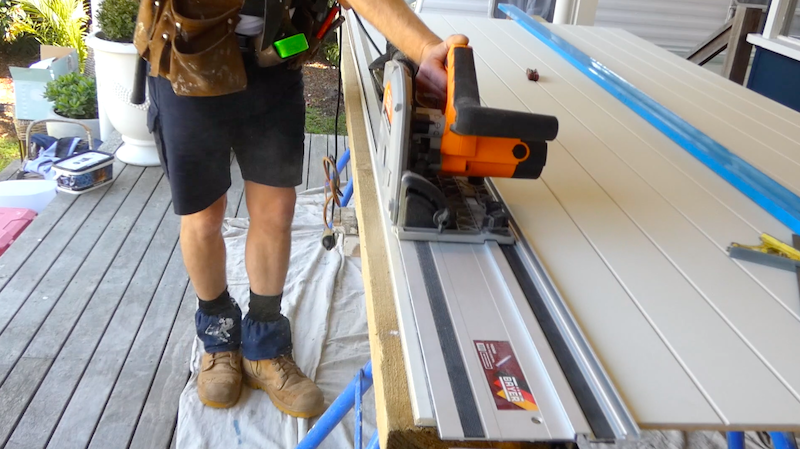
I’ll mark and cut the amount to be taken off the external edge to allow for the out of plumb wall. I’m using a track saw to achieve a perfectly straight cut as this cut will be exposed.
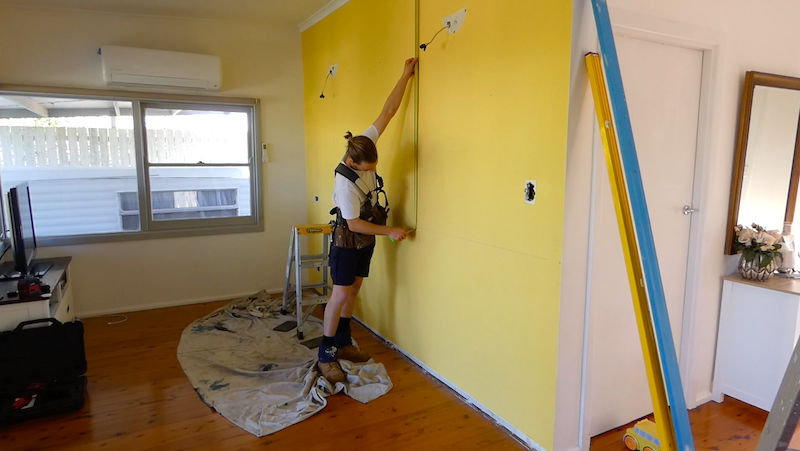
Transfer stud positions onto the wood panel
The next step is to transfer the positions of the timber studs onto the wood Mdf VJ ointed panel sheet. Measure from the external wall and take note of the measurements. Then transfer these positions on the panel.
Mark both ends of the panel with a pencil then use a chalk line to intersect the mark. This leaves a chalk line representing the location of the timber stud. Now we know exactly where the timber frame location is and where we can safely nail.
I’ll mark out the nail set out at 500-millimeter centers down the chalk line (which represents the timber studs) and 300 millimeters along the bottom and top plates. The nails combined with the flexible adhesive I’m going to use will be a very strong bond for the panels to the plaster wall.
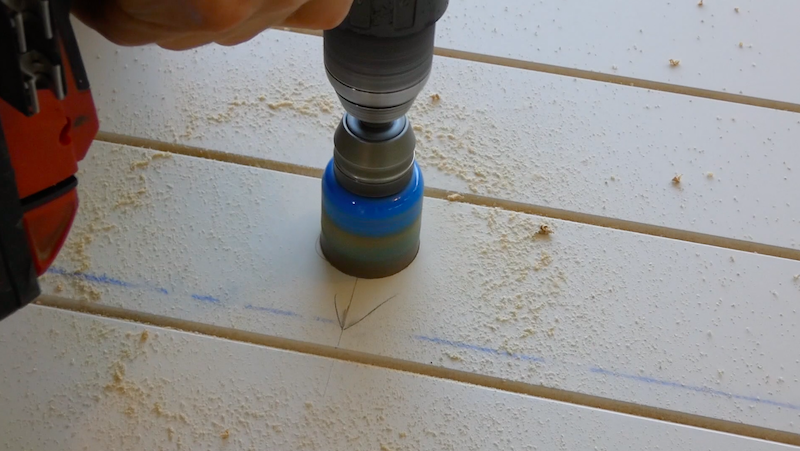
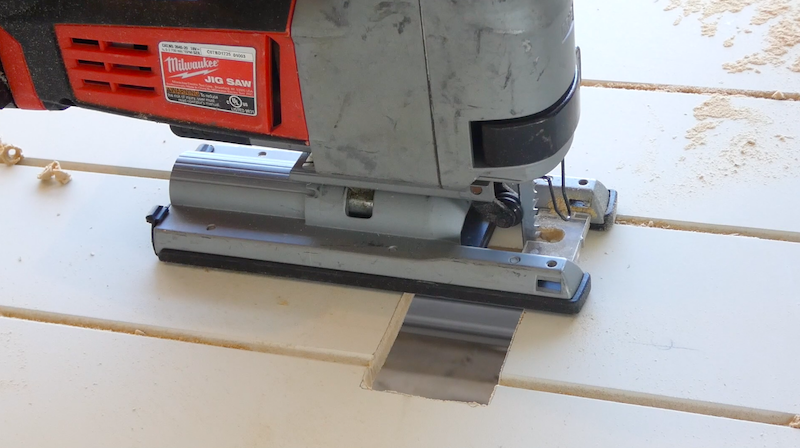
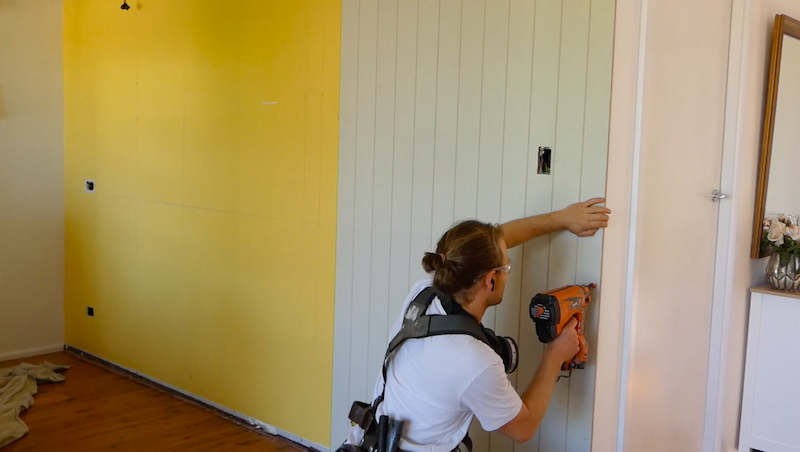
The next step is to measure, mark, and cut out the positions of the lights and light switches. I’m using a 54-millimeter hole saw for the light’s wires to come through and a jigsaw to cut around a switch template for the light switch and power points.
To cut out for the powerpoint and switch, I’ve drilled two 16 millimeter holes in opposite corners of the template and then follow along the lines using my jigsaw.
Apply the flexible adhesive to the wall
Once the sheet is prepared, I’ll go through and apply a flexible adhesive to the wall for the sheet to stick to. I like to apply a generous amount of flexible adhesive as this helps to hide any imperfections of an old wall.
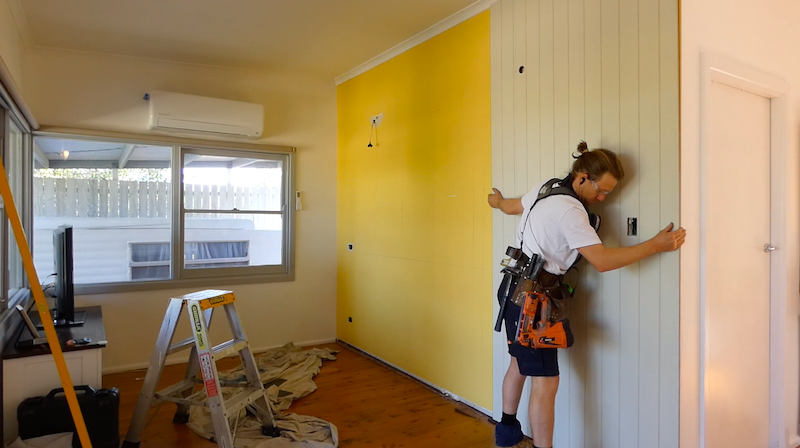
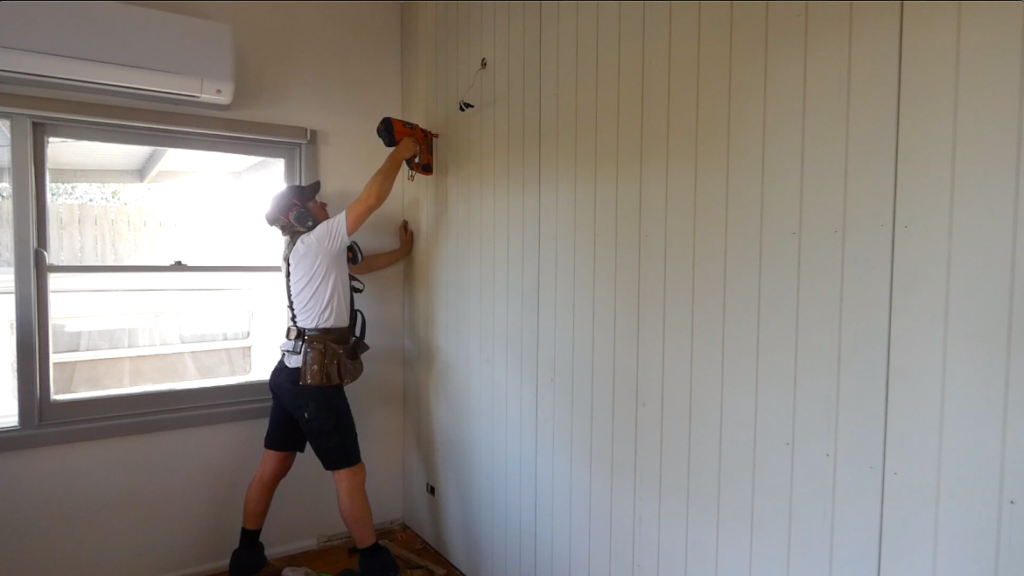
Install the VJ Wood Panel sheets
Next, I’ll carry the panel inside and place it on top of 10-millimeter packers. I’ll adjust the panel to the correct location, and bring the light wires through the hole. Once I’m happy with the panel set in the right place, I’m ready to nail it to the wall.
I’m using the timber frame nail set out locations that I’ve already marked onto the sheet from my set out. If you don’t have a nail gun, just use 40-millimeter bullet head nails.
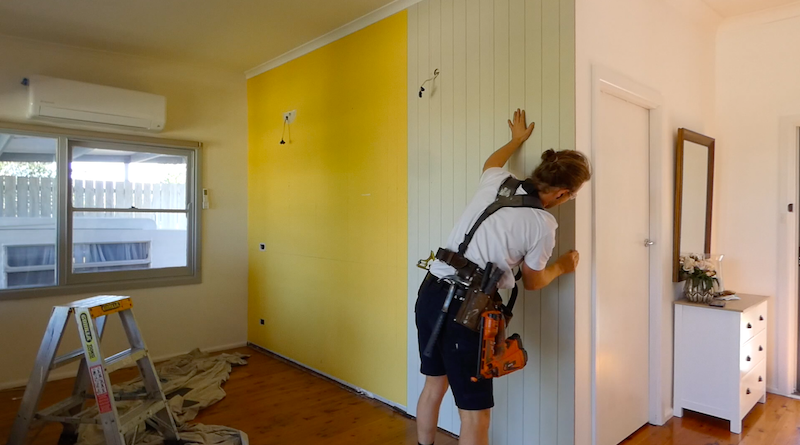
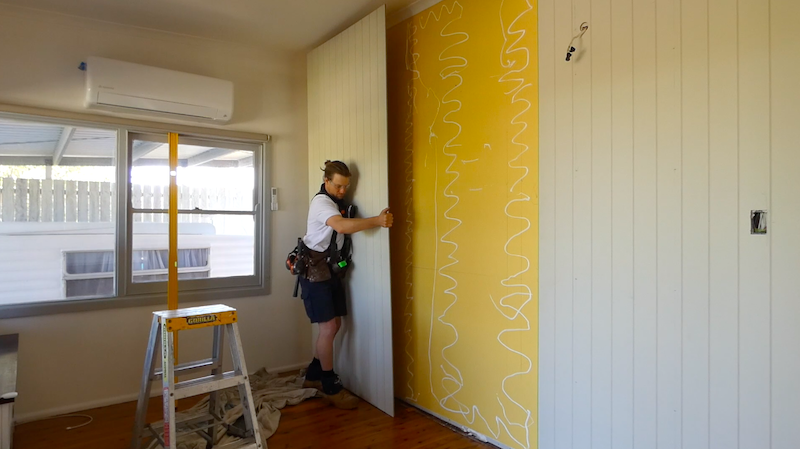
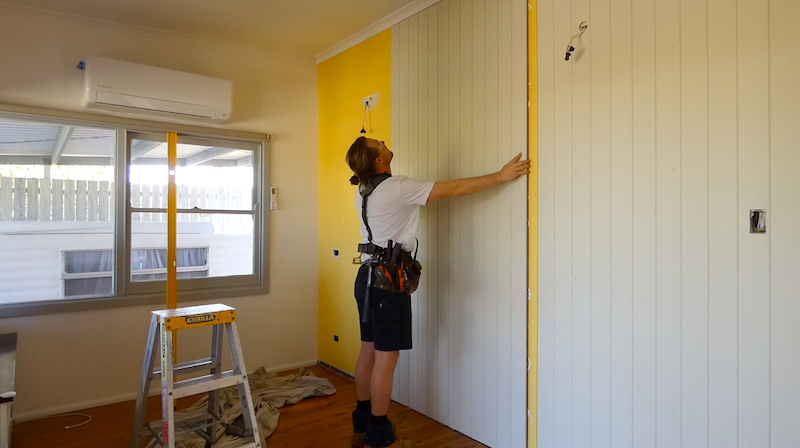
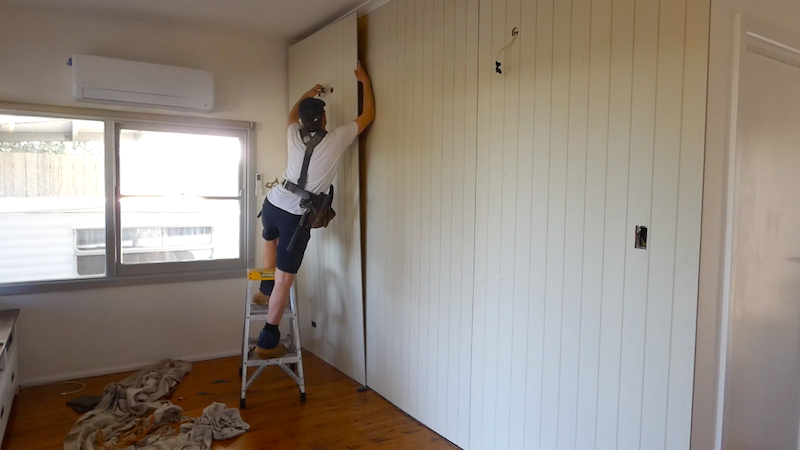
Installing the first panel installed into position is the most difficult part of the project. Now it’s just a matter of going through the process and repeating for the remaining panels.
For the next two panels, I’ll measure from the level line to the floor and ceiling and make adjustments in length as needed. Don’t forget that the bottom of the sheet needs a to sit on a 10-millimeter packer to allow for expansion in the sheet.
This gap will be covered when I reinstall the skirting. I can then glue and lift the next sheet onto the packers into position, slide the sheet until the tongue slips into the groove. Leave a 2-millimeter gap between the sheets for expansion.
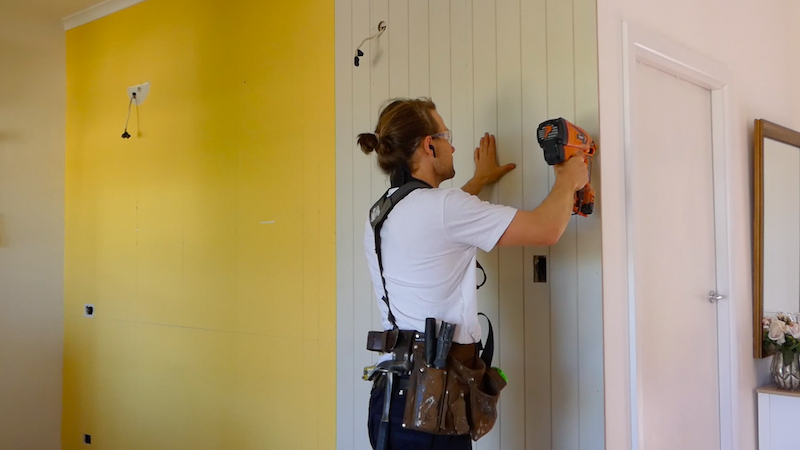
I’ll then go through and nail the sheet in the pre-marked locations.
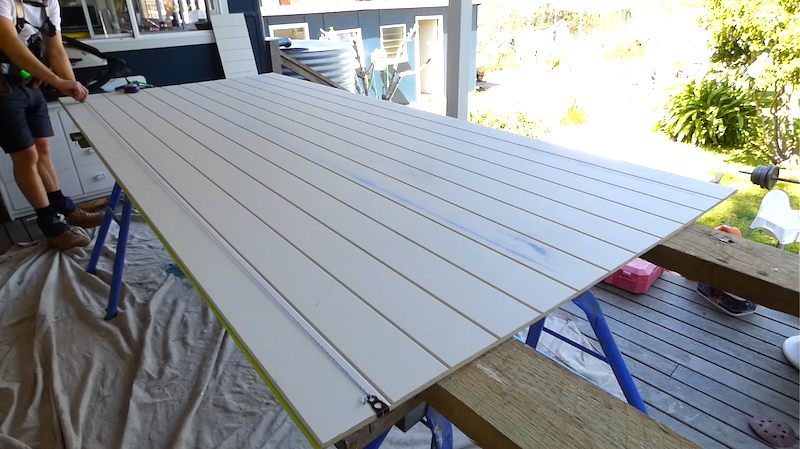
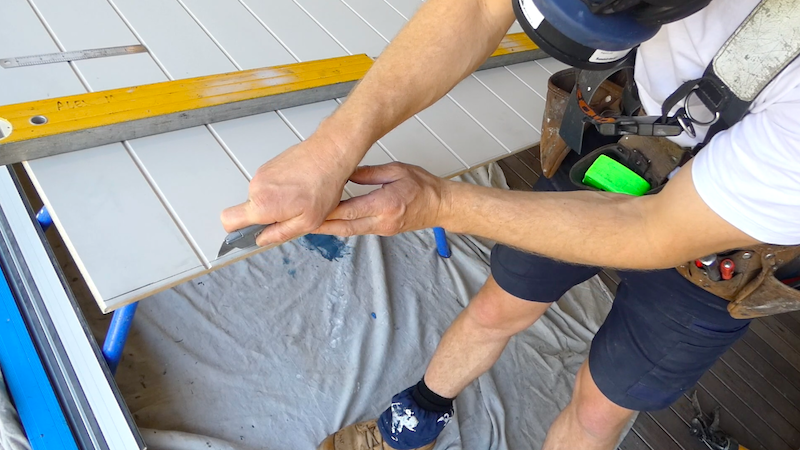
It’s now time to measure up the final sheet. Check to make sure everything is parallel and straight. This part of the ceiling is slightly out of level, so I’ll adjust the top of the sheet to fit nicely.
I’ll transfer the amount that the ceiling is out of level onto the top of my sheet, then I’ll use a knife to scrub the line, then plane the sheet to the correct size. I’ll use a bit of sandpaper to give a light sand and then check the top of my sheet for straight. I can then cut the sheet to the correct length.
Install the final Vj lining panel
The existing wall that my sheet is finishing into has a large bow in it, therefore I need to scribe an allowance into my last sheet. I’ll use a circular saw and planer to scribe the sheet to the correct size.
It’s now time to go ahead and install the last VJ lining board. Apply the glue to the sheet on the packers, bring the wires through the sheet, and slide the tongue side into the groove. Once the final sheet is locked into place, we can go through and nail it into position.
re-attach the skirting | Baseboard
The next task is to reattach the skirting I removed earlier. Add some PVA glue along the back and then nail back into position. That’s all the VJ lining boards and skirting installed and it’s looking great.
paint the VJ Lining panels
There’s still the painting to finish this weekend, so let’s get started with the preparation work.
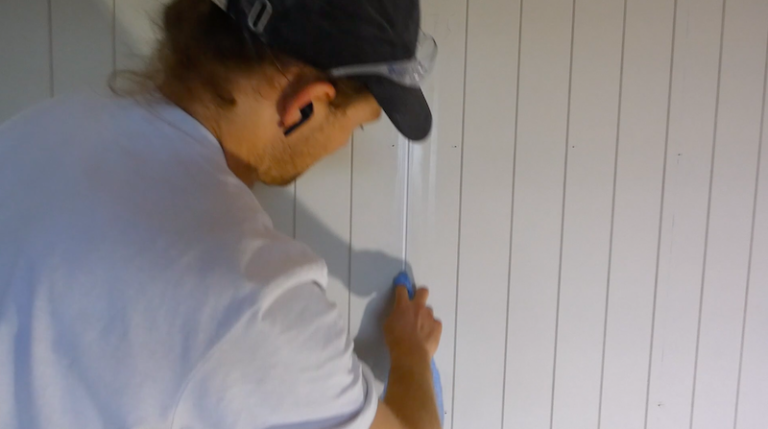
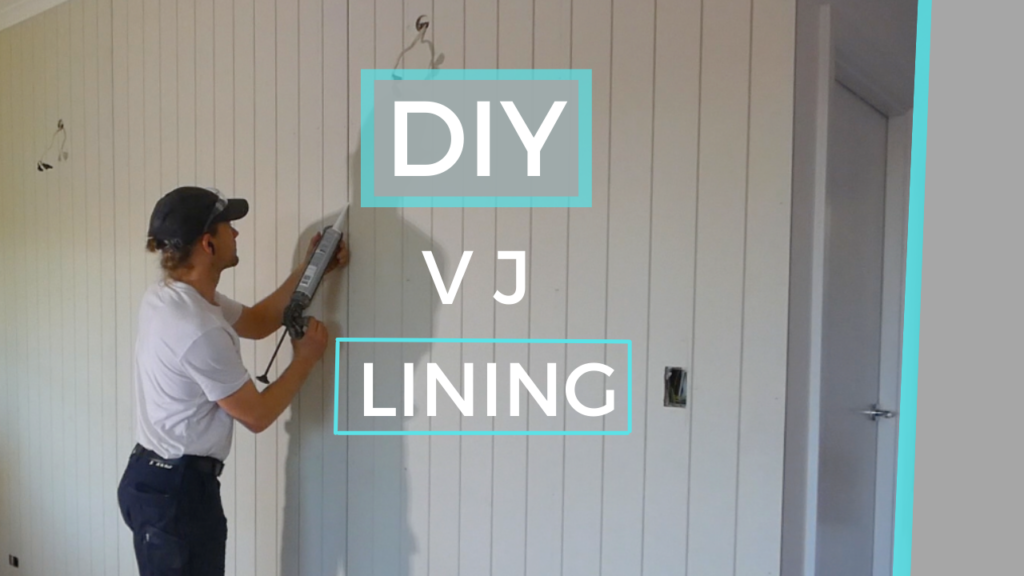
The first step of the prep is to apply no more gaps to the intersection between the two lining board sheets. Remember that I left a two-millimeter gap between the sheets for expansion. This needs to be filled with a flexible gap filler before painting. I apply the filler and then wipe it off and smooth it with a damp cloth.
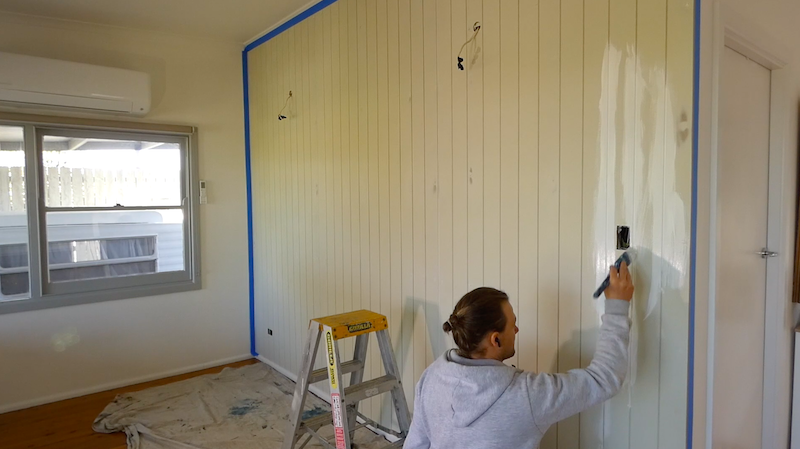
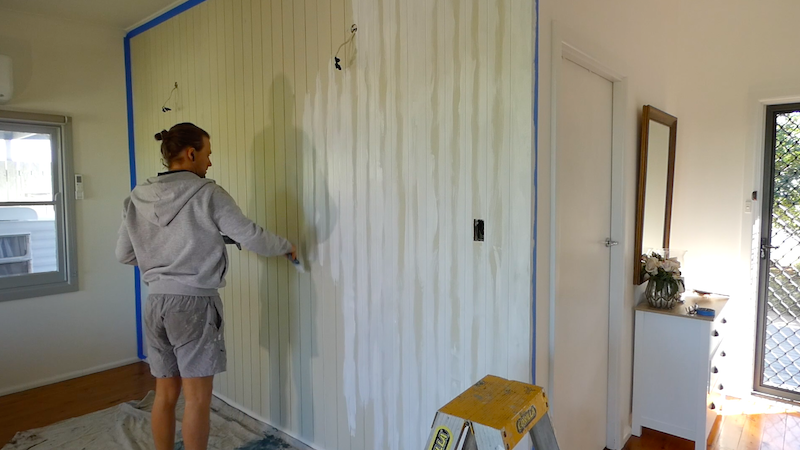
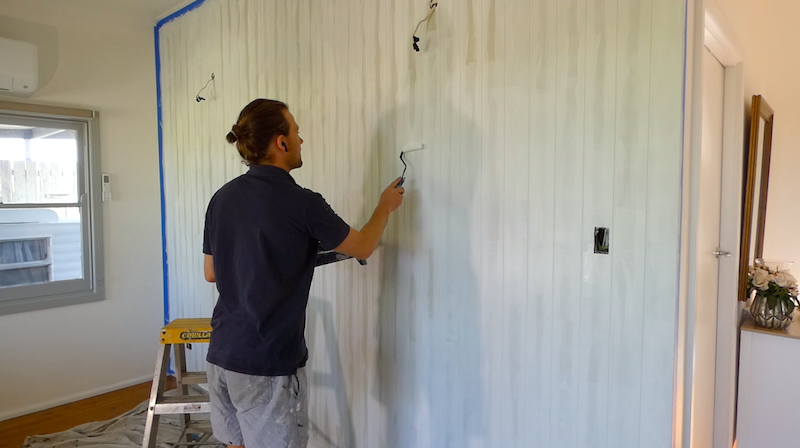
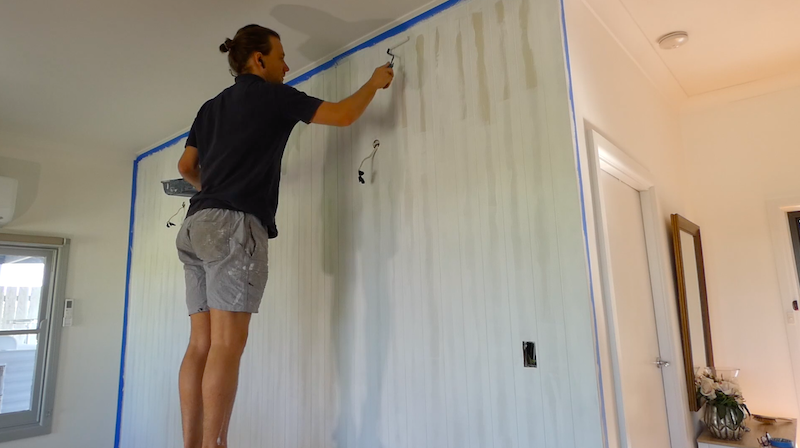
The technique I use to achieve the best result is to use a brush and paint the V jointing with an undercoat primer. Vj Panels are a bit more time-consuming to paint than a regular plaster wall due to the V Joints in the panel that needs to be painted separately with a brush. It’s worth the extra work to achieve a fantastic result.
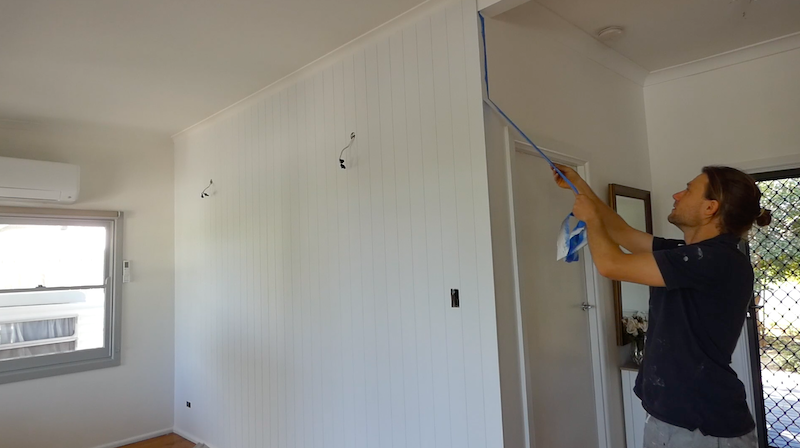
The next step is to follow with a roller to finish off the undercoat. Once the undercoat is dry, I’ll then repeat the process using two coats of wall paint. I’m using a water-based acrylic shade of white named grayscale.
Now all the painting is finished, all I have to do is remove the tape and do a quick cleanup.
The last step is to install the electrical fittings
The last remaining task is to get the electrician to reconnect the lights, switch, and PowerPoint, then we are all finished for the weekend.
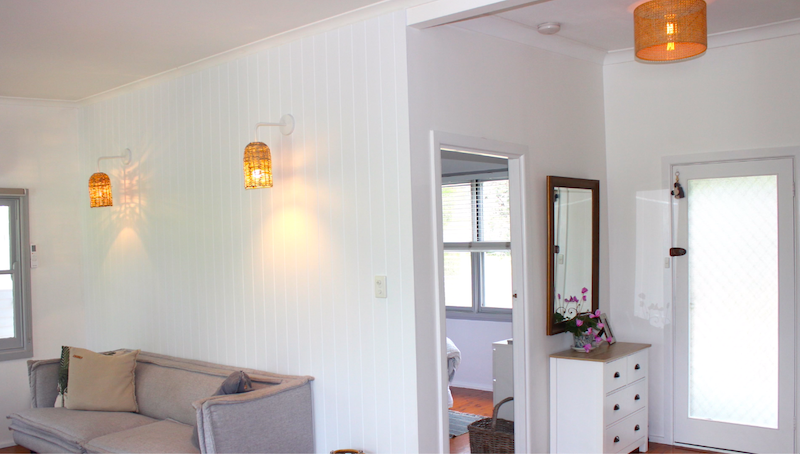
It’s been another fun weekend of work with a good result. thanks for reading the article. I hope that you have learnt how to install wood paneling on plaster walls. I’m happy with the V Jointed wood panel finished surface. They have made the space much nicer to spend time and relax in this room. This technique I’ve shown can be used to renovate any room in the house.
Please let me know in the comment section below any excuses you have for not working on the weekends. Mine don’t seem to be working any more working anymore. I would like to hear what you think about this project and what your DIY projects are.