Hey, folks! I’ve got a super cool project to share with you today. We’re diving into the world of vehicle drawers. Picture this: two sliding drawers, made from trusty plywood and heavy-duty sliders, installed right on the back of my truck. And guess what? My amazing brother, the mastermind behind undercover creative, teamed up with me to make this storage dream a reality. Our mission?
To create some seriously sweet extra space for all my tools and camping gear. The best part? This design is versatile enough to work its magic in your home, workshop, office, or any vehicle you can think of.
So, here’s the deal. My work tool trailer had become a bit cramped, and I needed more room for my ever-expanding tool collection. My first thought was to buy a shiny new aluminum tool trailer. But here’s the catch—due to inflation and other factors, purchasing a new one had become quite a challenge. The local manufacturer had stopped producing them altogether due to unpredictable fluctuations in material prices. That’s when I had my light bulb moment.
The Cost-Effective Solution:
After some careful consideration, I realized that building custom sliding drawers from plywood would be a much easier and more affordable option. By installing a canopy on the back of my trusty ute, I could optimize the existing space I already had. Plus, let’s face it—DIY projects are always more satisfying, right?
There is a detailed YOUTUBE video below that goes through the entire project. We also have a professional set of plans available HERE to make the job easy and smooth.
My next idea was to create some extra storage space by building two large sliding drawers. I installed a waterproof canopy once the plywood drawers were completed, to keep the storage space on the back of my truck waterproof.
I thought this was a great way to save some money while I searched for a new tool trailer. The canopy will create a lot of extra storage space for work and leisure. The new drawers will be fantastic for work and useful for storage when we go camping. Good aluminium tool trailers are expensive. So I’ve decided to keep saving.
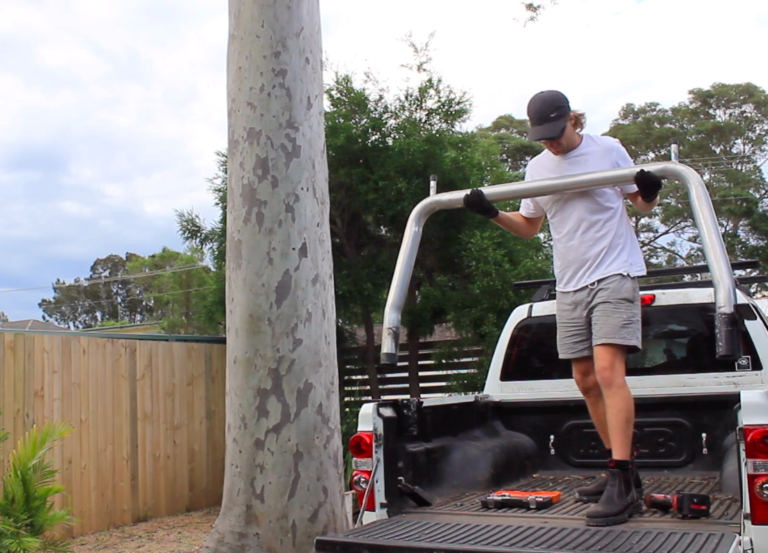
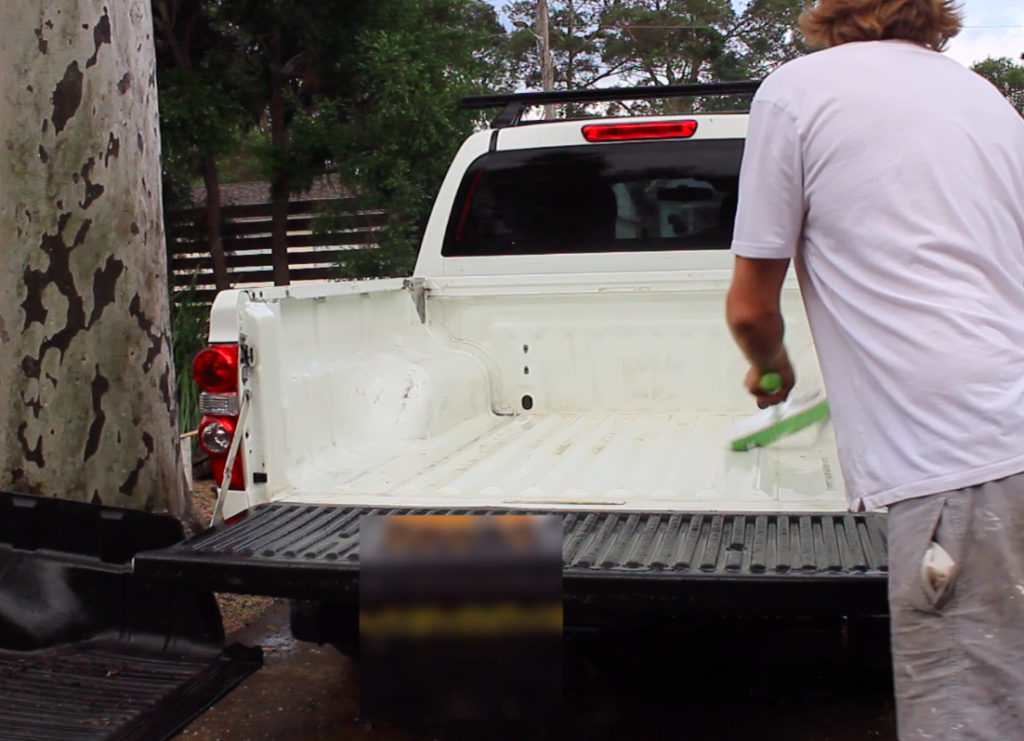
Ok, now I’ll go through all the steps in creating these heavy-duty sliding drawers. I start by removing the back timber rack and the plastic tub. Then I’ll move on and clean the back of the truck. I ensure all dirt, dust, and grime is cleaned from the tray. If there is any signs of rust, treat the area where the drawer system is to be installed.
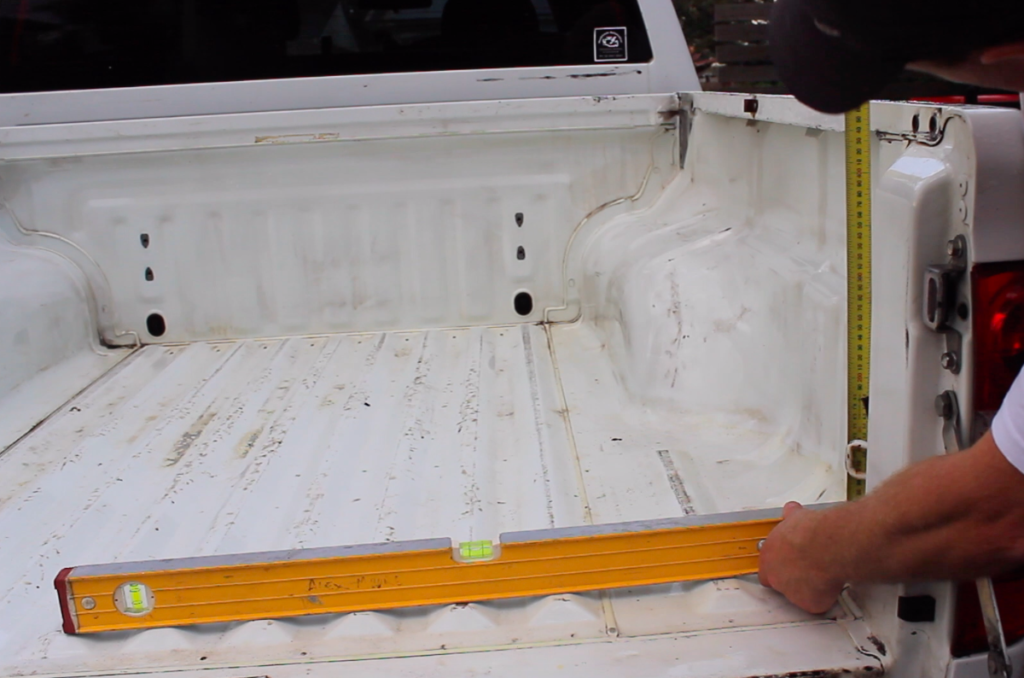
Stage 2 - Measure and cutting lists
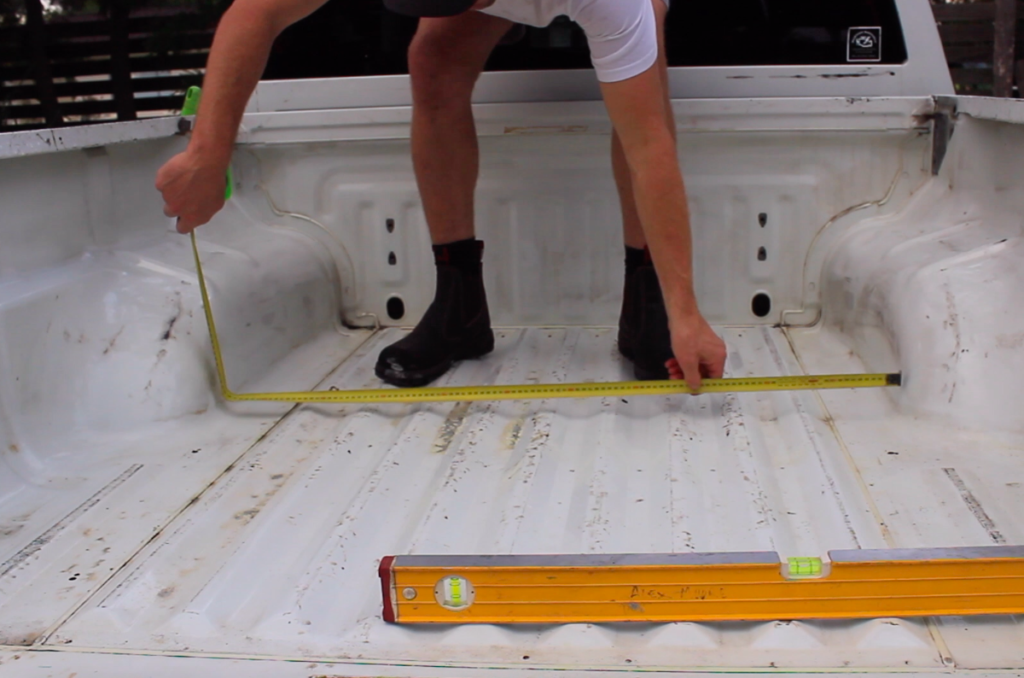
The next step in creating this sliding drawer system is to obtain a few measurements. I will need to measure the width, length, and height of the back tray. These measurements will determine the size of the draws once I make the allowances for gaps, plywood frame, and hardware.
Length =
Width =
Height =
I want to maximize the height of the drawer. Therefore I’ll aim to have the top of the platform cover finish 50 mm below the top of the ute tub. This allows me enough space to attach the canopy after the drawers have been installed.
If you want to make the process easier we have created a set of detailed instructions with drawings you can use as an extra resource for this video. The instructional manual will be available in a link in the description below.
Set of detailed instructions and design drawings available
Stage 3 - Cutting plywood
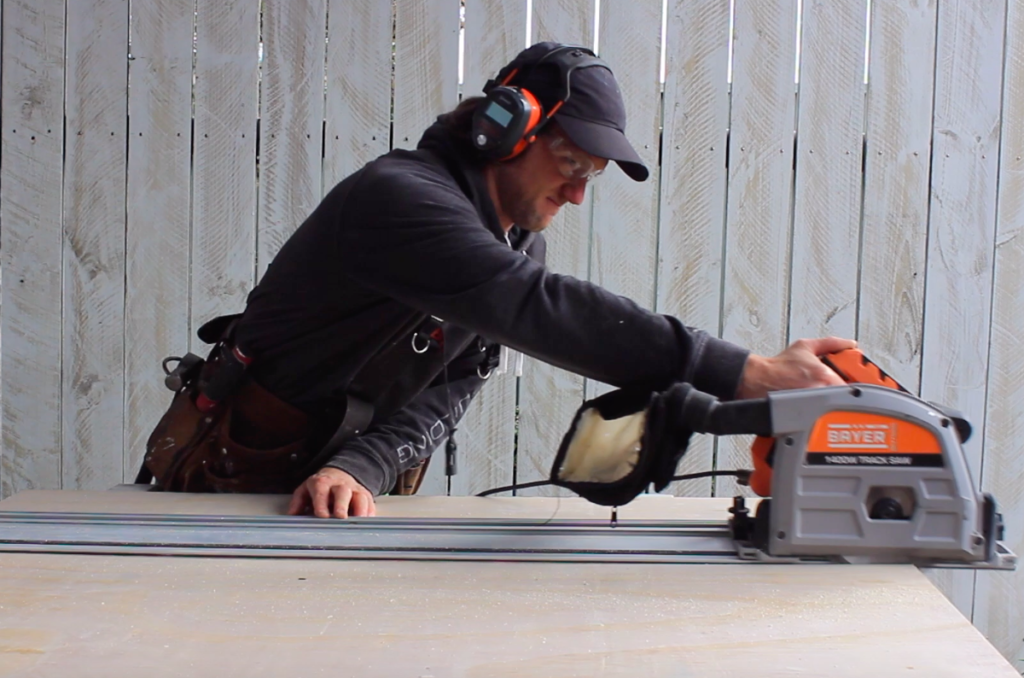
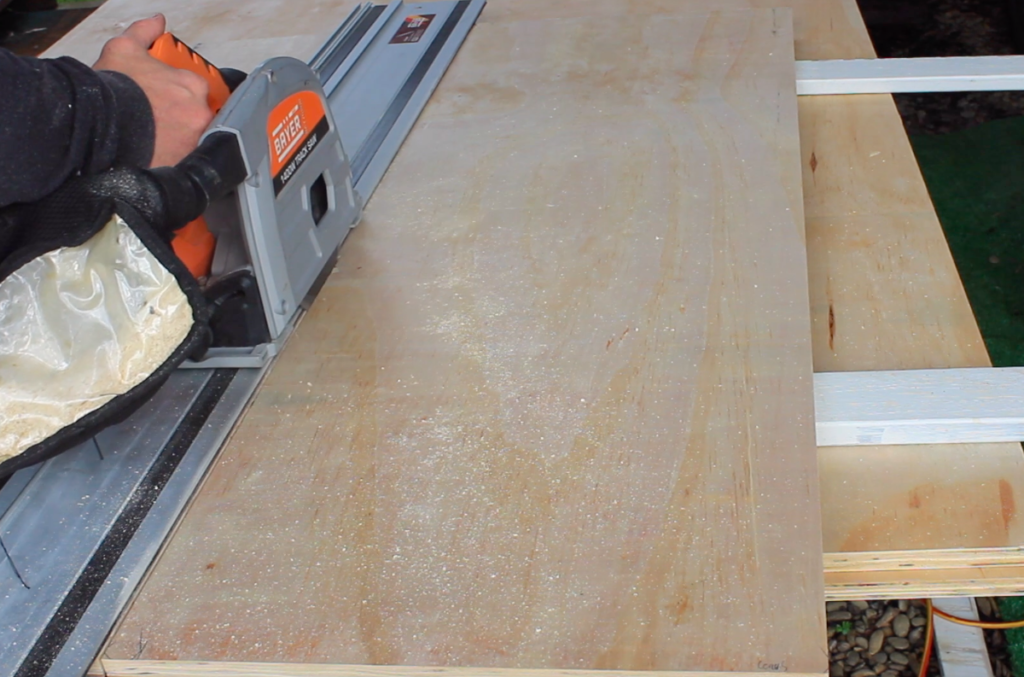
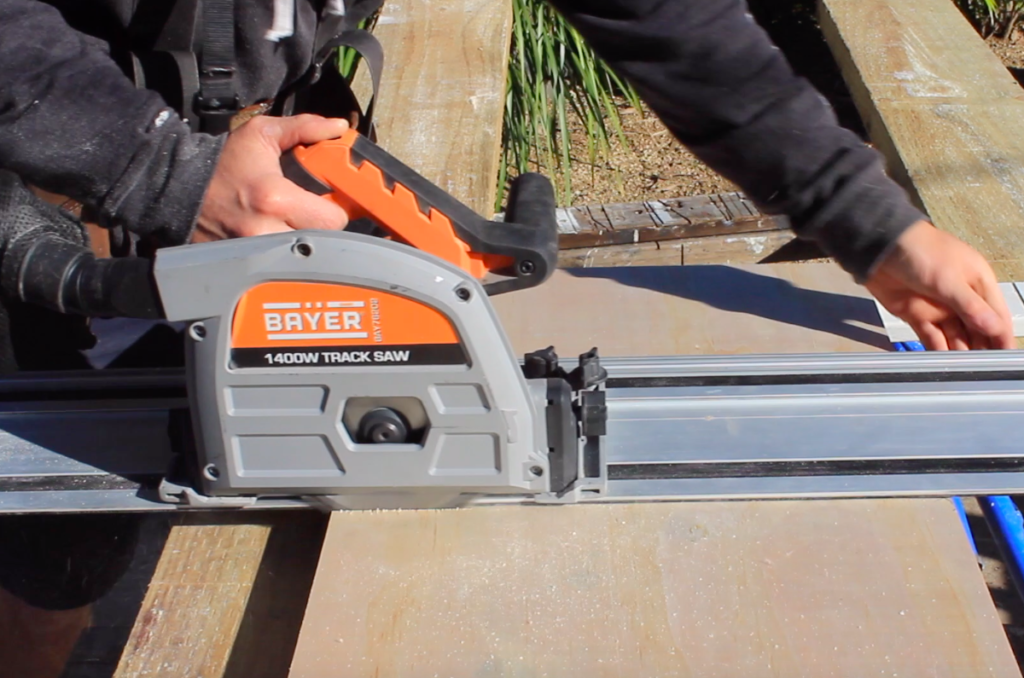
Once I have all the required measurements, I make a cutting list. Using a track saw to deliver straight cuts. I cut all the plywood sections for the carcass and drawers. If you don’t have a track saw, you can set up a straight edge with clamps and use a circular saw to achieve straight cuts in plywood.
stage 4 - carcass and drawer assembly
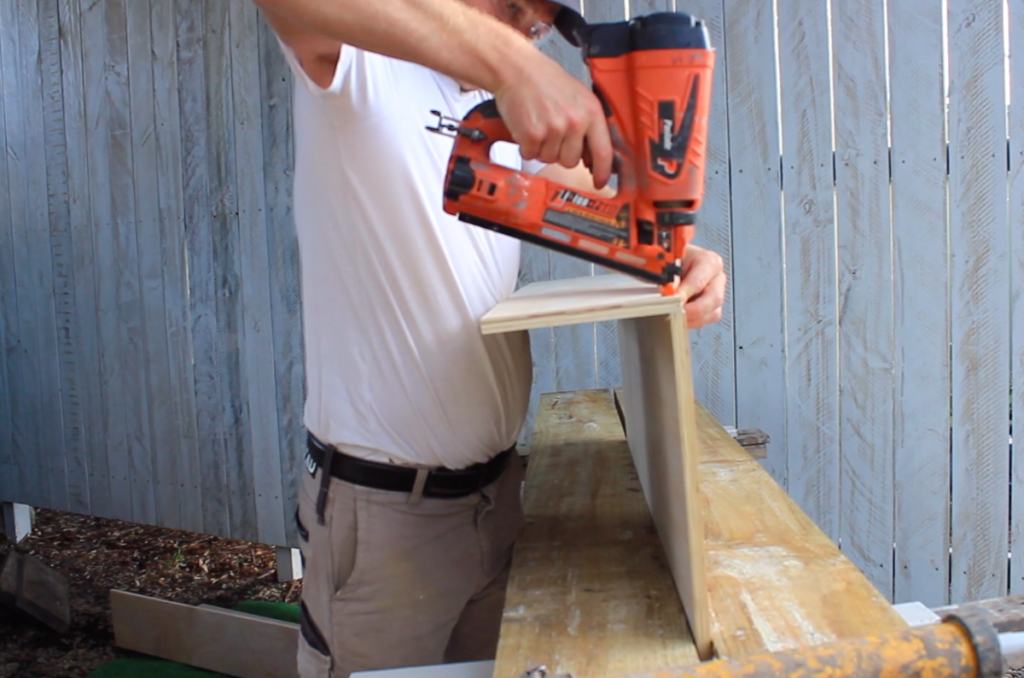
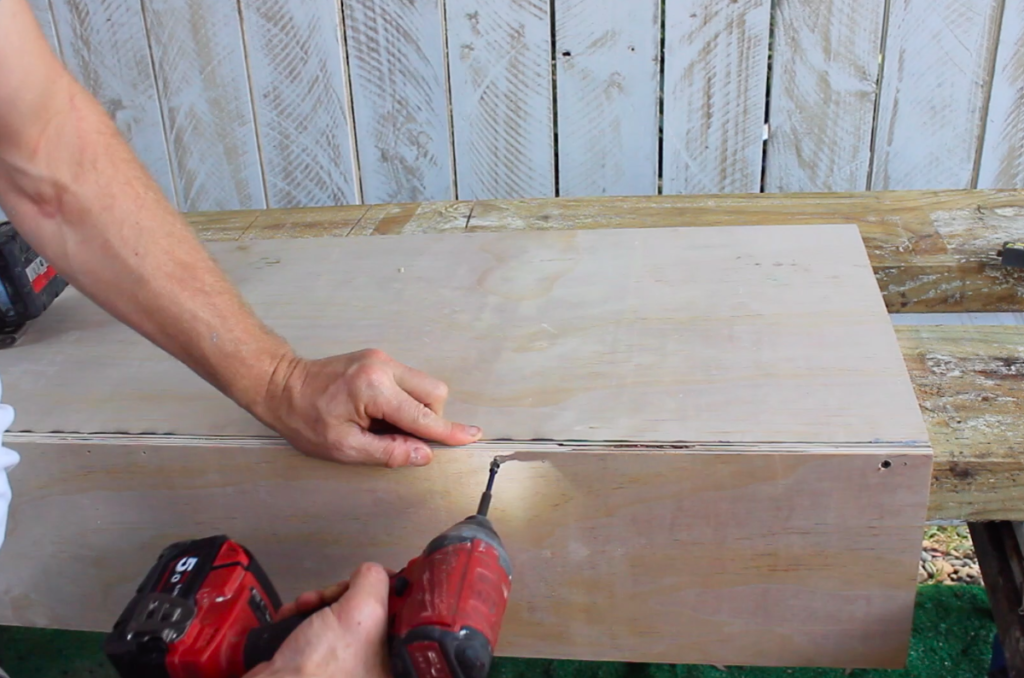
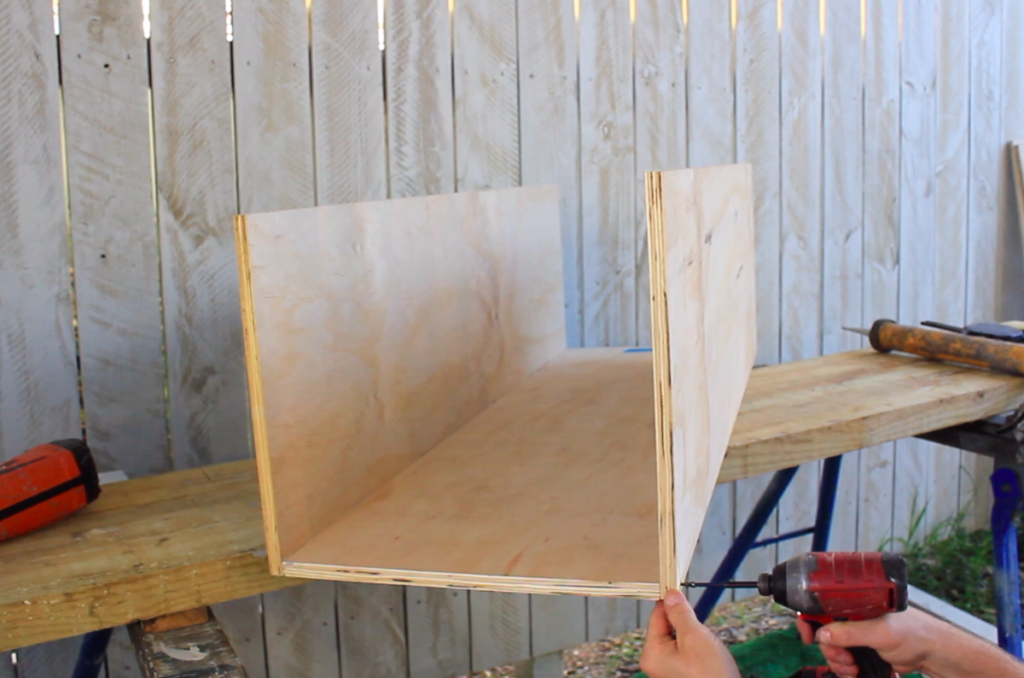
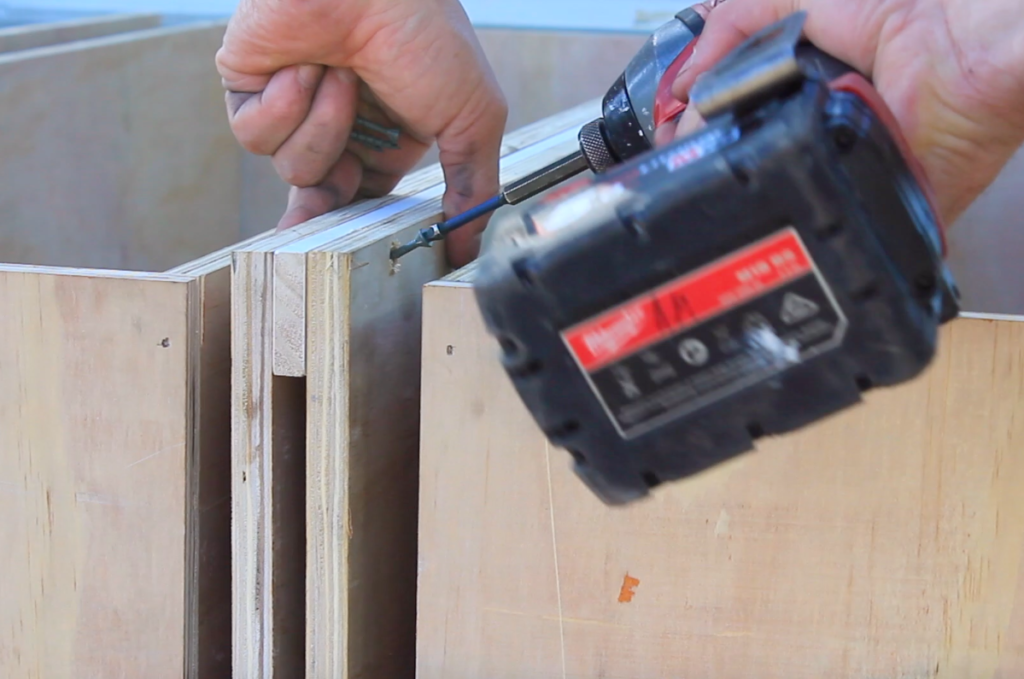
Once the drawer and carcass plywood sections are ready, the next step is to glue, nail, and screw the plywood sections together. I like to use a flexible adhesive to glue the drawers together. PVA wood glue is also good to use. I’ll use 40mm brad nails and eight gauge 40 mm screws to secure the plywood together. Remember to pre-drill before screws to ensure the plywood doesn’t split.
It’s always easier to work from a comfortable workstation. I like to set up a temporary workbench using a couple of saw stools and two timber planks. I then place the plywood frame on the bench to help hold each section into place as I glued, nailed, and screwed the carcass and drawers together.
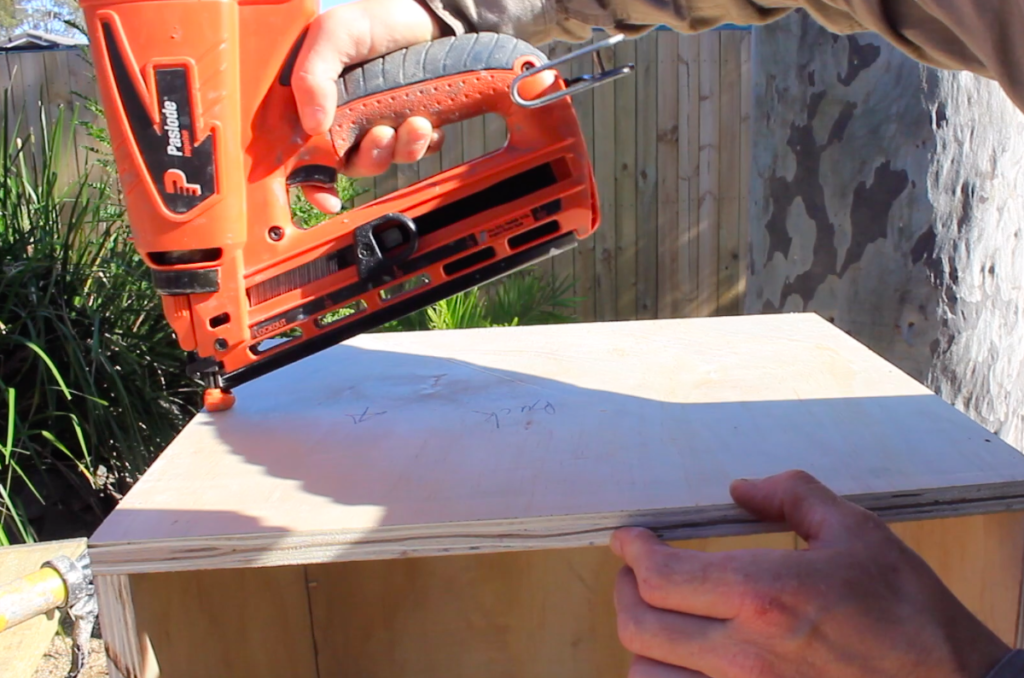
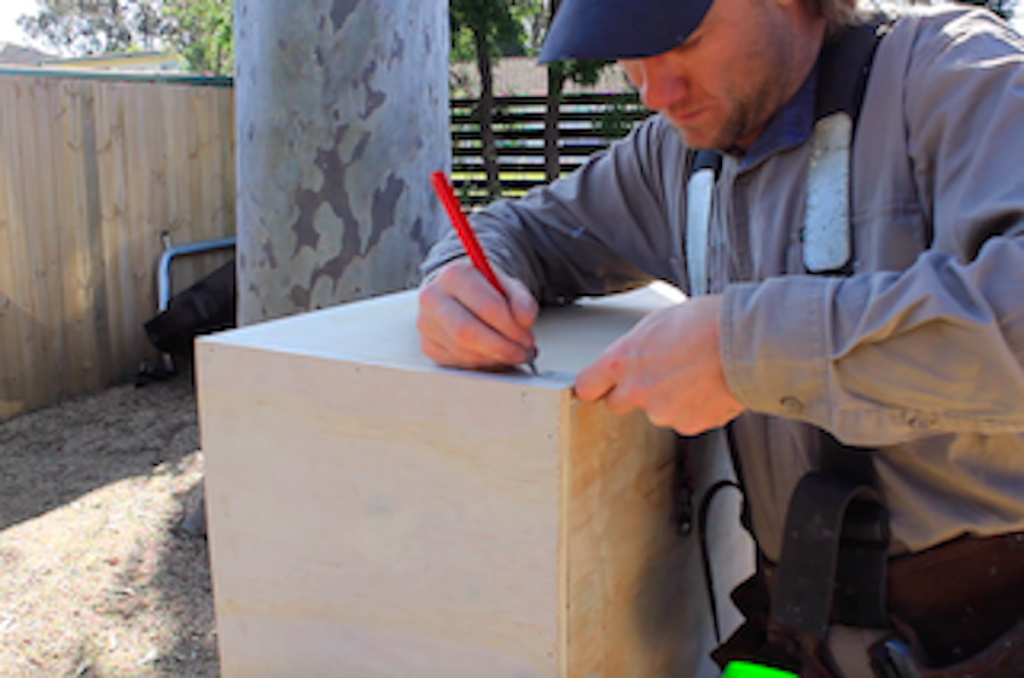
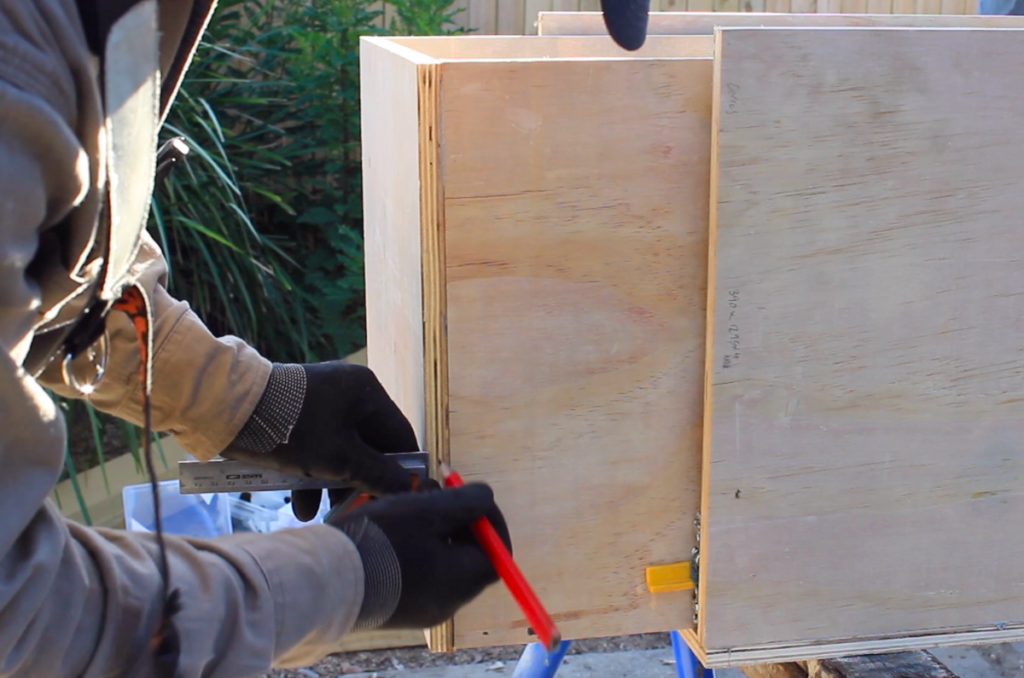
Now that the carcass and drawers are 90 percent finished. The next task is to measure and cut the end panels of the drawers. I wait for the drawers to be assembled before measuring the end panel to ensure a perfect cut.
Once the end panels are cut to the correct size, I only need to glue, nail and screw the panels into position. Ok, the drawer boxes are finished. I can move on to the next step of attaching the drawer sliders.
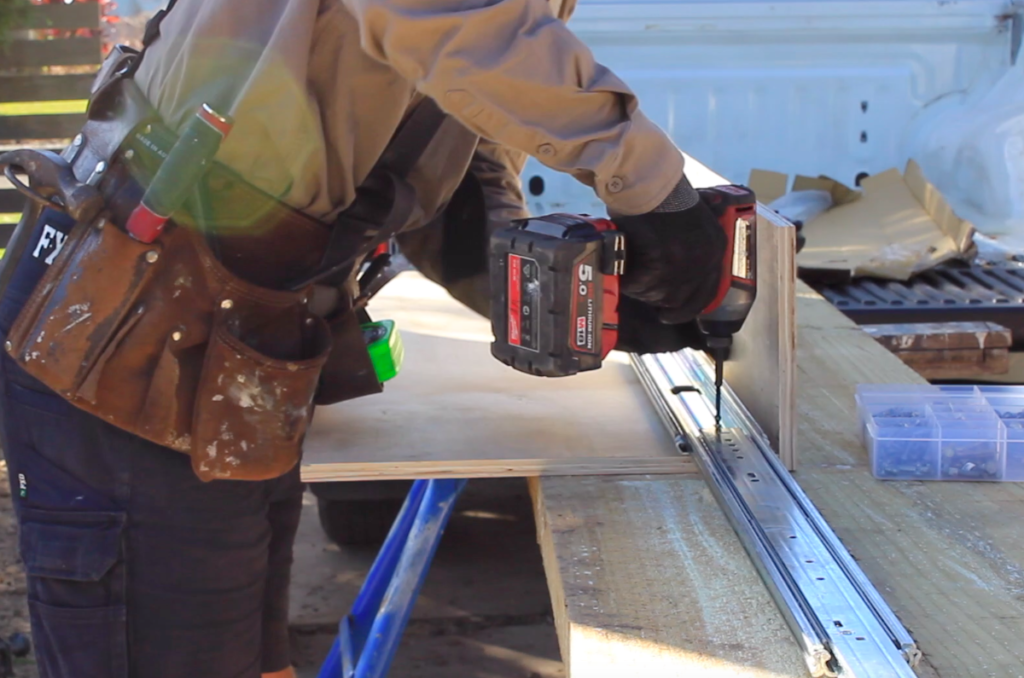
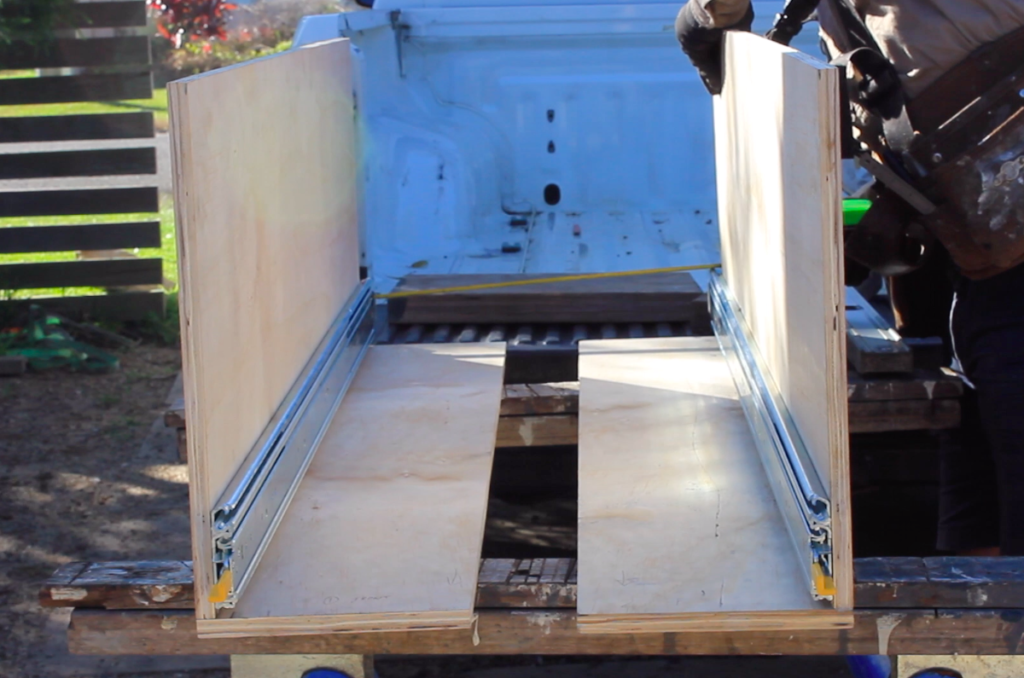
Once all the frames are fixed together, I can connect the drawer slides to the carcass frame. I’ve set up this system for the draw sliders to finish with a 10 mm space between the drawer and the carcass. This 10mm allows plenty of room for the drawer to slide smoothly.
Next, I mark the centre line of the drawer slide position onto the carcass and drawer. As I want a 10 mm gap under the drawer and the drawer slides width is 80 mm, the center line for my drawer sliders will be marked 40 mm from the bottom of the drawer, and 50 mm from the bottom of the carcass.
The line I marked into the draw is what I follow to screw and fix the drawer sliders into a straight position. Each side of the drawer will have a drawer slide attached. Make sure this centre line is marked accurately.
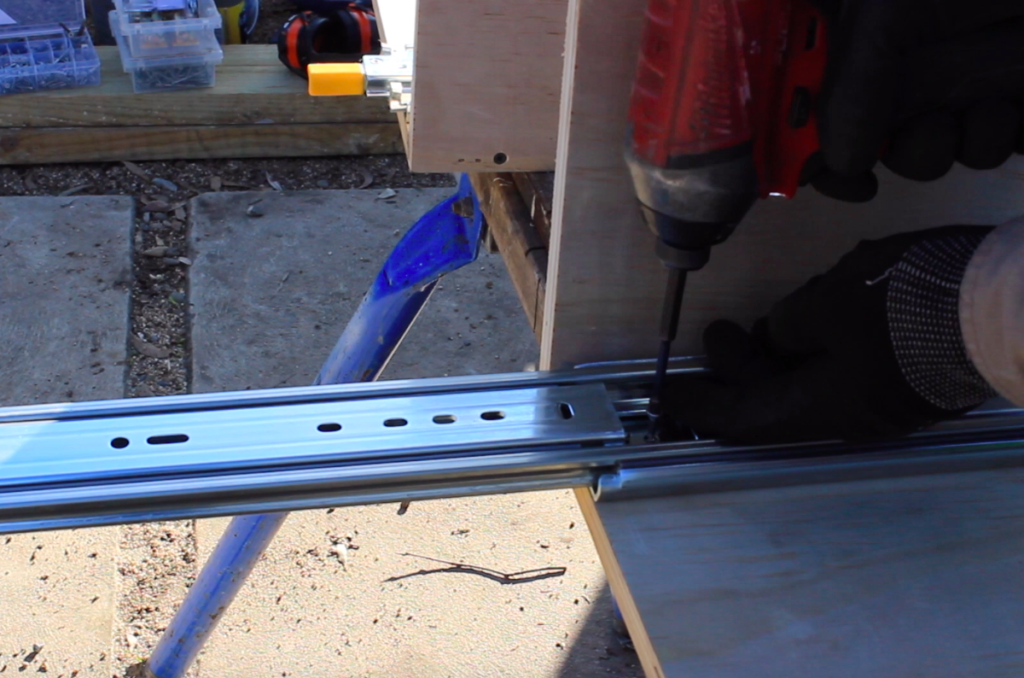
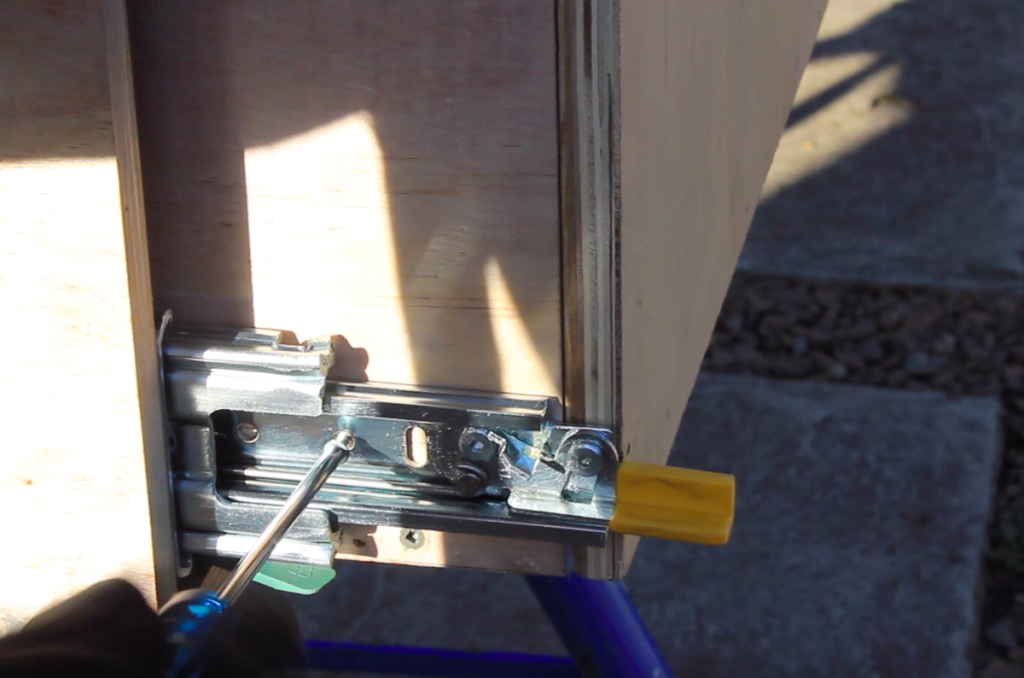
Line up the front of the drawer slide with the front of the carcass. Then Fix the slider into position using the holes provided in the slider and along our 50 mm centre line marked onto carcass.
I’m using 15 mm screws to ensure that the screws don’t penetrate through the other side of the plywood. Then I’ll follow along with 6 mm stainless steel bolts to securely fasten. Once the drawer sliders are attached to the carcass, I can now fix the drawer into position.
The easiest way to install the drawers is to set up a workbench or a couple of saw stools. Then set the carcass frame onto the bench with the sliders fixing into position.
Measure the size of the opening to make sure it will fit between the frame, and then add the 10mm packers on top of the carcass to represent the space under the drawer. These packers will also help hold the drawer in the right place while fixing it into the sliders.
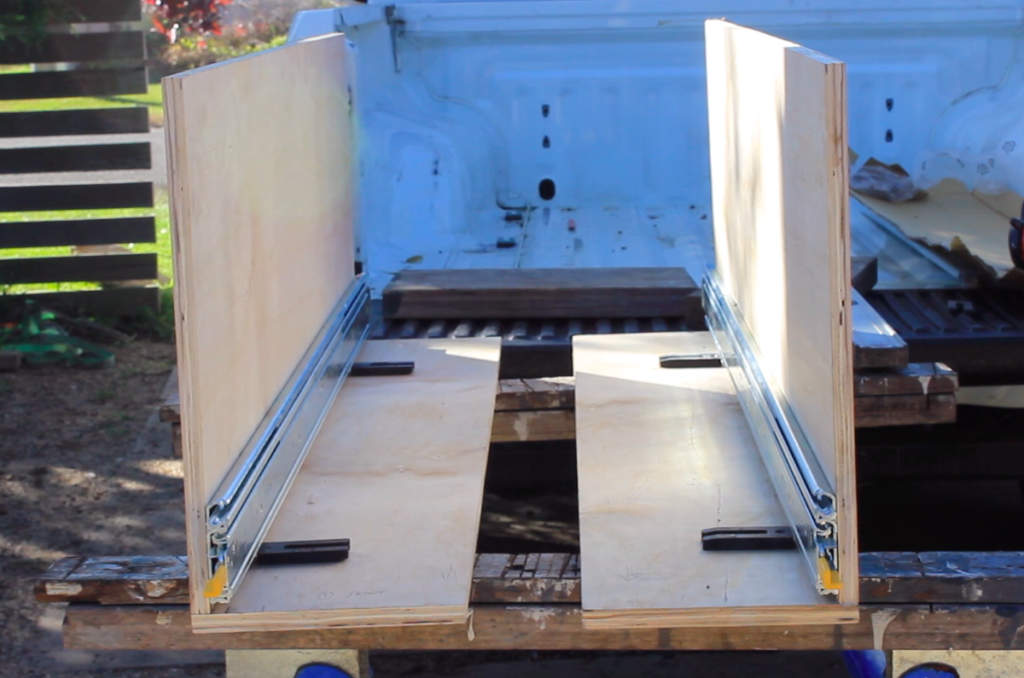
The benefit of this system is that the carcass is in 2 pieces. which make it easy for the frame and drawers to lock into a square position. This is critical for allowing the draw slides and operate smoothly.
To fix the drawer to the drawer slides, place the carcass with the sliders attached to a couple of saw horses or a work bench. Place, 2 x 10 mm packers on the carcass to give the required gap. I’ll then place the drawer into position on the carcass. next, I mark a 2.5 mm quirk around the front of the drawer. This will allow the draw to finish flush with the frame.
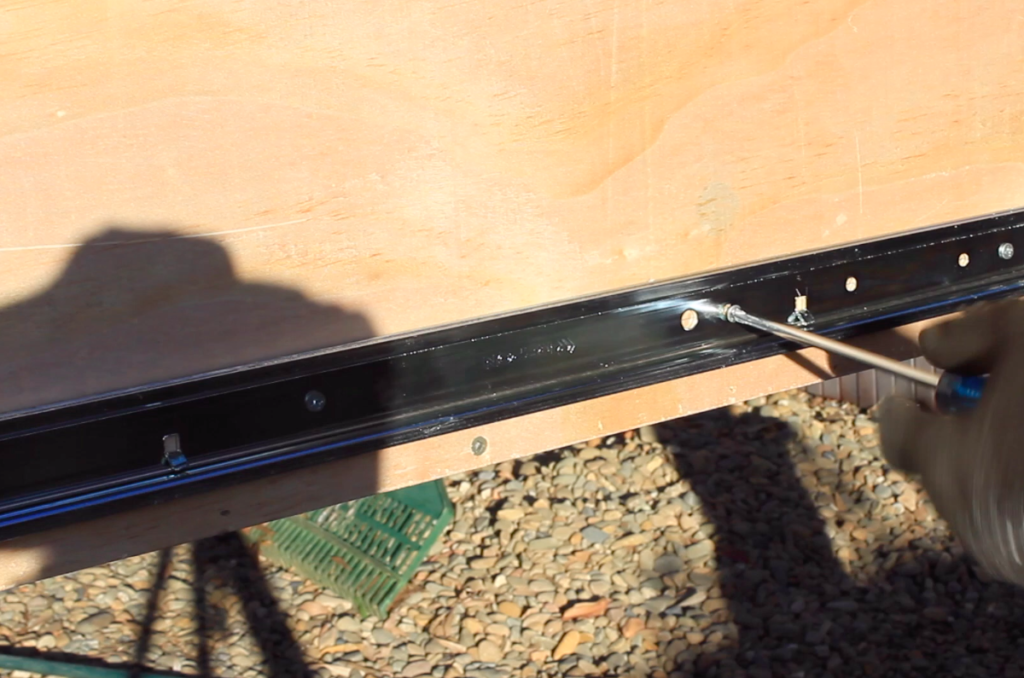
I slowly pull the draw out from the frame and install the screws along the straight 50 mm line I’ve marked along the drawer. Clamp the back of the carcass to stop it from lifting as the draw slider is pulled out.
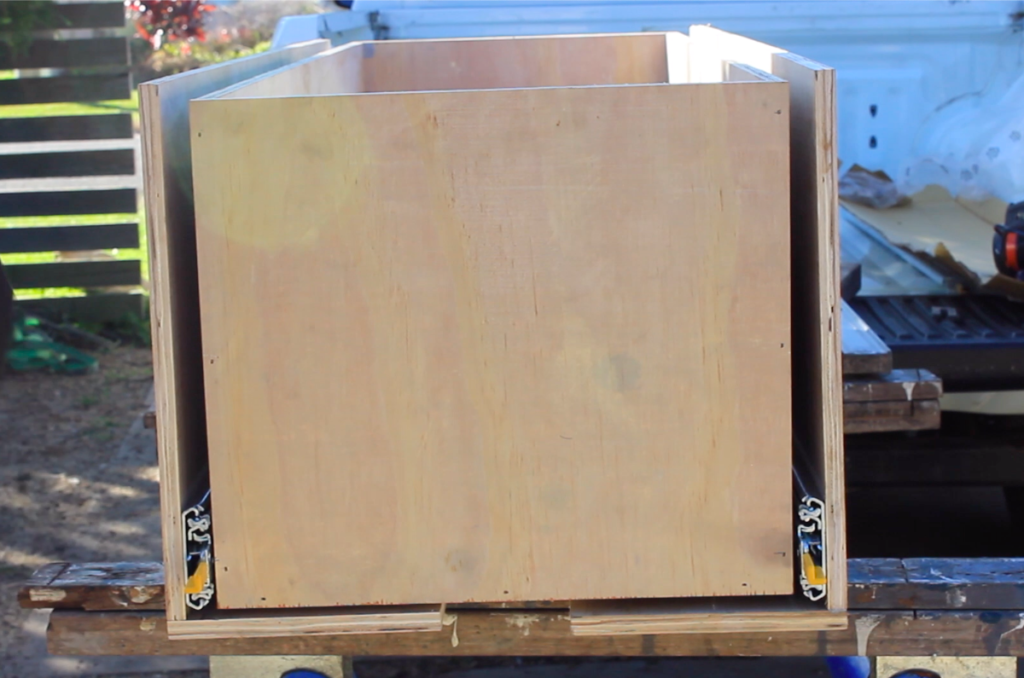
Once I have fixed both sliders installed into both sides of the drawer I can move on to the second drawer unit and repeat the process.
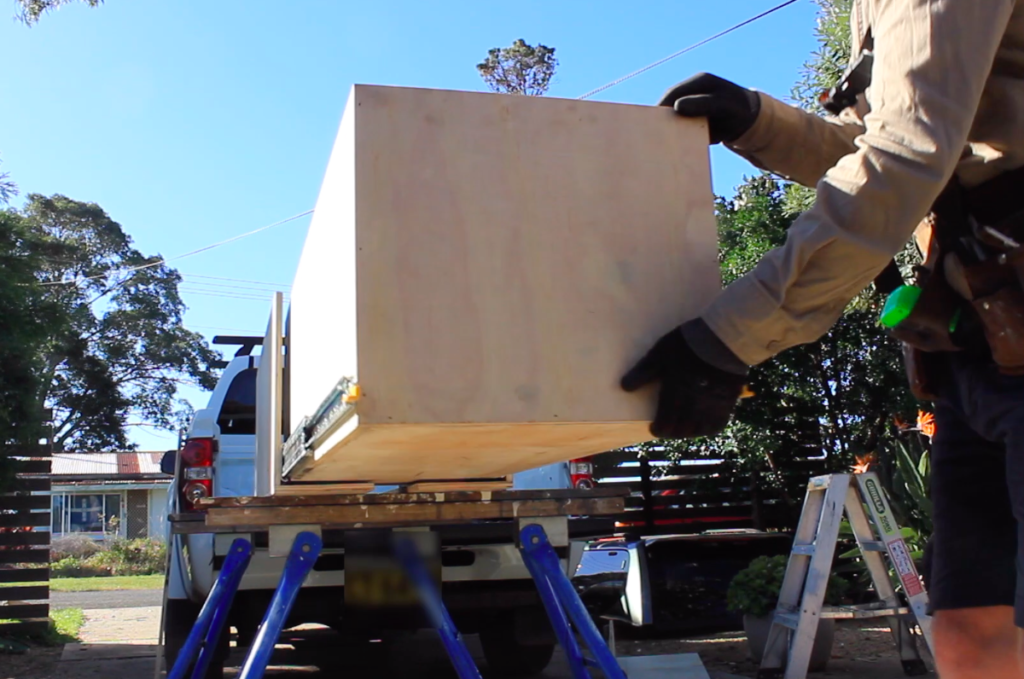
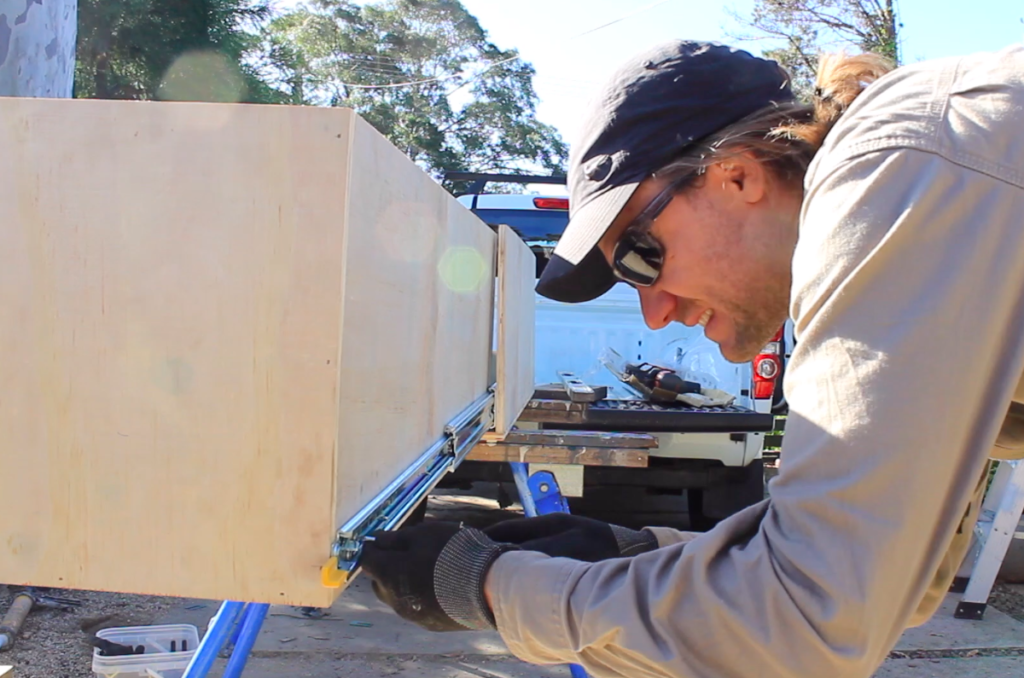
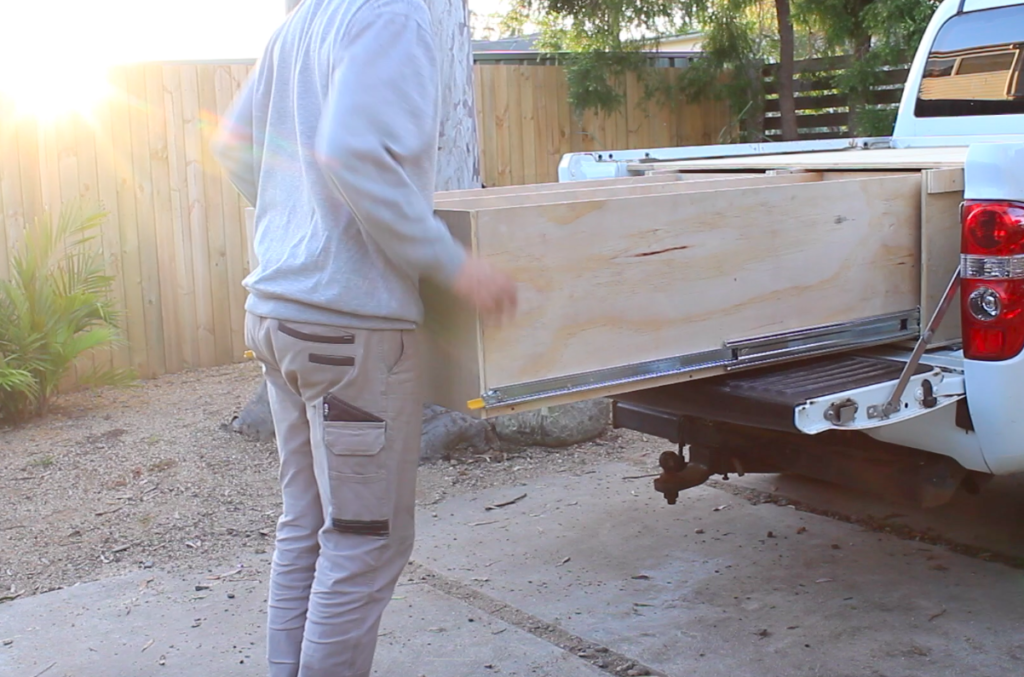
As you can see here the drawer is opening and closing freely. I just need to move the clamp out of the way for the drawer to close fully. I can slide the draw onto the back of my truck to free up my saw stools, And get ready to build the second drawer unit.
One of the benefits of learning this design is that once you can create one sliding drawer system you can repeat the process to build multiple sliding drawers. I have left the footage of me building the second unit in the video just in case I missed anything the first time around.
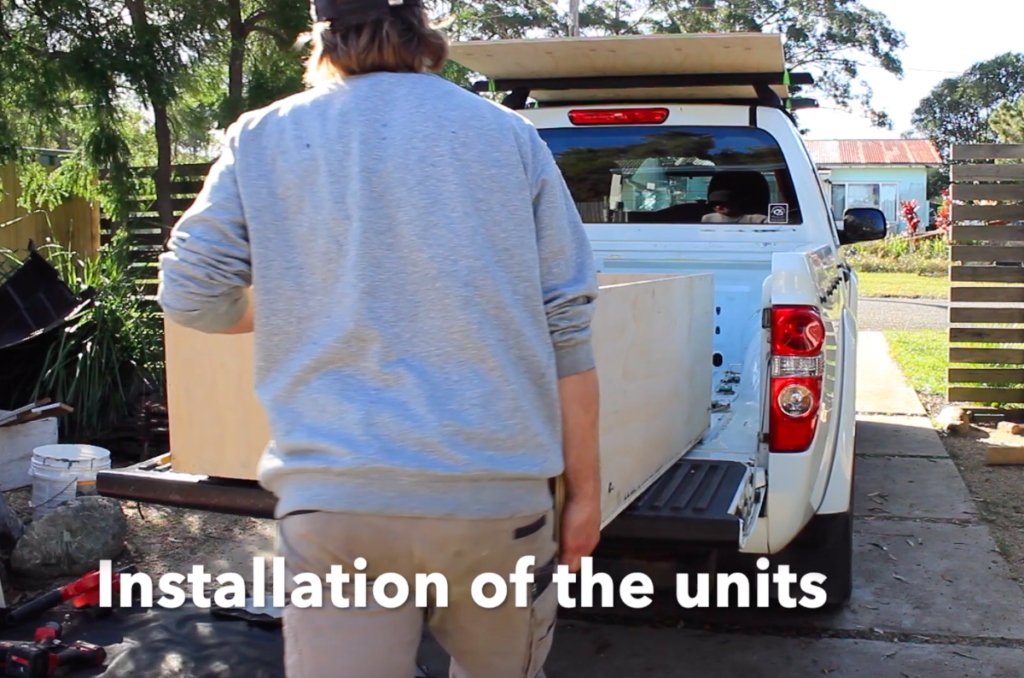
Stage 7 - installing the units
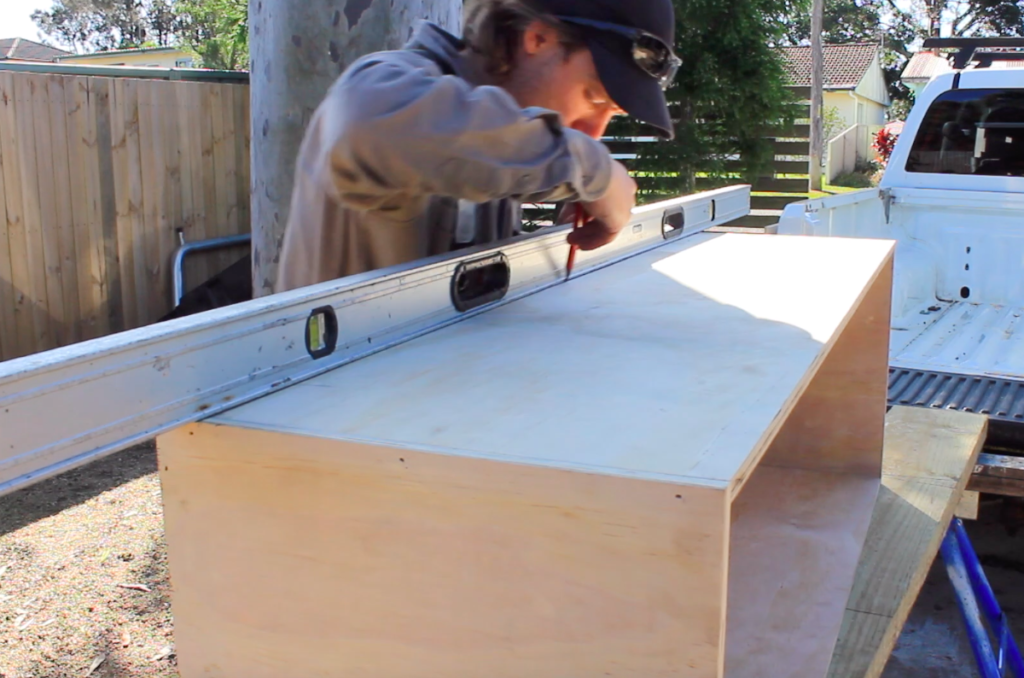
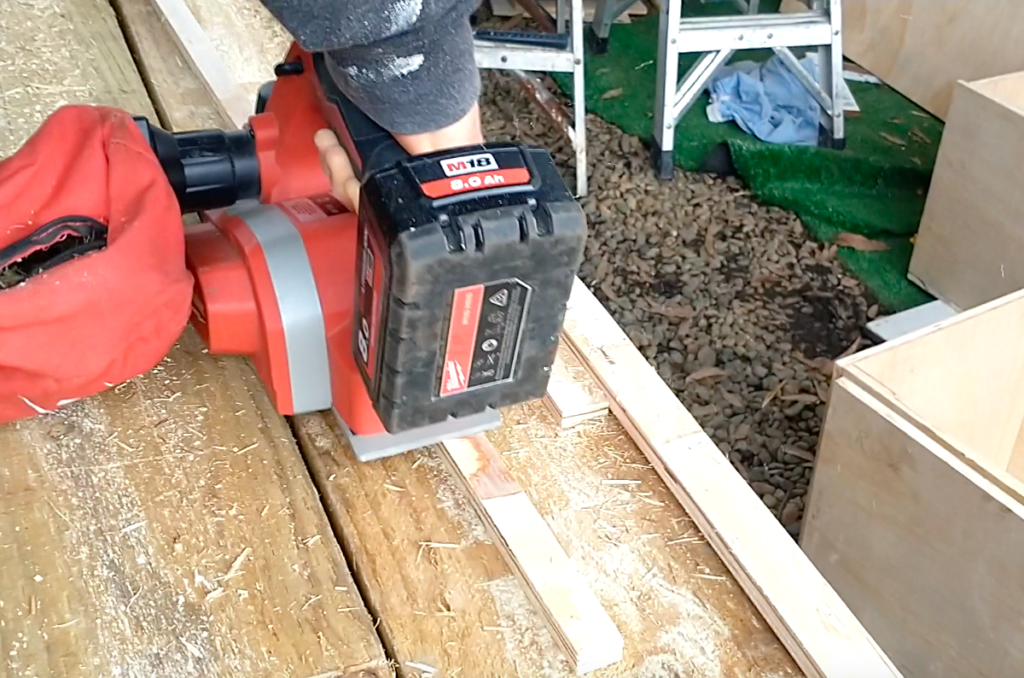
As the bottom of the ute tray has an uneven rippled profile, I rip and plane down some plywood strips to pack the carcass frame straight.
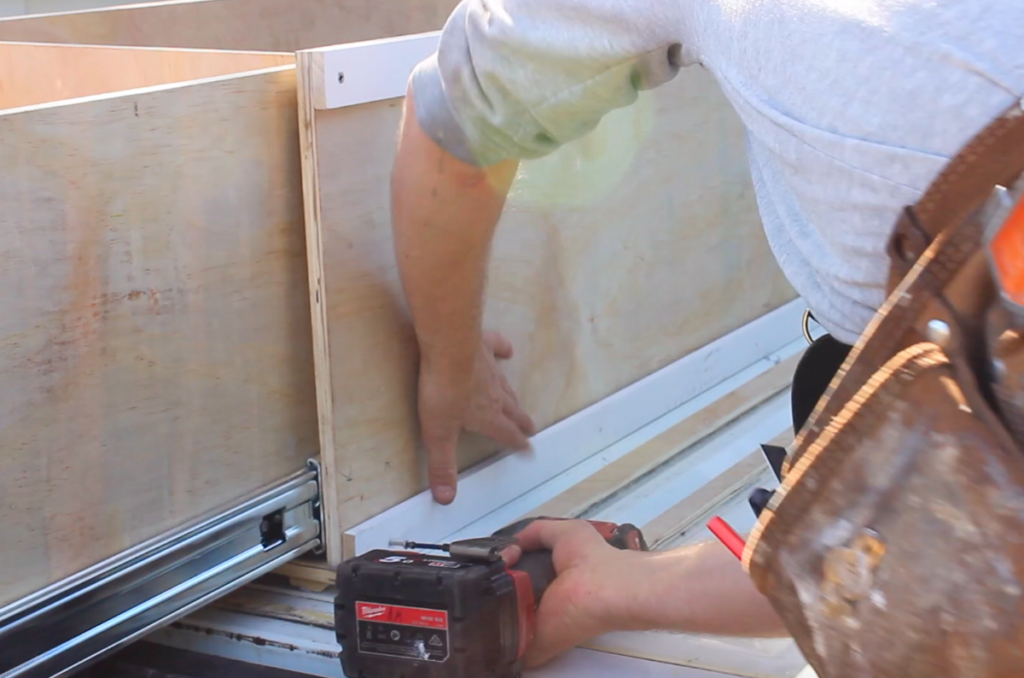
Once the bottom of the tray is packed flat is ready to install the unit. I can slide it into position and then screw it down using hex head metal self-tapping screws. Then, I use 2 x 10mm high tensile steel bolts in each carcass to securely fit. Make sure to check that there are no pipes or wires under the tray that will be hit when drilling and screwing.
I am attaching two lengths of 12 mm x 40 mm pine onto the side of the frame to pack out a space to ensure there is enough clearance for the 6mm bolts securing the draw sliders. Once both drawer units have been installed securely to the steel ute tray I can screw the 2 units together at the top middle section of the frame.
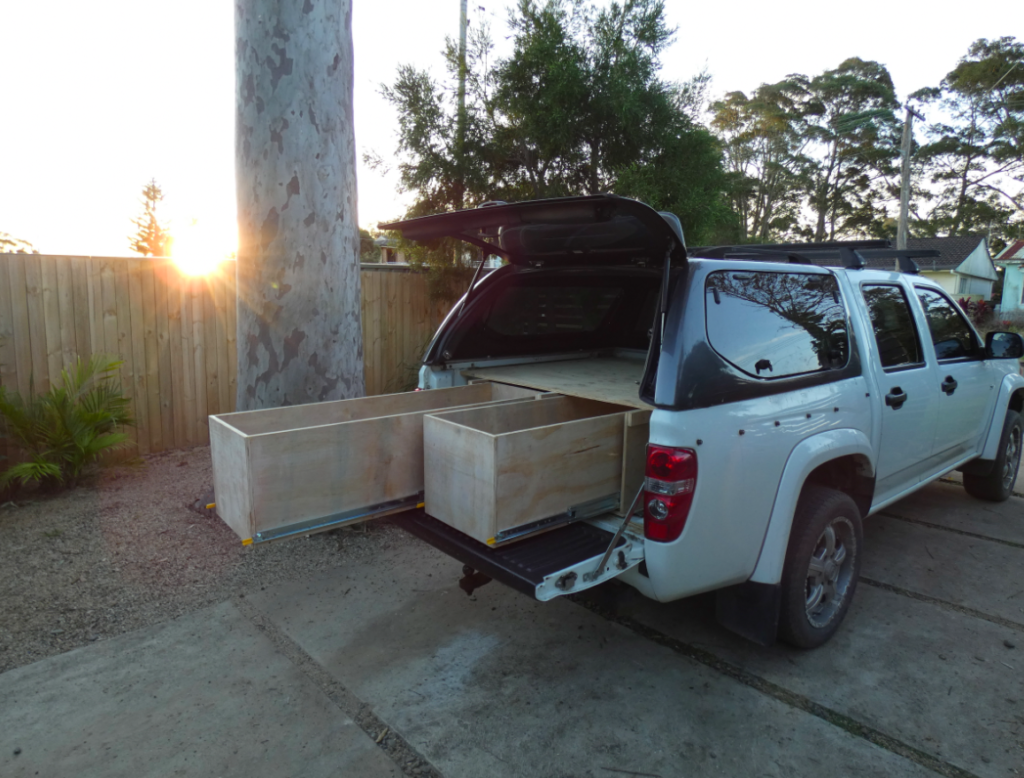
Next, I add a couple of extra pieces of plywood on the sides of the frame for the plywood platform. Now that the last piece of plywood is cut to sit on top of the drawers. This will allow a lot of extra waterproof storage. I’ll just cut the ply to the correct size, place it into position, then screw it into the plywood frame.
As you can now see the drawers open and slide smoothly and have given me lots of extra storage space for work and travel. I have two new drawers at 1200mm long x 370 in height x 420 in width. This will allow me plenty of extra waterproof storage for work and travel. The only remaining job is to give the plywood quick final sand then load my tools into the drawers.