By installing decorative VJ paneling you can create a stylish wood panel feature wall in any room. The purpose of creating a feature wall is to add interest to a room through texture, contrast, and colour.
This project was to renovate the wall behind the bedhead over the weekend. There was a lot of clutter on this wall that we wanted to simplify and create a clean, interesting feature wall behind the bedhead. It was a busy weekend trying to get it all painted and finished in my day off work.
All the steps and details are listed in the article of written explaining the project. I have made a video set of instructions on how to create a feature wall- with lots of diy ideas included to help with the more visual learners.
Continue reading this post to see the five steps needed to create a wooden panel bedroom feature wall using VJ groove lining boards. You’ll be surprised to see how big an impact this simple DIY renovation project can make.
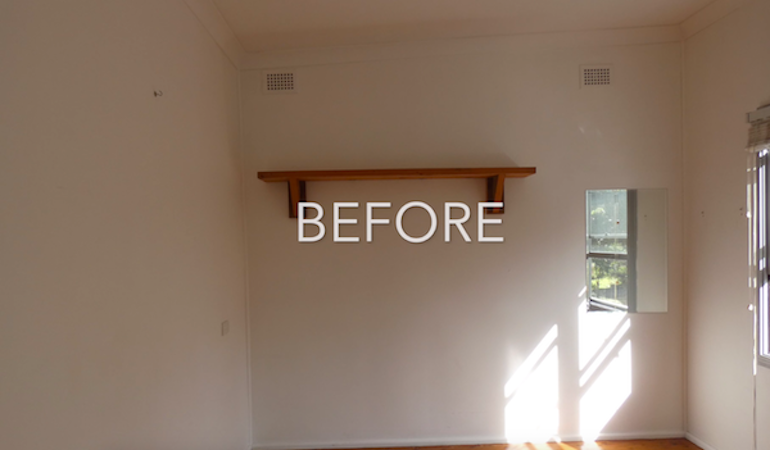
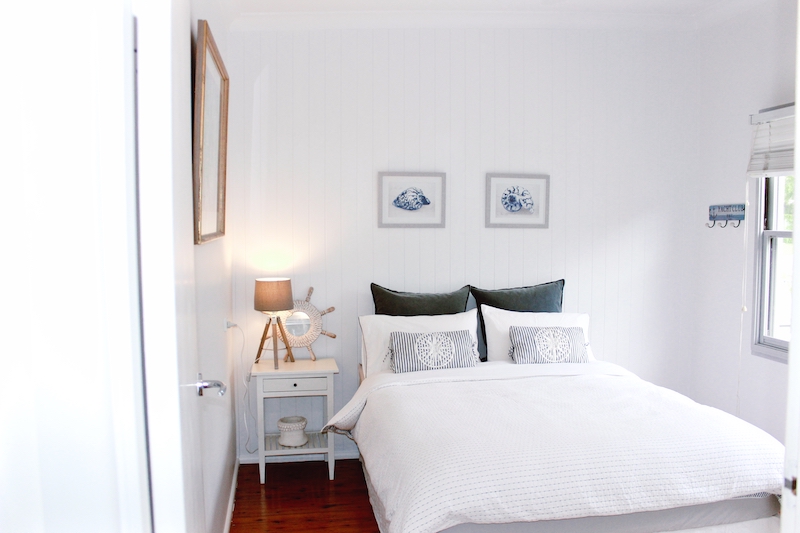
How to create VJ Feature wall - Before And After Pics
Step 1 - Prepare the wall and mark the timber frame
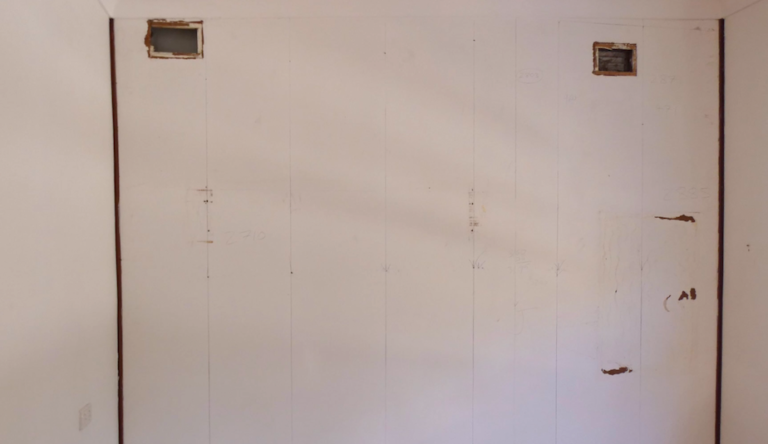
Ok, time to get stuck into it! First, prepare the planned feature wall to take the VJ lining sheets. We are going to go through and remove everything from the wall.
The aim is to achieve a nice flat surface to install the panels. We removed the timber shelf, mirror, timber trims, skirting, and the old vents to leave a lean wall to work on.
The skirting and trims will be re-installed after the VJ lining sheets are installed.
Don’t forget to find and mark the timber stud location on the wall. This will be what I will nail the sheets.To mark the stud locations, run a stud finder along the wall and when you hear the beep sound. Mark the wall, and run a vertical plumb line up the wall to mark the timber frame. The frame locations are transferred onto the VJ lining sheets to show where the nails go.
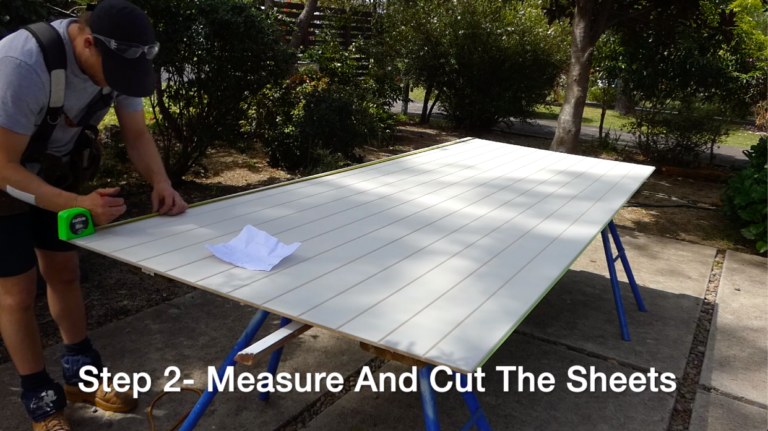
Step 2 - Measure and cut the VJ Lining sheets
The second step is to measure the sheets to the correct size, mark, and then cut the top neatly. The sheet will be measured to finish 10 mm from the floor and finish 3mm from the cornice. I will use a flexible gap filler to fill this 3mm gap before painting.
When Measuring, It’s important to leave a 6 mm space between the internal walls for expansion. All materials expand and contract with the weather. Give each material the required amount of space specified in the manufacturer’s installation instructions.
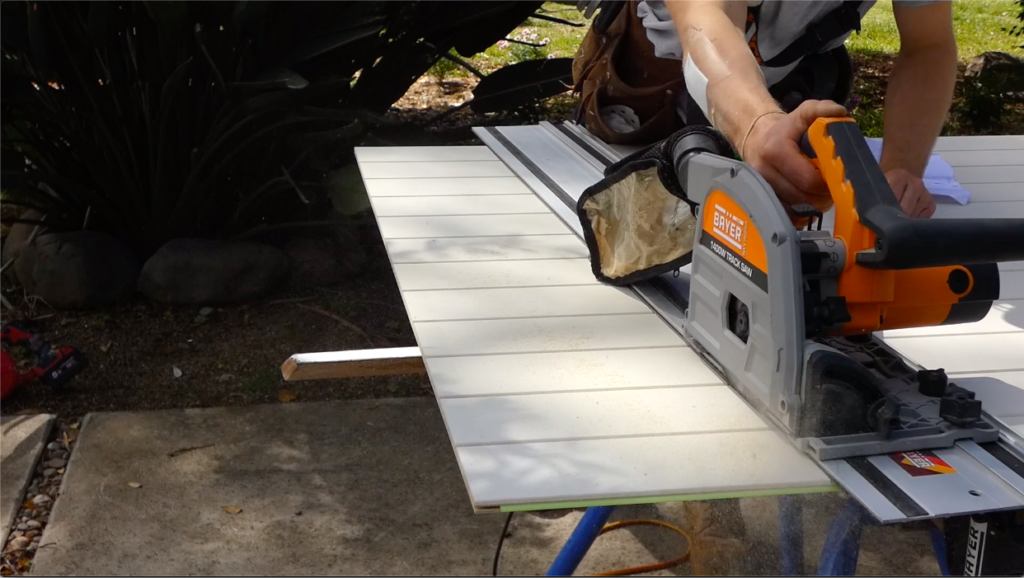
Cut the sheet with a track saw or Skill saw
I’ll cut the sheet to the correct angle to allow for the raked ceiling.
If your ceiling is flat, use the factory edge to meet into the ceiling and cut the bottom of the sheet. The skiting will cover the cut and hide any imperfections.
The top of the sheet will be exposed below the cornice, therefore this cut needs to be a good quality cut. I like to take my time and double-check my measurements. If you don’t have a track saw a skill saw is fine. Clamp a straight edge to the lining board and follow the saw along the straight edge to achieve the required cut.
I’ll use my track saw to achieve a clean cut. Then finish smooth with a light sand to make the cut edge smooth
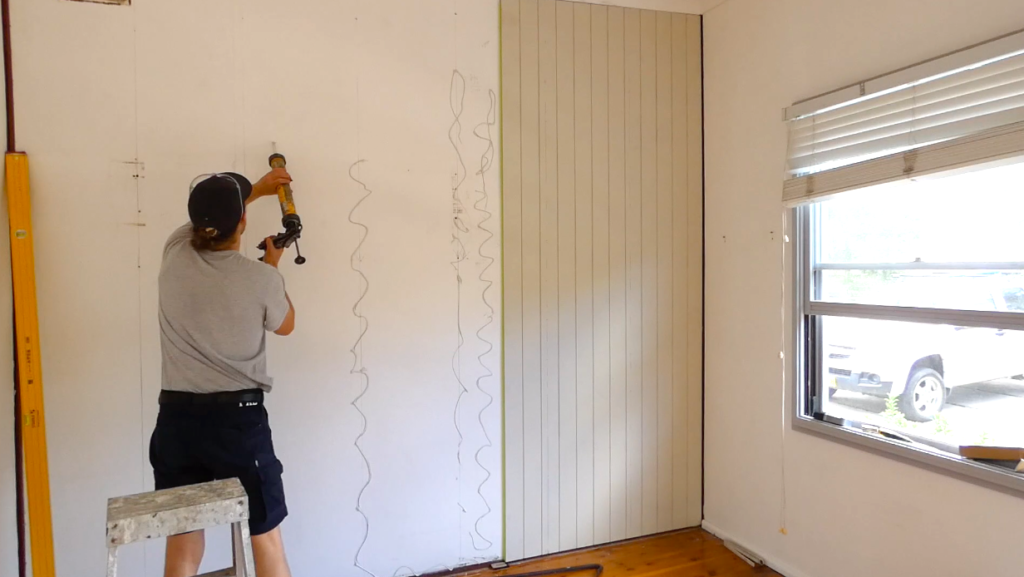
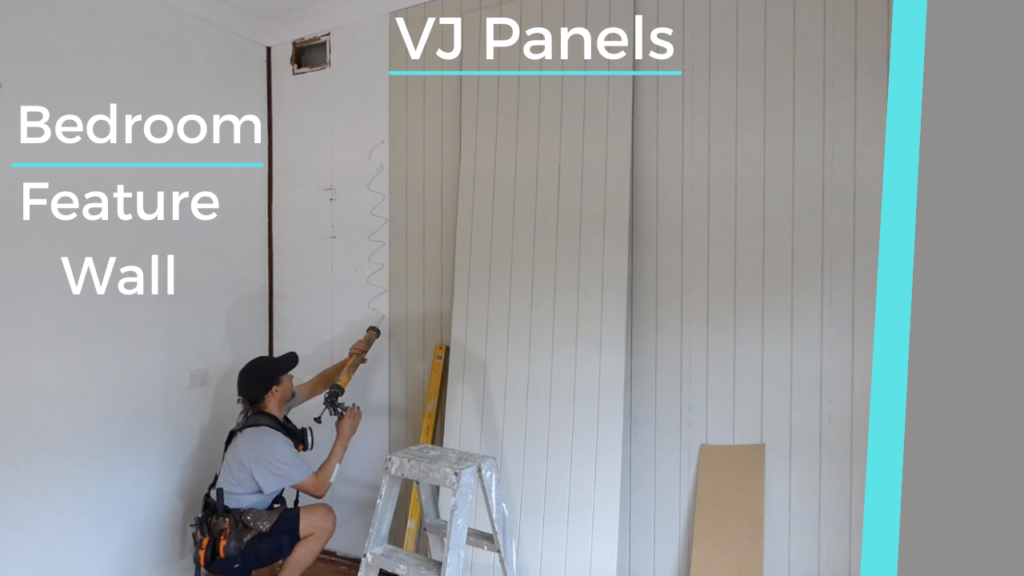
Step 3) Glue and Nail The vj Sheets into position
The 3rd step is glue and nail the VJ sheets into position. Transfer the stud locations from the wall location on to the VJ sheets before the glue goes onto the wall. Once the sheets are placed into position I will use these marks to nail through the sheet into the timber frame.
Firstly, apply a flexible adhesive to the wall for the sheet to stick onto. I then place the sheet on top of 10 mm packers and check its fits perfectly in the correct location.I want the sheet to fit with a parallel space of 3 mm under the cornice.
I then place the sheet on top of 10 mm packers and check its fits perfectly in the correct location. I want the sheet to fit with a parallel space of 3 mm under the cornice.
Once I’m happy with how the sheet is fitting, I use a fit out nail gun to fix the sheet into position @ 500 mm centers. If you don’t have a nail gun, just use 40mm bullet head nails.
I’m using the timber frame and nail set out locations I pre-marked onto the sheet earlier. The bottom of the sheet needs a 10mm space to allow for expansion. This gap will be covered when I re-install the skirting.
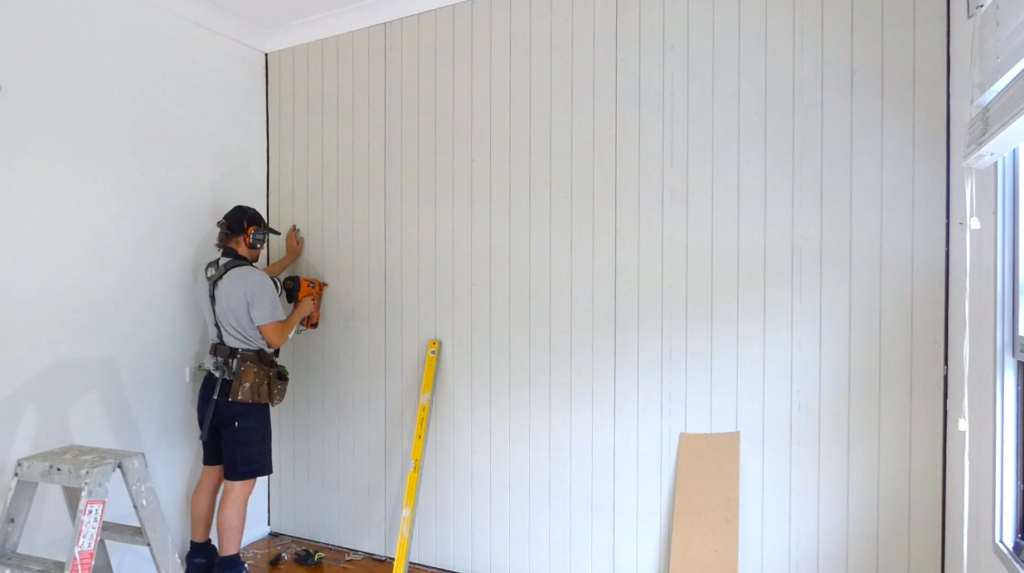
Repeat steps 2 & 3
To finish step 3, I’ll now repeat steps 2 and 3 for the remaining sheets. Measure, cut, set out, mark, and, install. When installing the sheets together slid until the tongue slips into the groove then Leave a 1.5 mm gap between the sheets for expansion.
Glue and nail the last sheet into place and make sure to leave a 5mm expansion gap between the sheet and internal wall intersection.
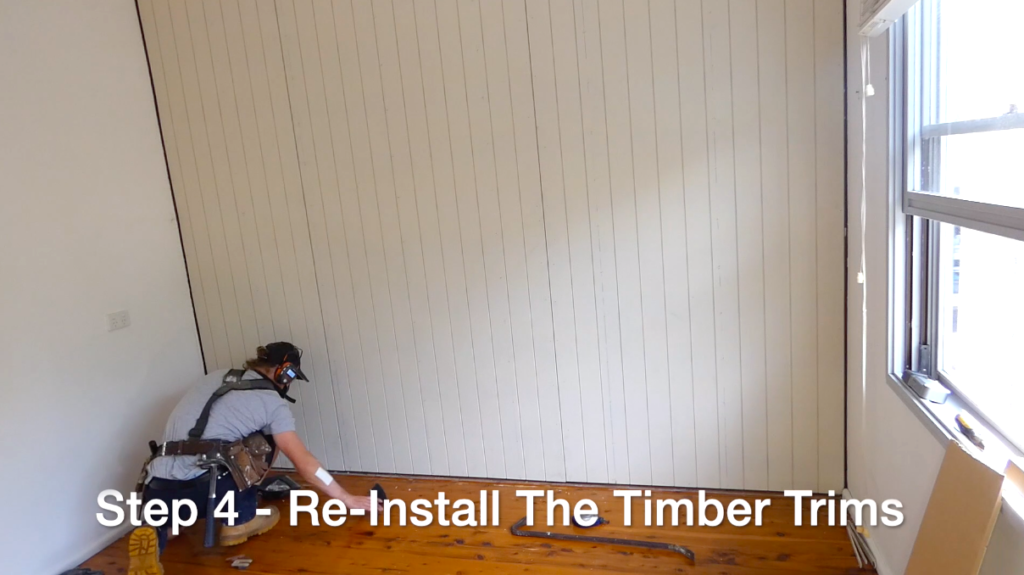
Step 4 - Re-attach skirting and timber trims
Step four is to do a quick clean up then reattach the Skirting and timber trims. I will re-use the original piece of skirting I removed earlier and nail it back into position. I’ll install new pieces of 18mm x 18mm timber trims in the internal corners.
The reason that timber trims need to be installed in the corners is to cover the gap needed for expansion. The trim will neatly cover the gap when painted the same colour as the wall
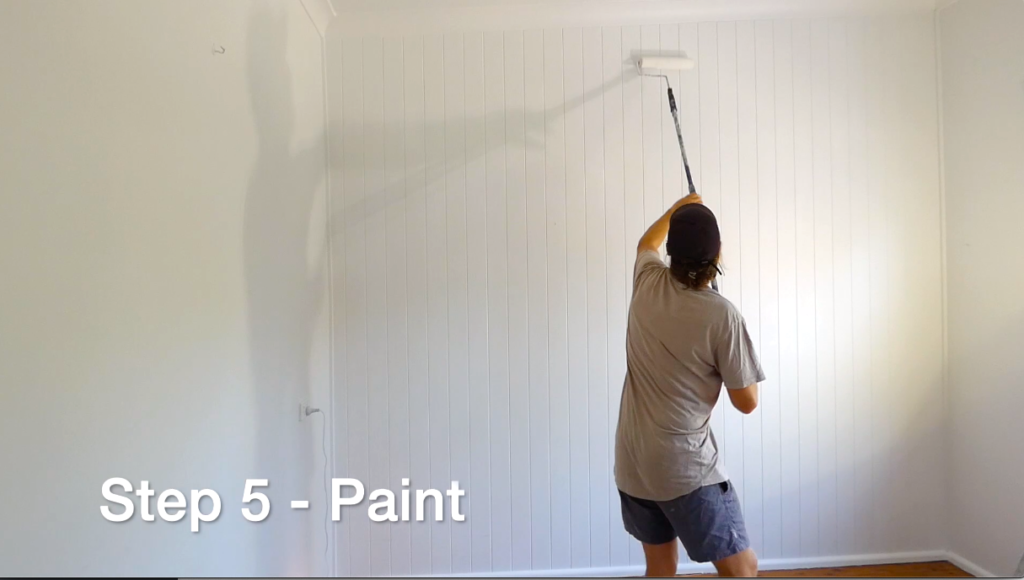
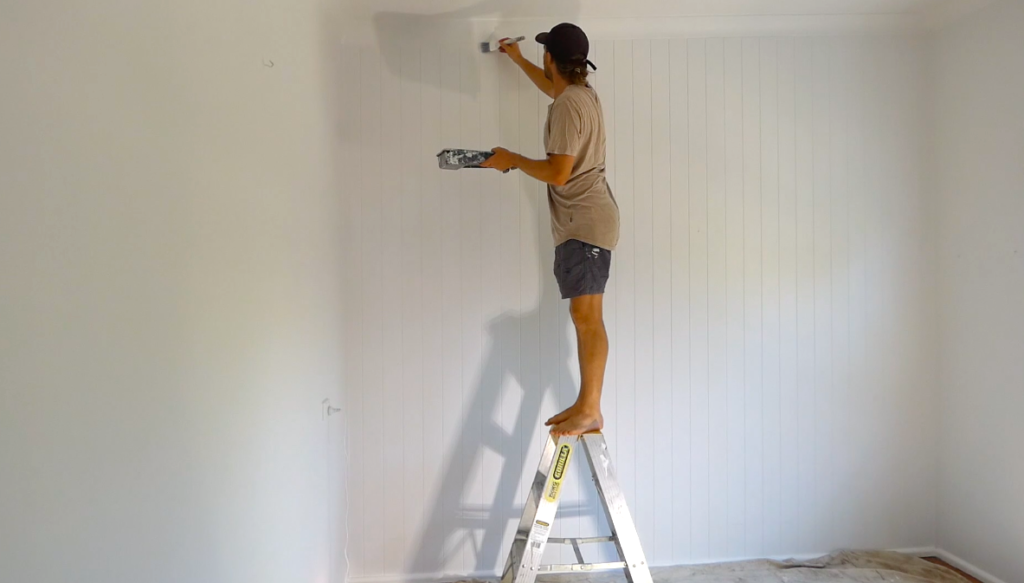
Step 5 - Paint the vj lining boards and timber trims
The final step is to Paint the Vj paneling and timber trims. I’m using a white acrylic paint called “Greyscale” for the VJ lining boards.
In this project, I use 1 coat of undercoat then 2 coats of topcoat when painting the VJ Lining boards. The process is to use a brush to go through and paint the V Joints. Them Follow along after with a roller. It’s a bit time-consuming painting VJ lining boards, but the result is fantastic.
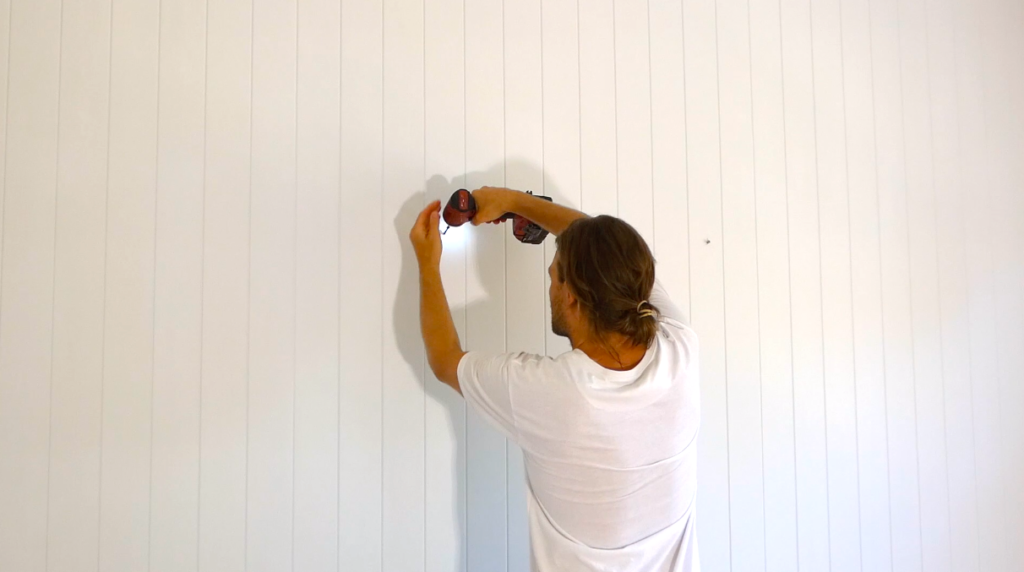
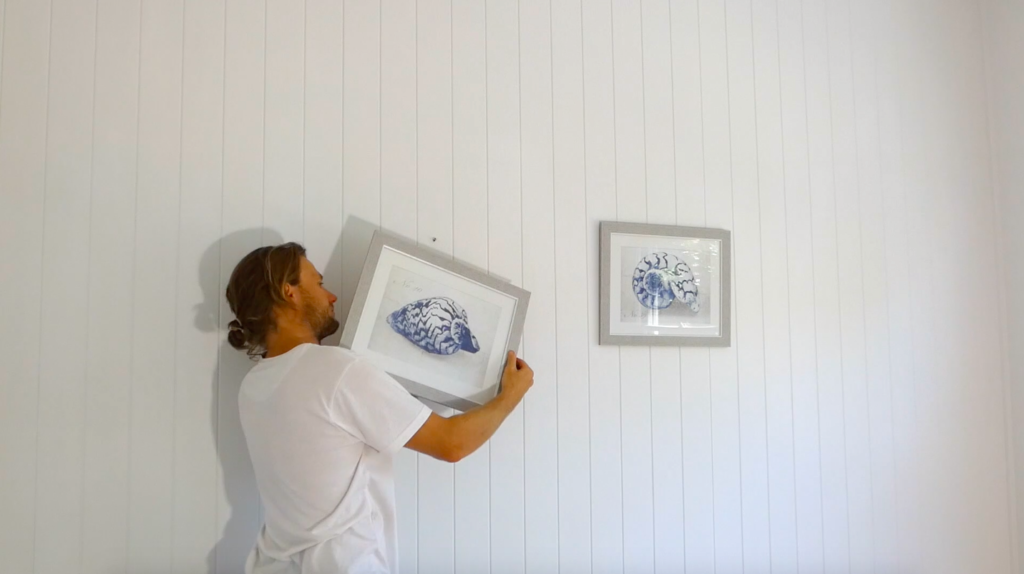
finishing touches
The last finishing detail is to hang a couple of pieces of artwork. I install a couple of pictures to add some extra colour and contrast to the bedroom feature wall.
A feature wall is a wall that adds interest and energy to a room through texture, colour, and contrast. You can add a feature wall to any room in your house. It’s a simple, easy and cost efficient project that transform the energy and perception of a room
This weekend project has been a fun time! I think we have achieved a splendid result. This room feels more stylish and has a better feel to it.